The MQTT letterbox Part 2: Sending alerts from MQTT // Project
This is part 2 of my Uber letterbox where I show you how to send notifications to your phone when someone delivers a letter. If you haven’t seen Part 1 yet, then check that out first.
Software
So, I have my letter box sending MQTT messages to my MQTT Broker when someone delivers a letter or when someone checks the mail, but that’s only the first part. Now to have notifications sent to my phone.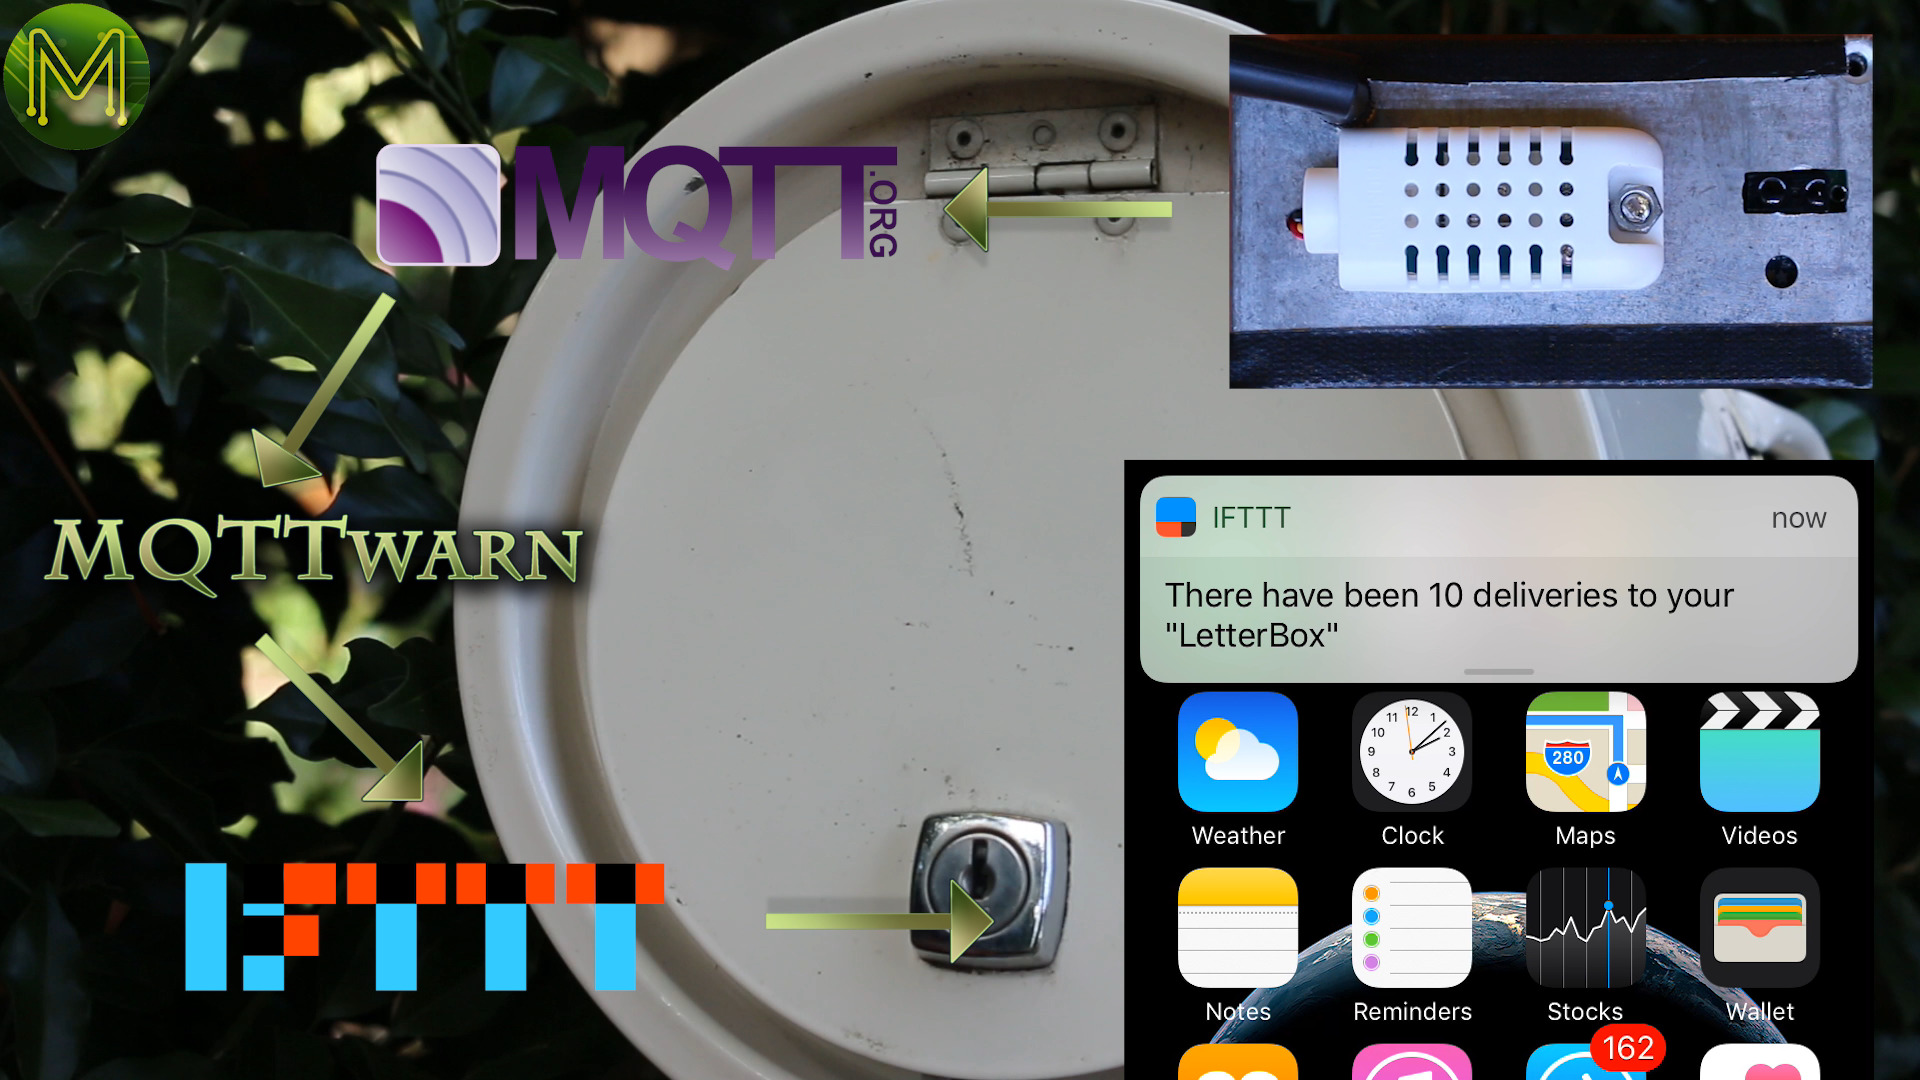
For this I’ll be using MQTTwarn with IFTTTT.
MQTTwarn is a great bit of Python code created by Jan-Piet Mens. He has created a framework that supports a bucket load of Internet services and it’s fairly easy to add your own.
So, first we need to install the required Python PIP package.
apt-get install python-pip
Then install the PAHO MQTT package via Python PIP.
pip install paho-mqtt
Next install GIT as we’ll be using it to pull the source code from GitHub.
apt-get install git
Then we can pull the source, which will place it in the /opt directory.
cd /opt
git clone https://github.com/jpmens/mqttwarn.git
Then change to that directory.
cd /opt/mqttwarn
Add the mqttwarn user.
useradd --shell /bin/bash --home-dir /opt/mqttwarn mqttwarn
Copy the startup defaults file,
cp -i etc/mqttwarn.default /etc/default/mqttwarn
the systemd service file so it’ll start as a service.
cp -i etc/mqttwarn.service /lib/systemd/system/
the logrotate file so we don’t fill up the filesystem with logs,
cp -i etc/mqttwarn.logrotate /etc/logrotate.d/mqttwarn
create the mqttwarn log file directory and change the owner to the mqttwarn user.
mkdir /var/log/mqttwarn
chown mqttwarn:mqttwarn /var/log/mqttwarn
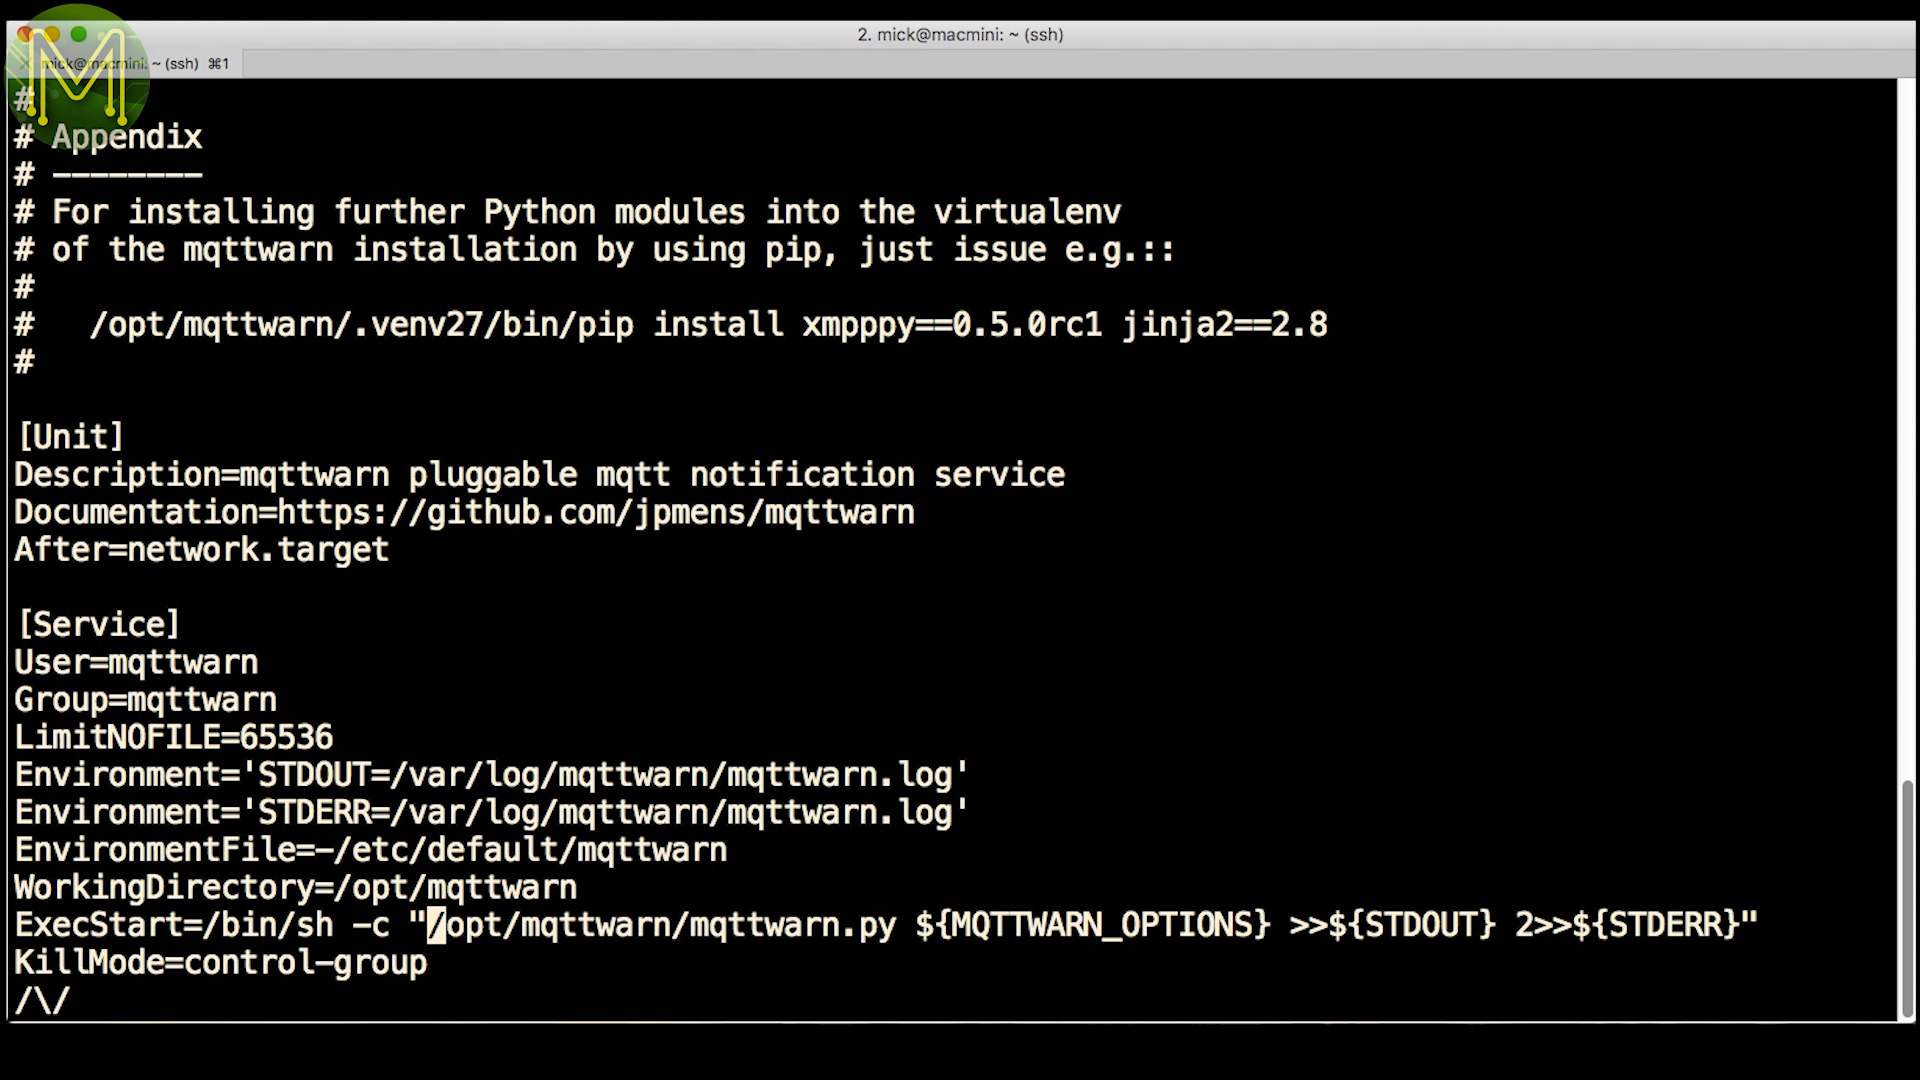
Before you start the service you’ll need to make a change to the service file, which is to remove the virtual Python environment. If you use it, then of course leave it in.
Then enable the mqttwarn service.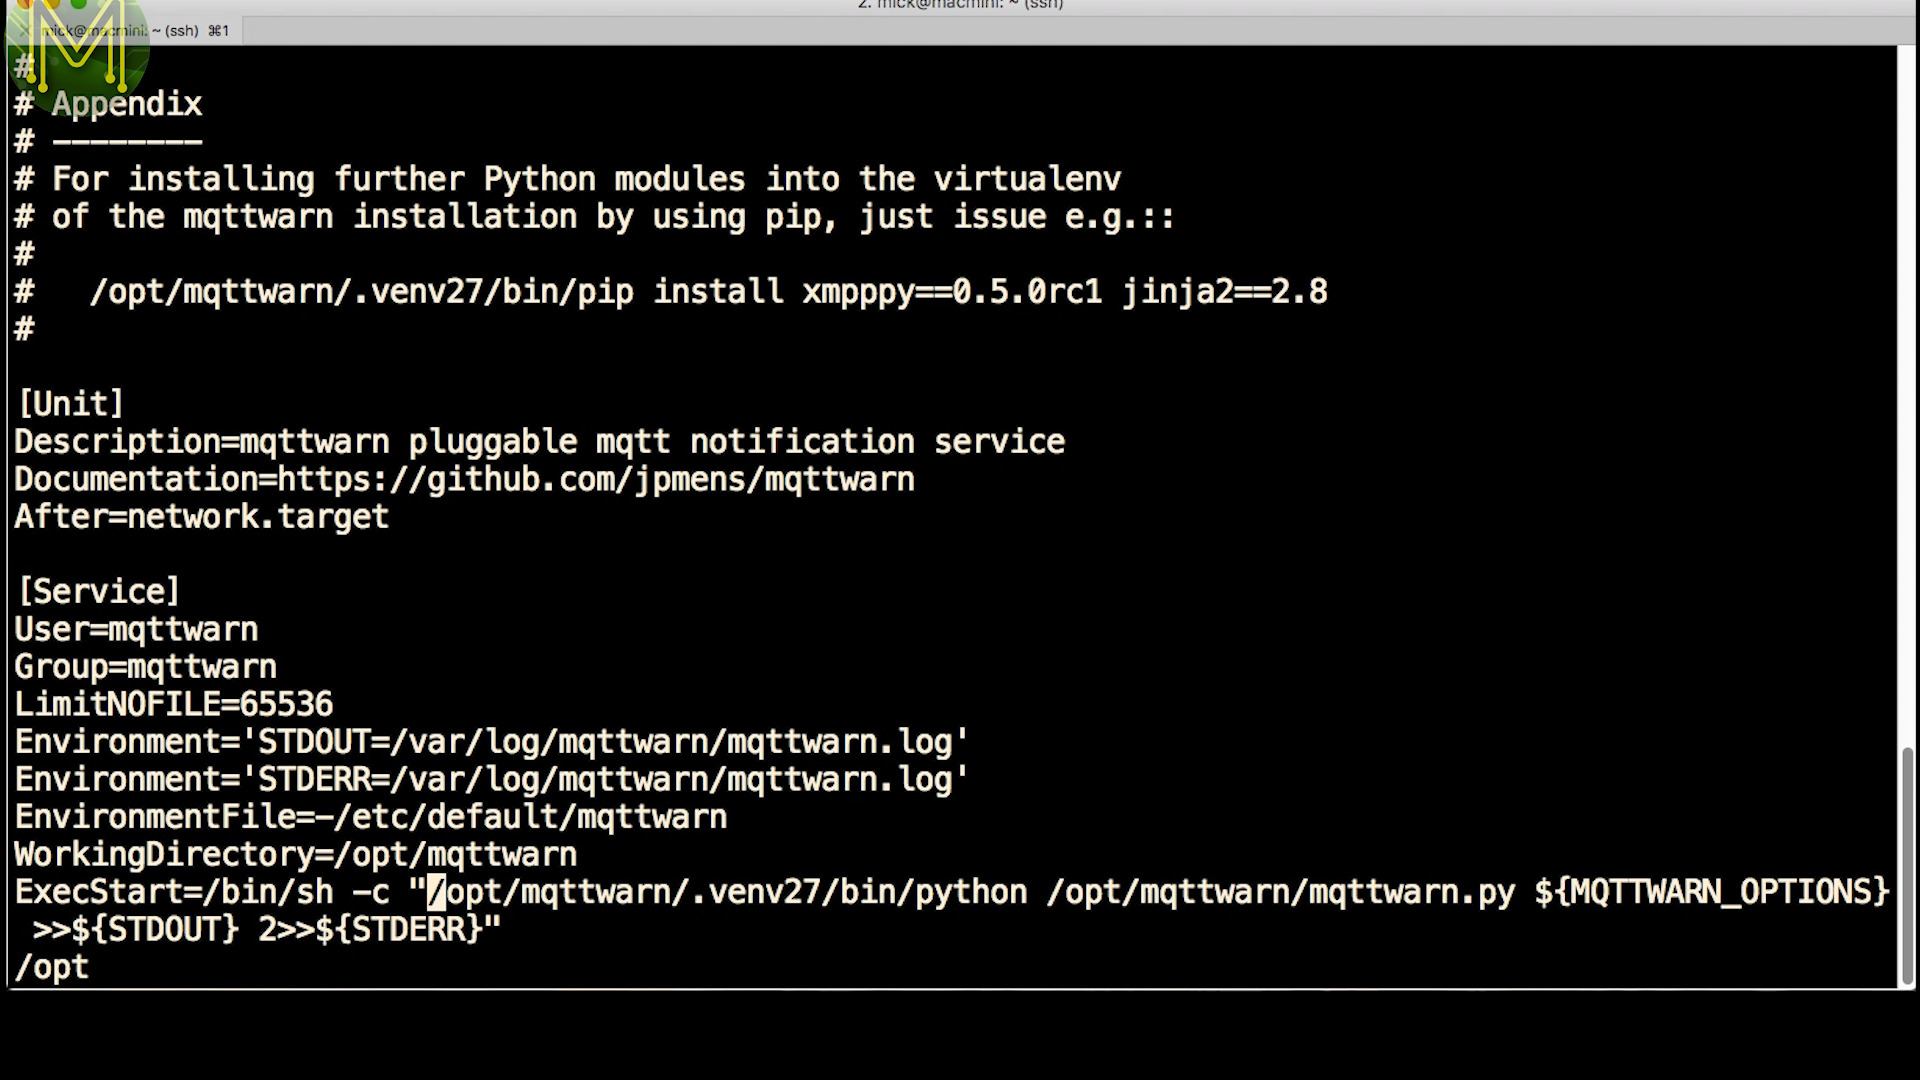
systemctl enable mqttwarn
Moving to your phone install the IFTTT app from the App Store. There’s also an Android app for this. It’s all the same process really. Once installed you’ll need to create an account, or if you have one already, just login.
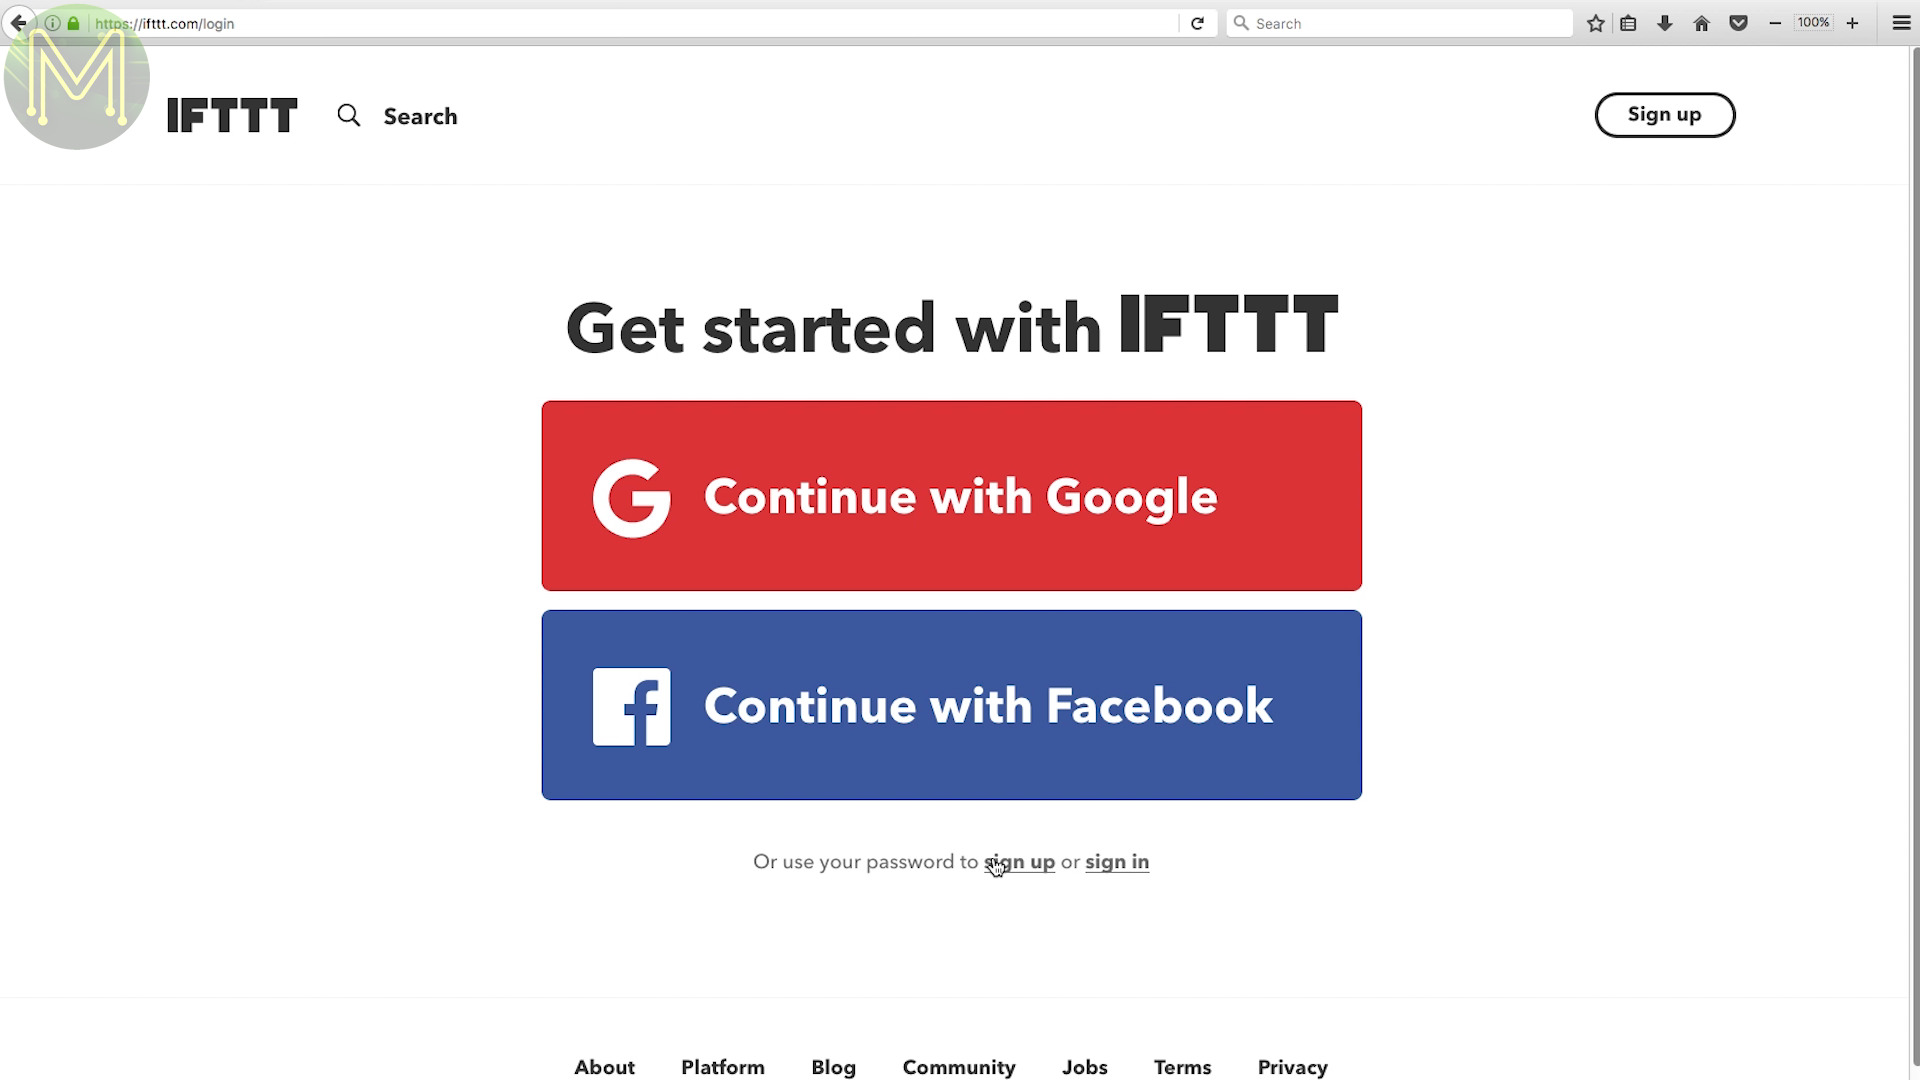
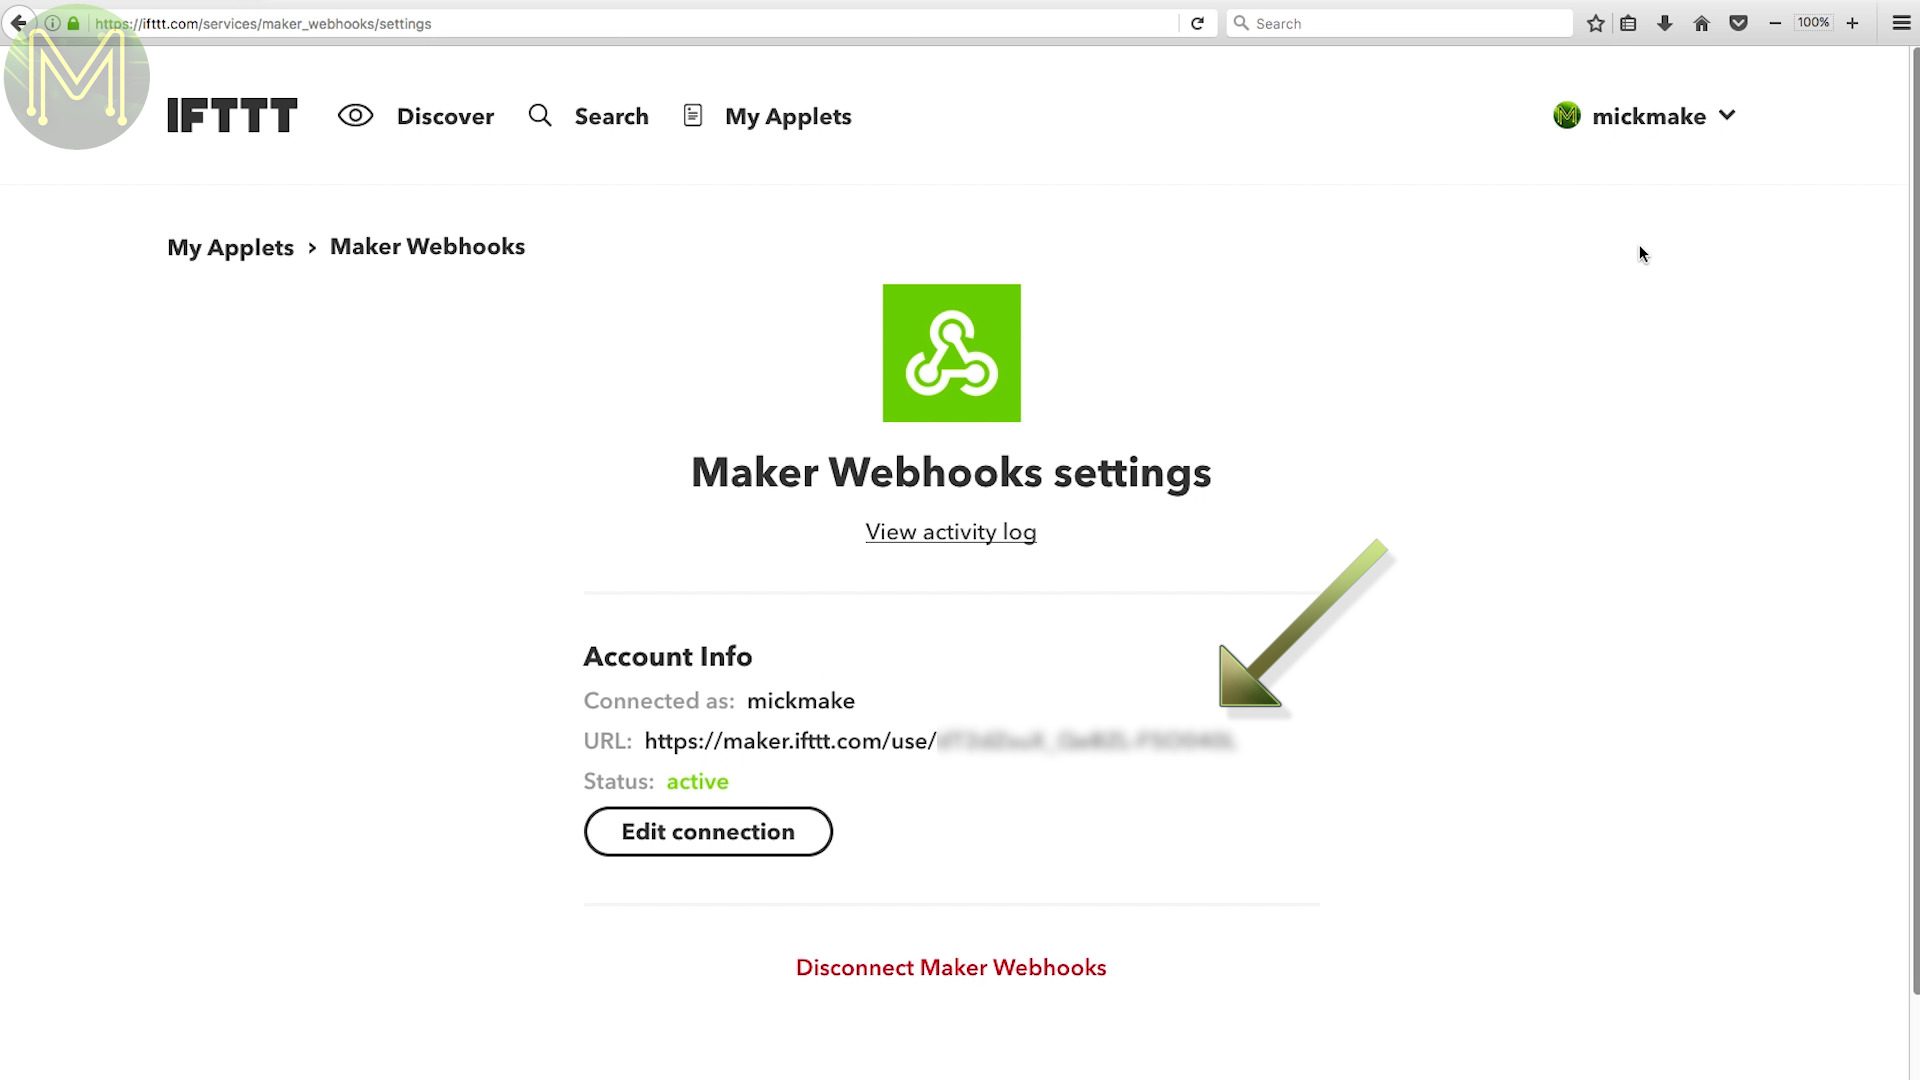
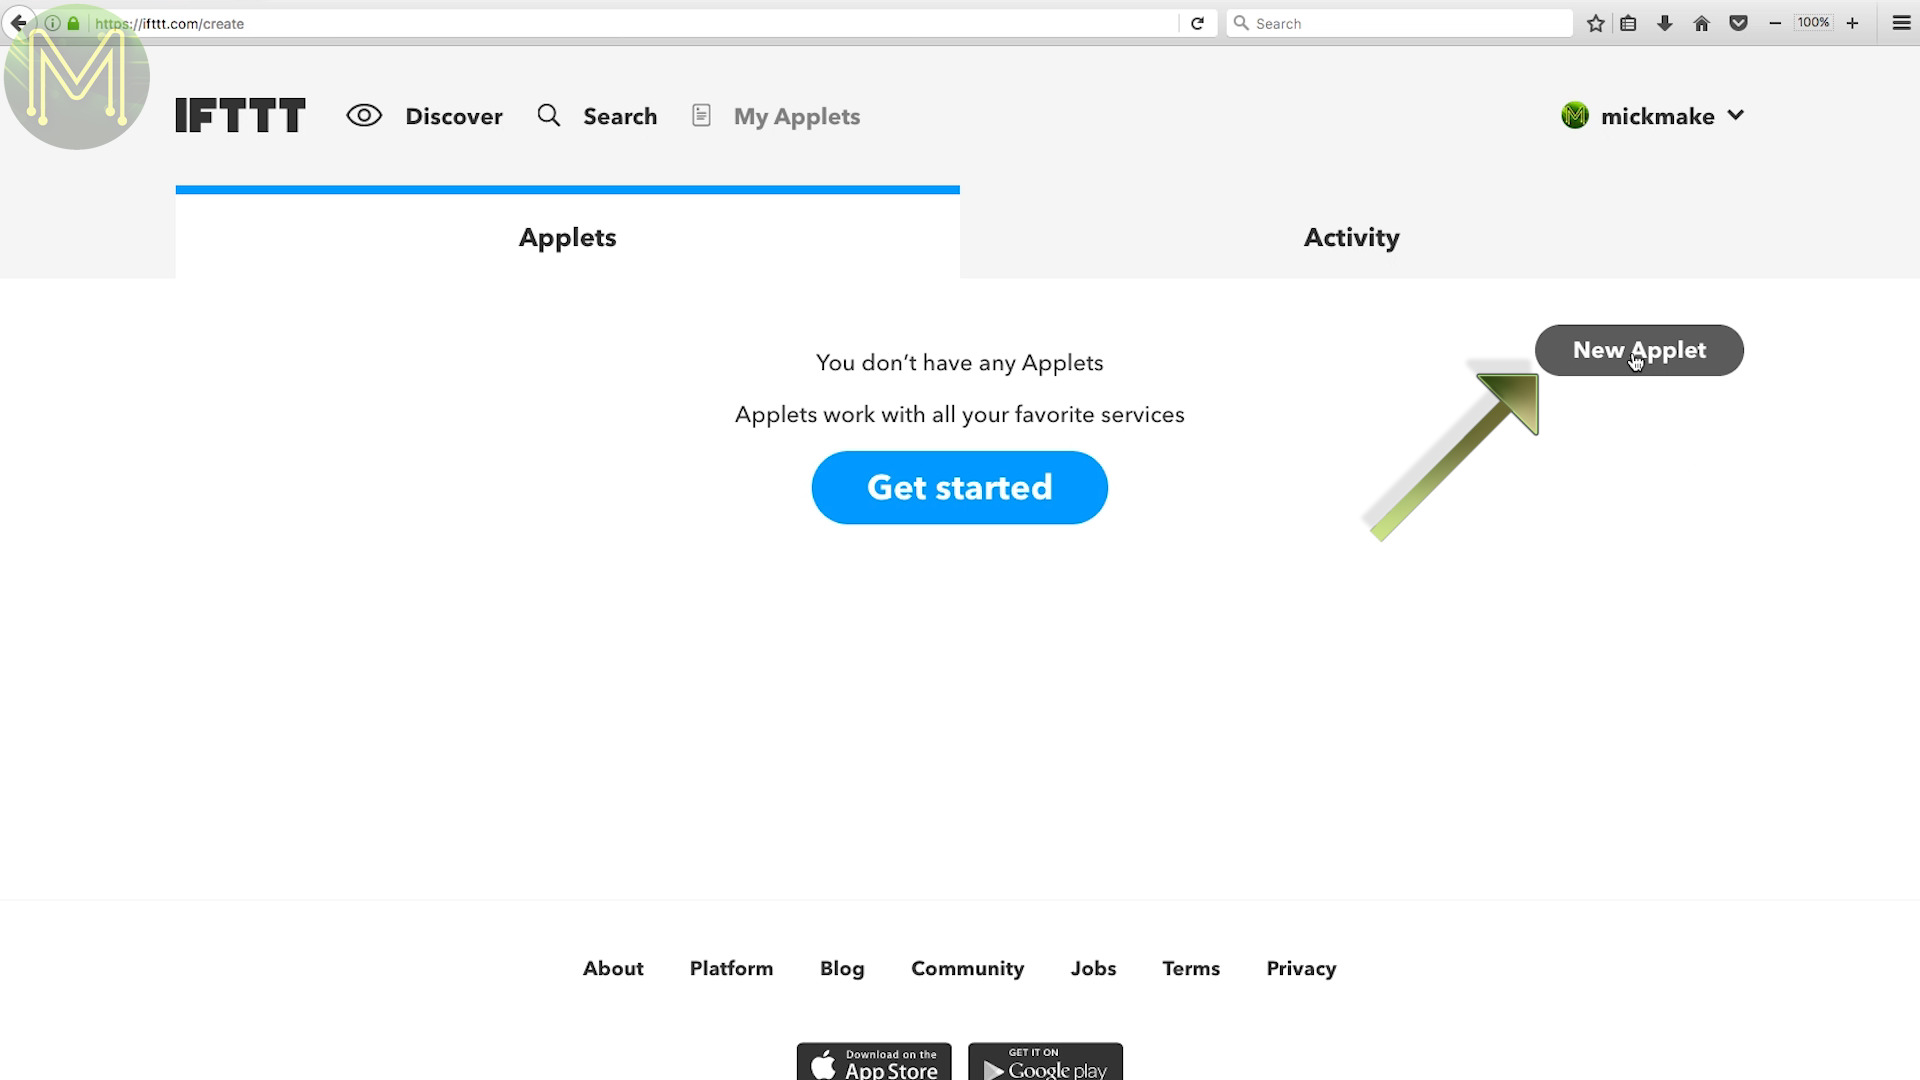
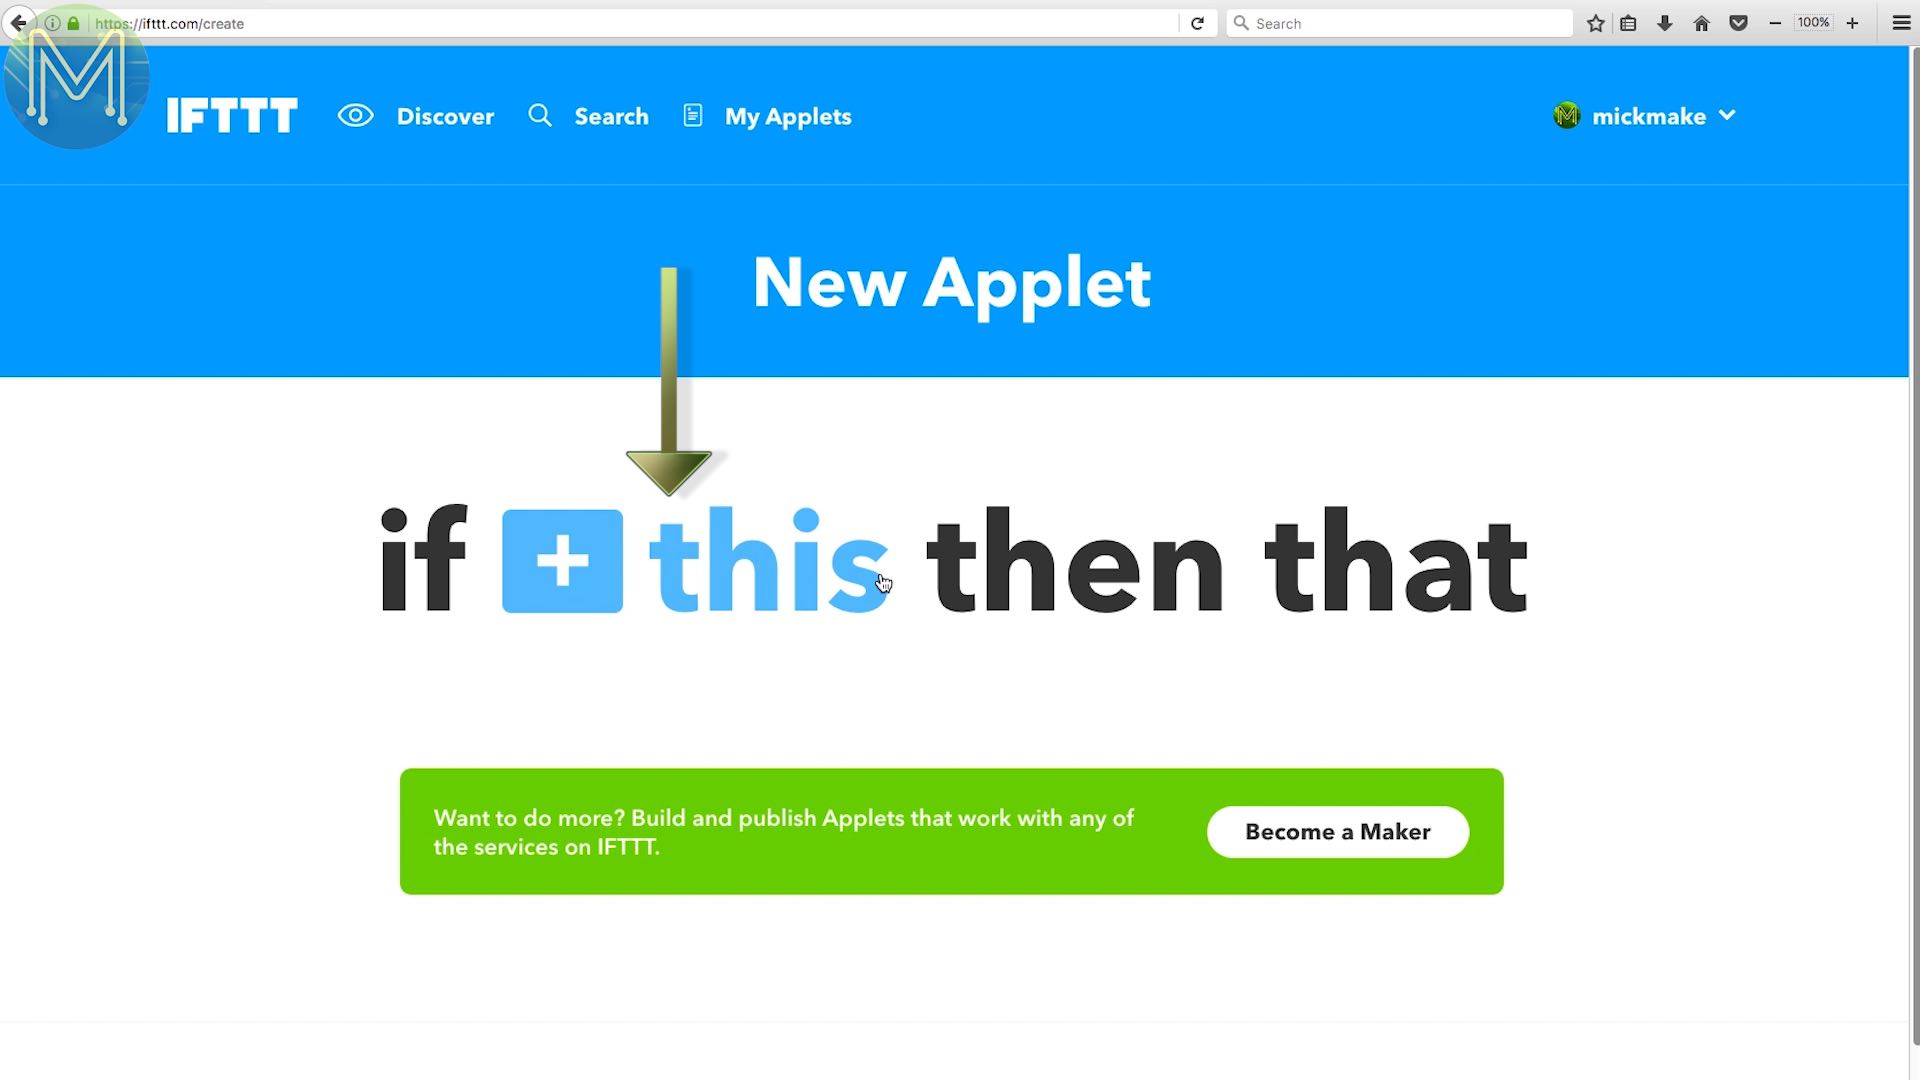
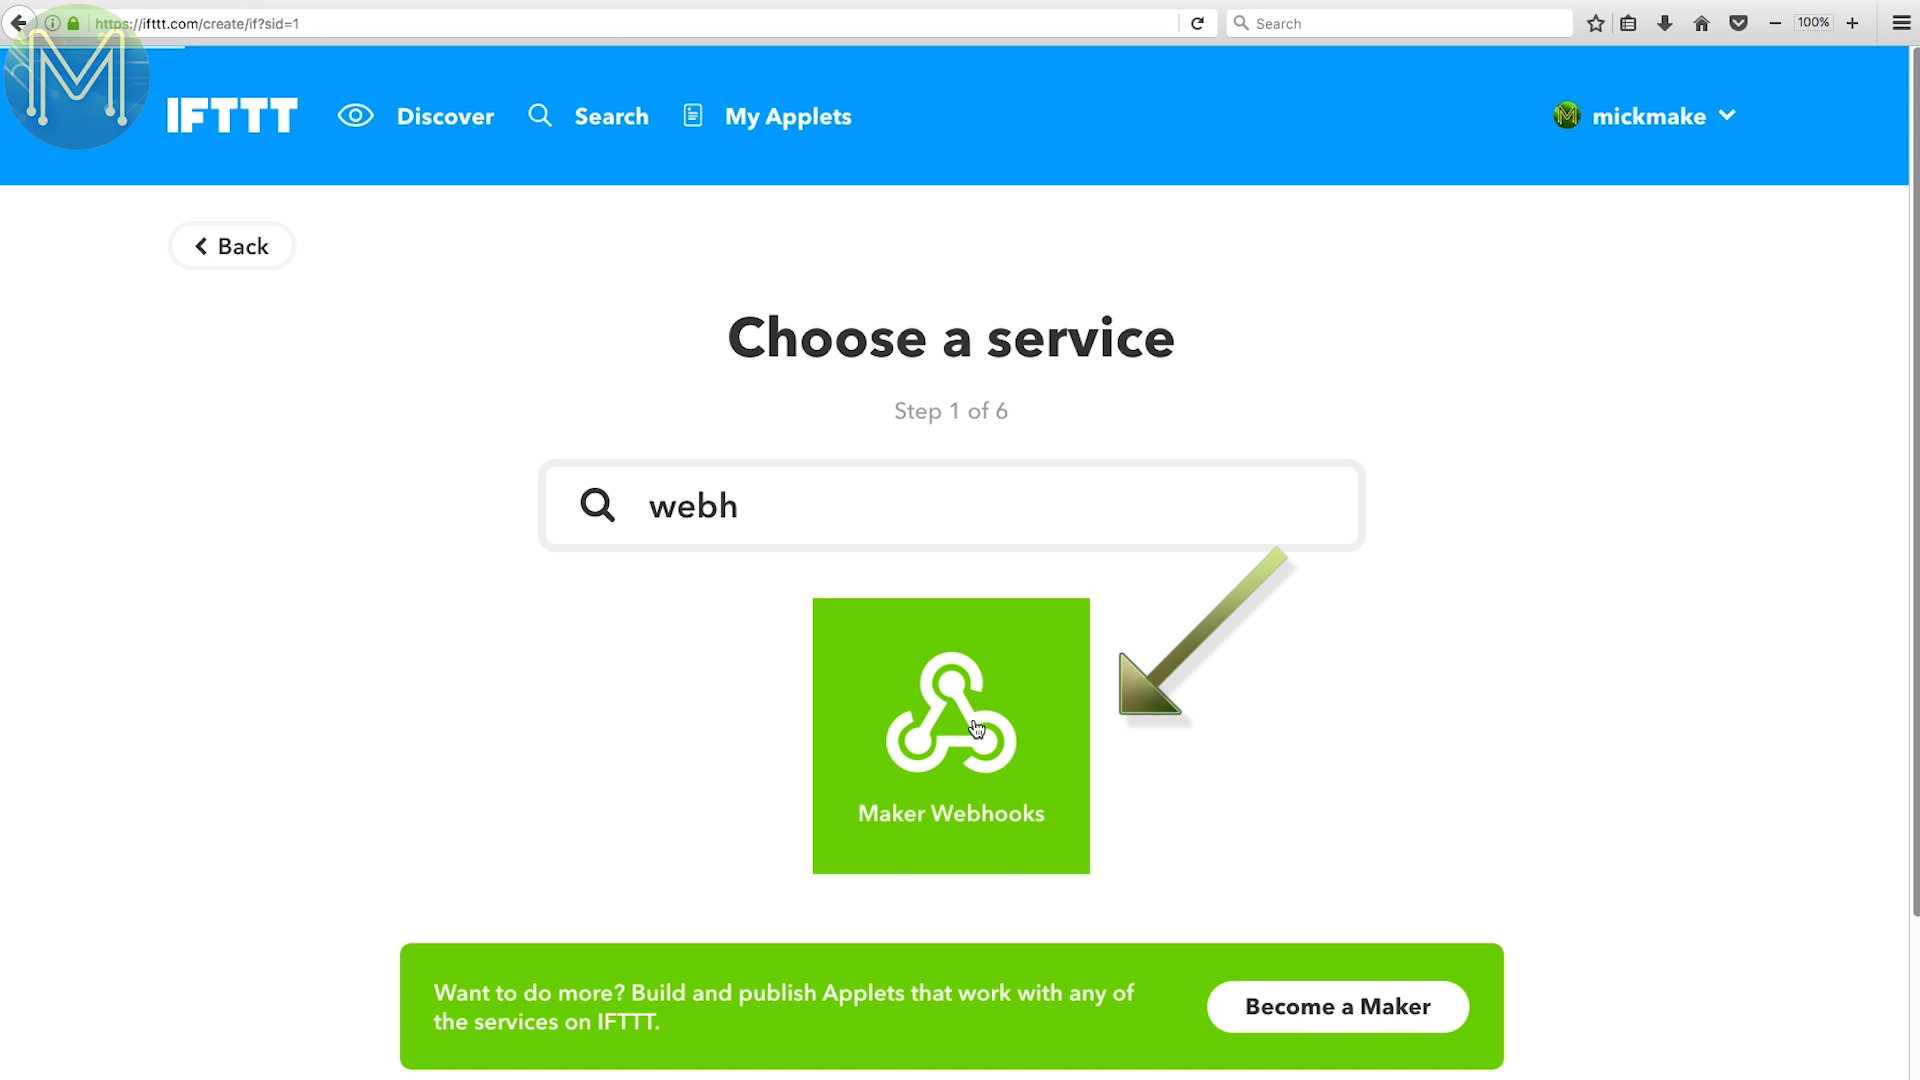
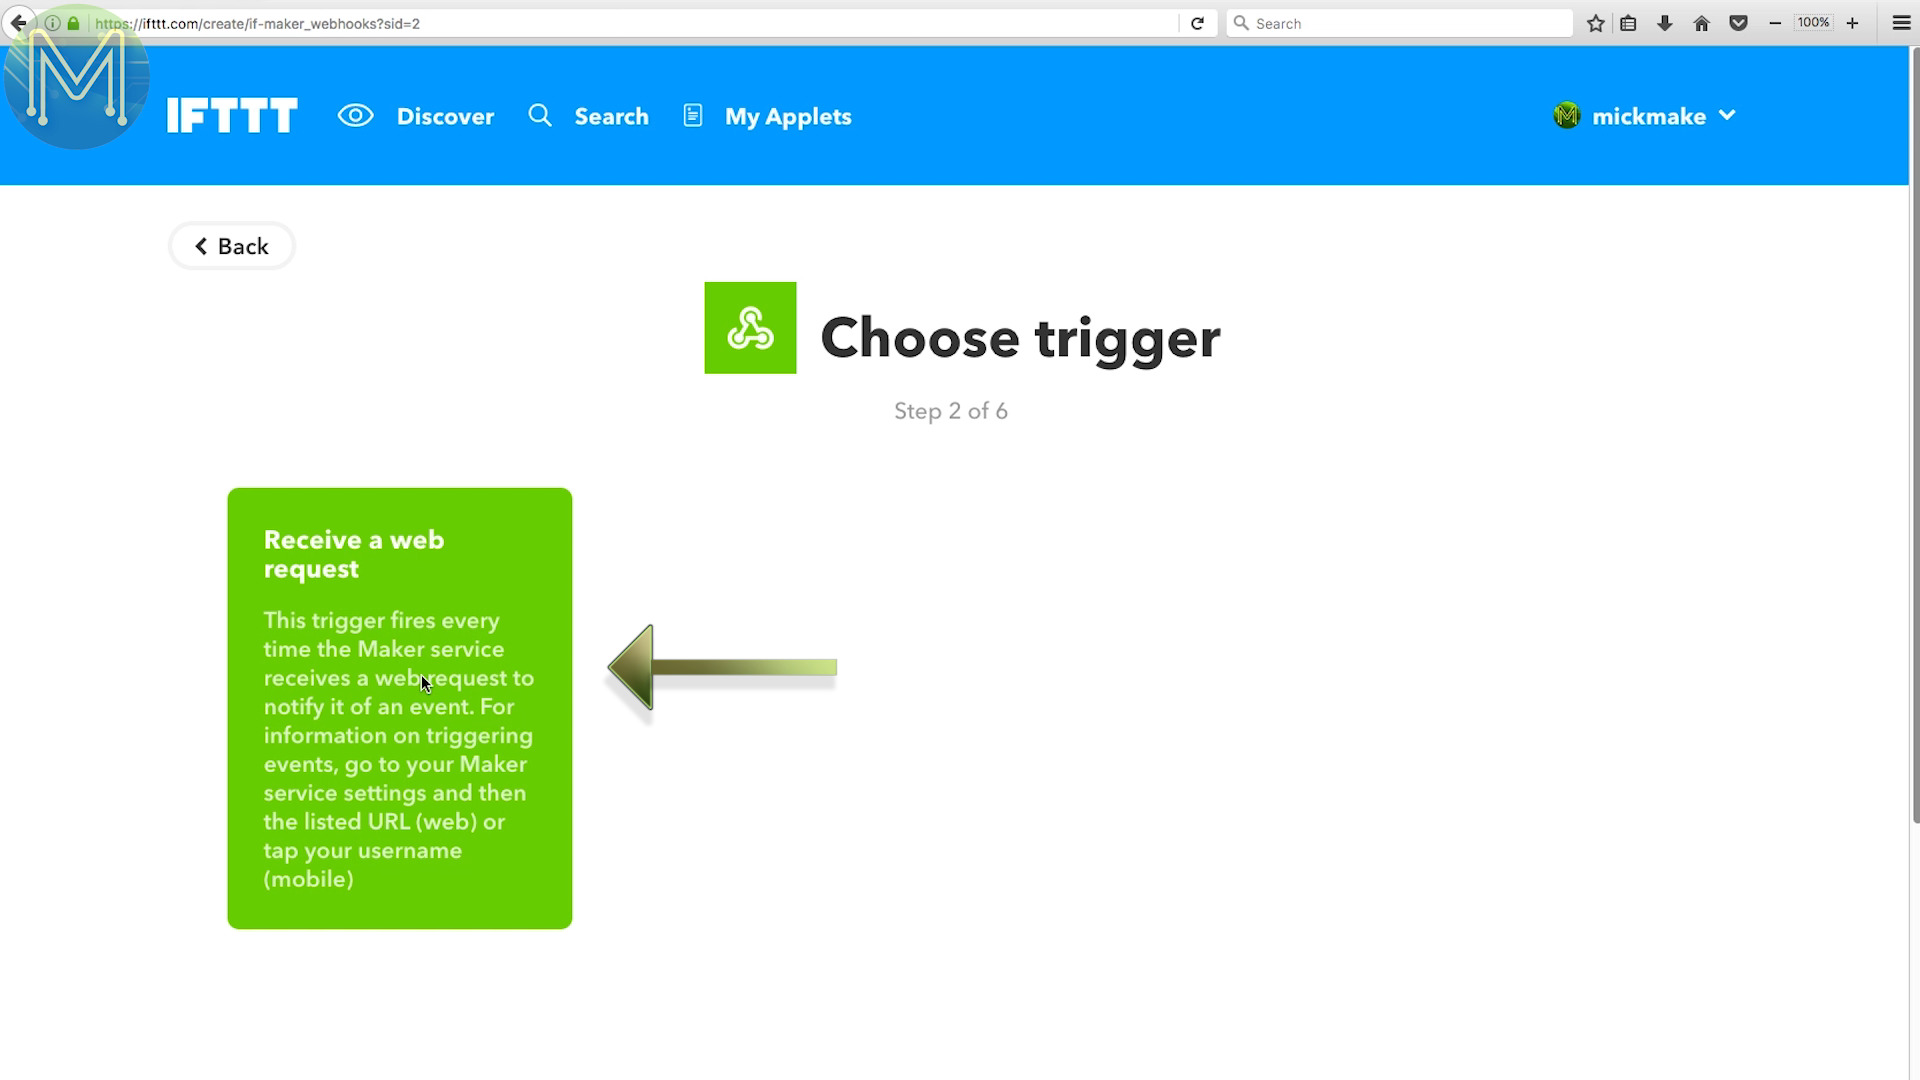
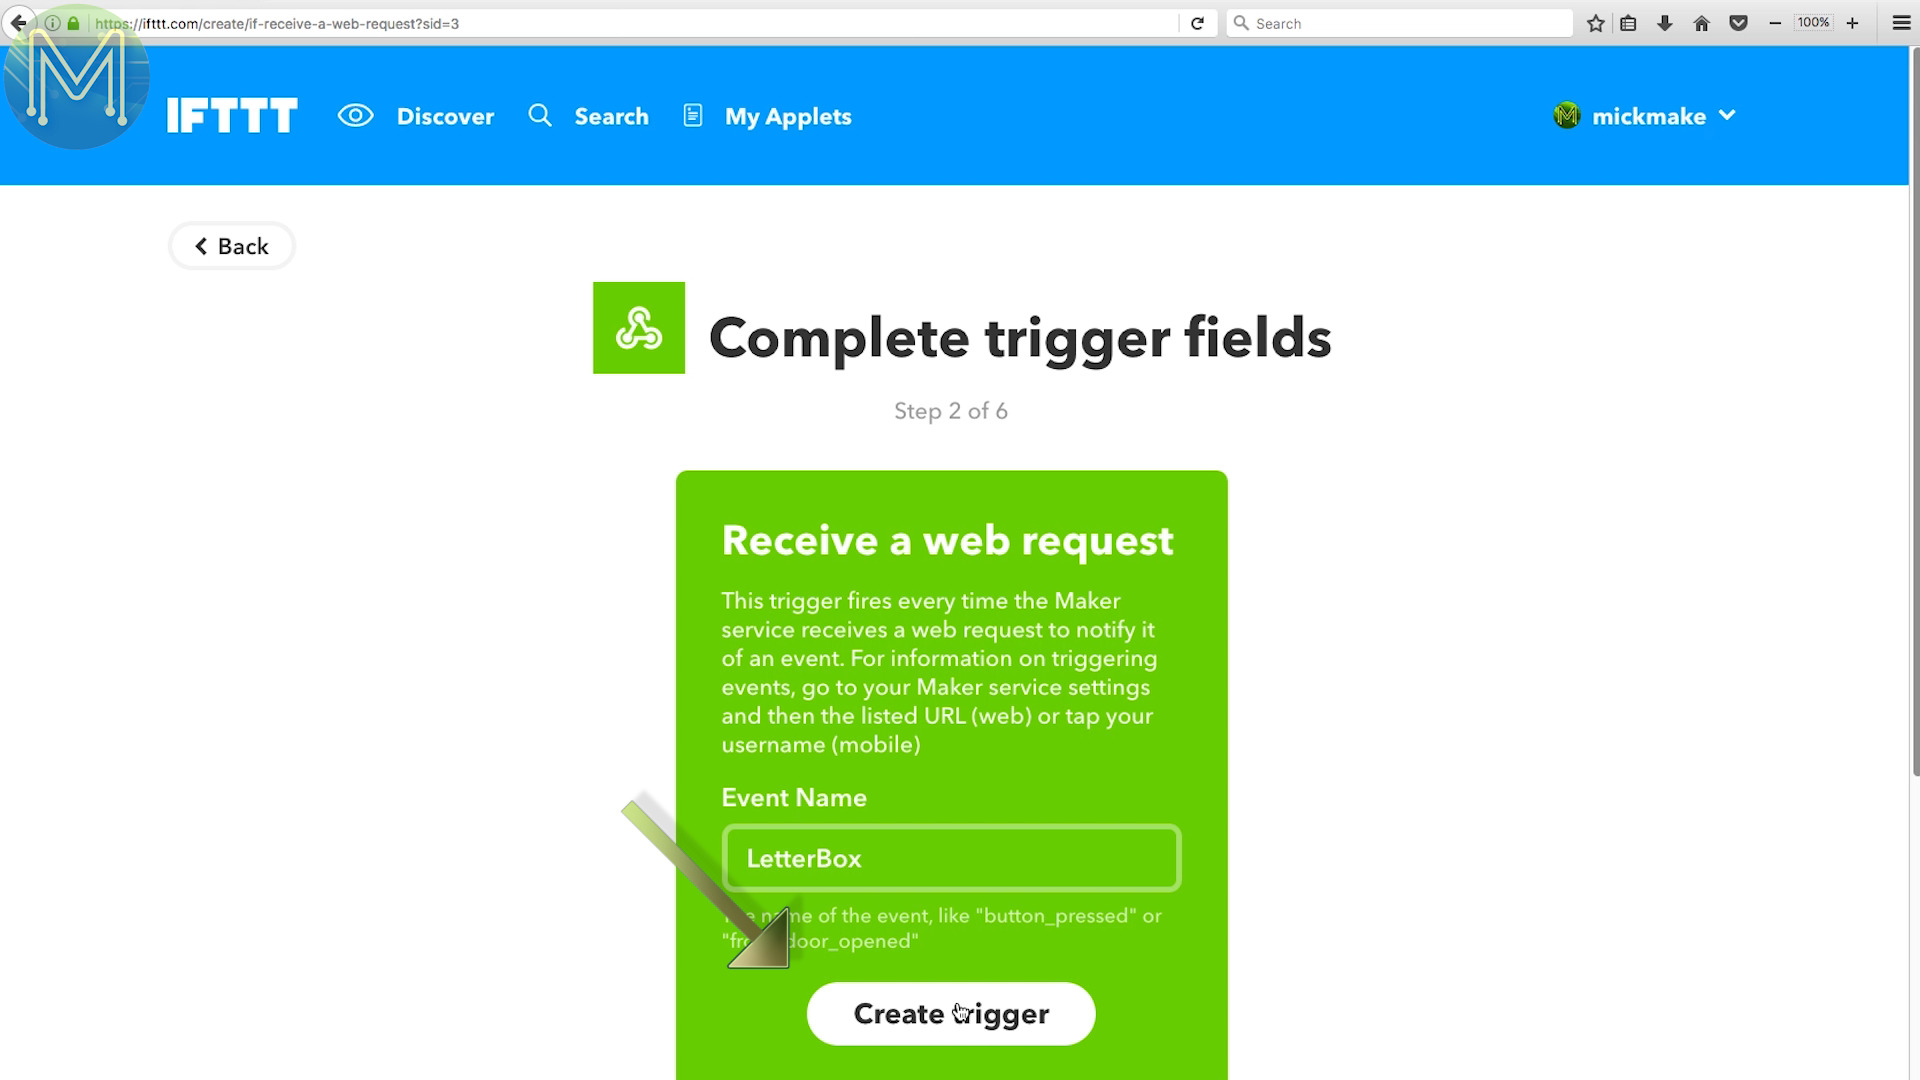
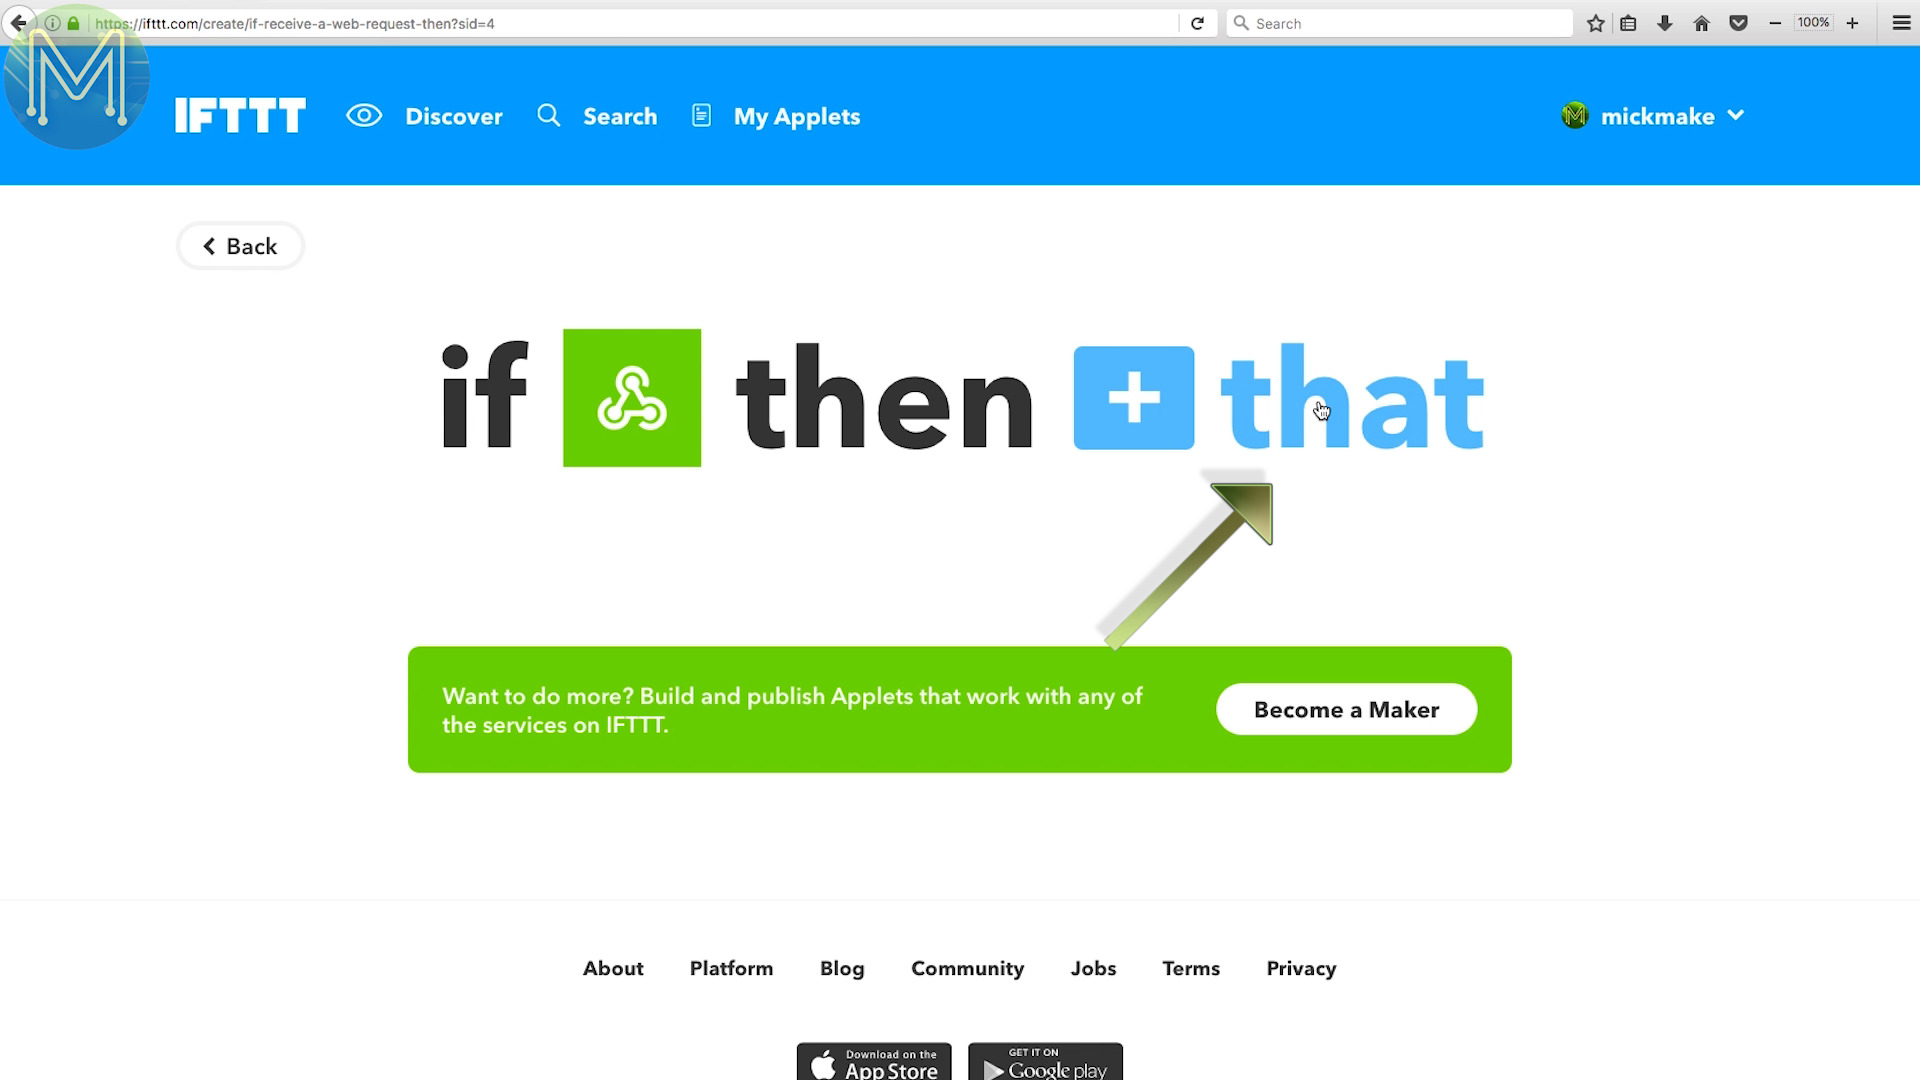
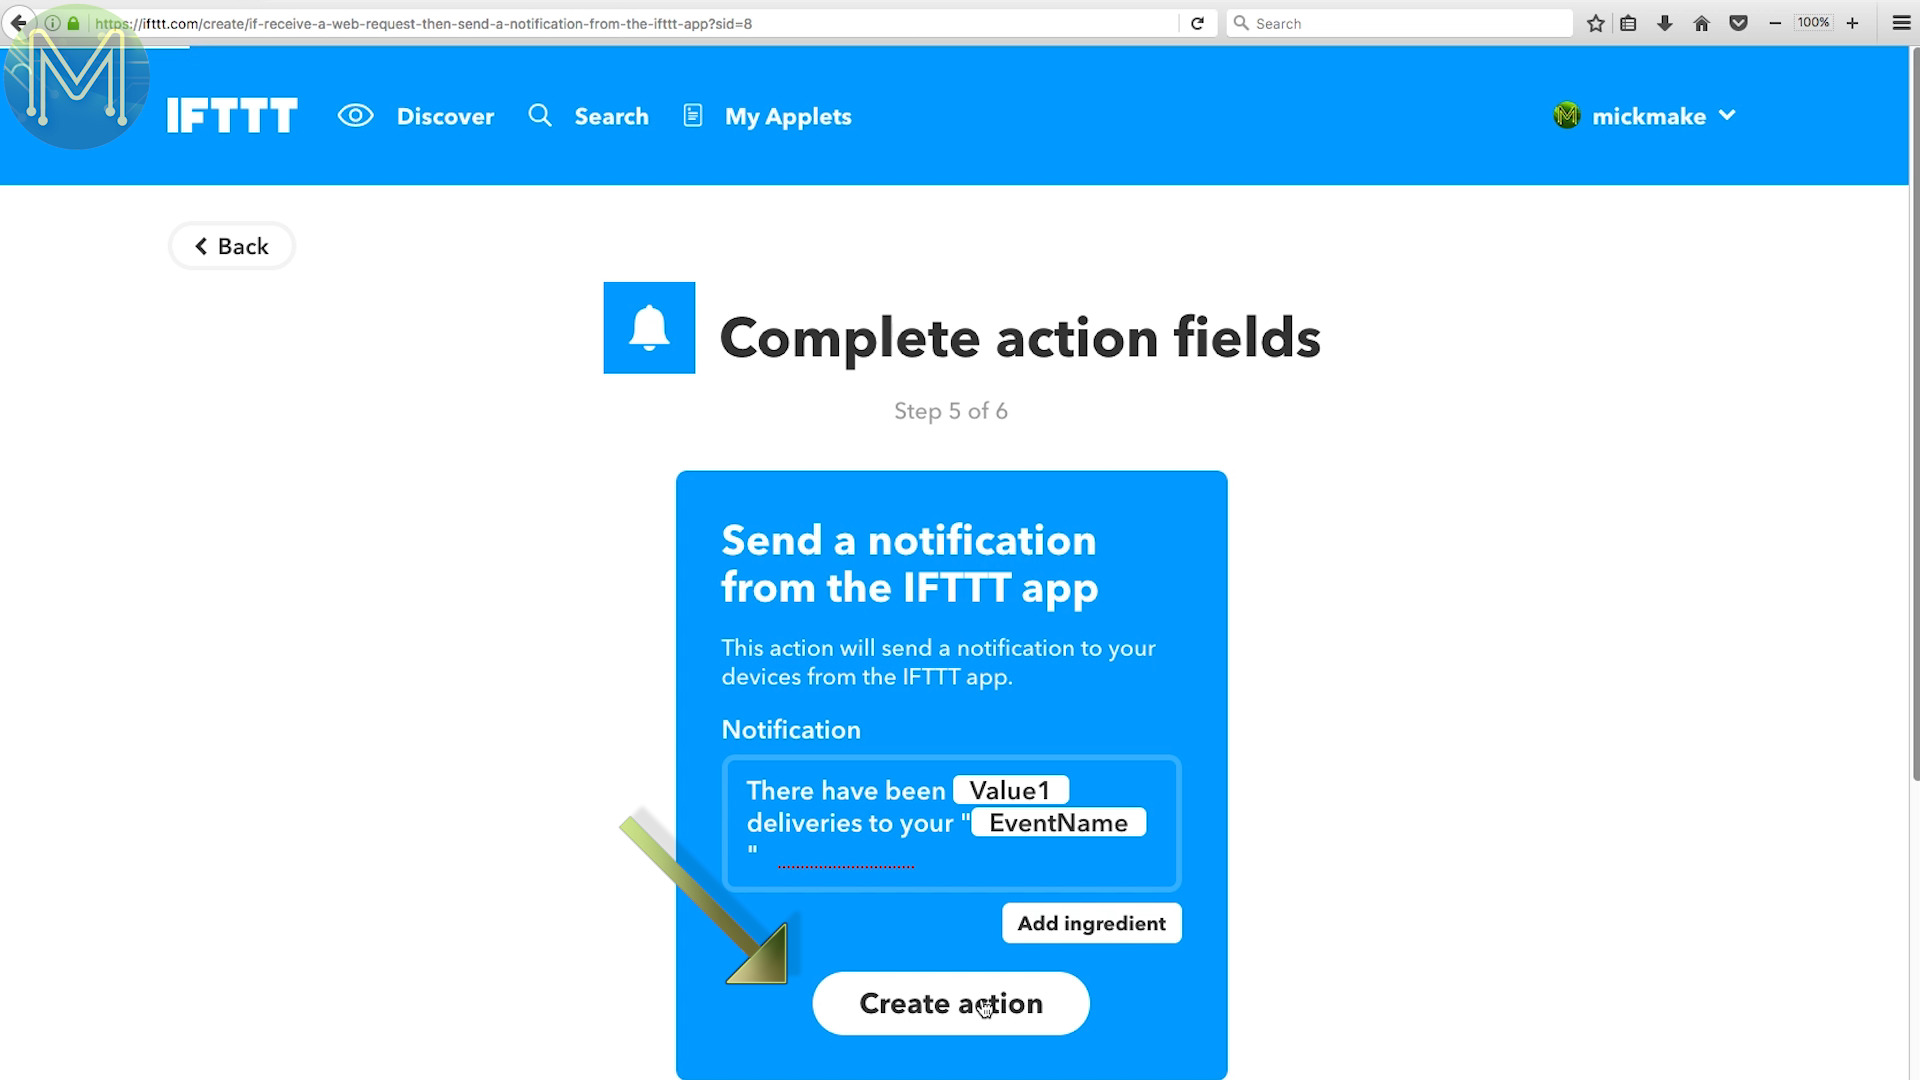
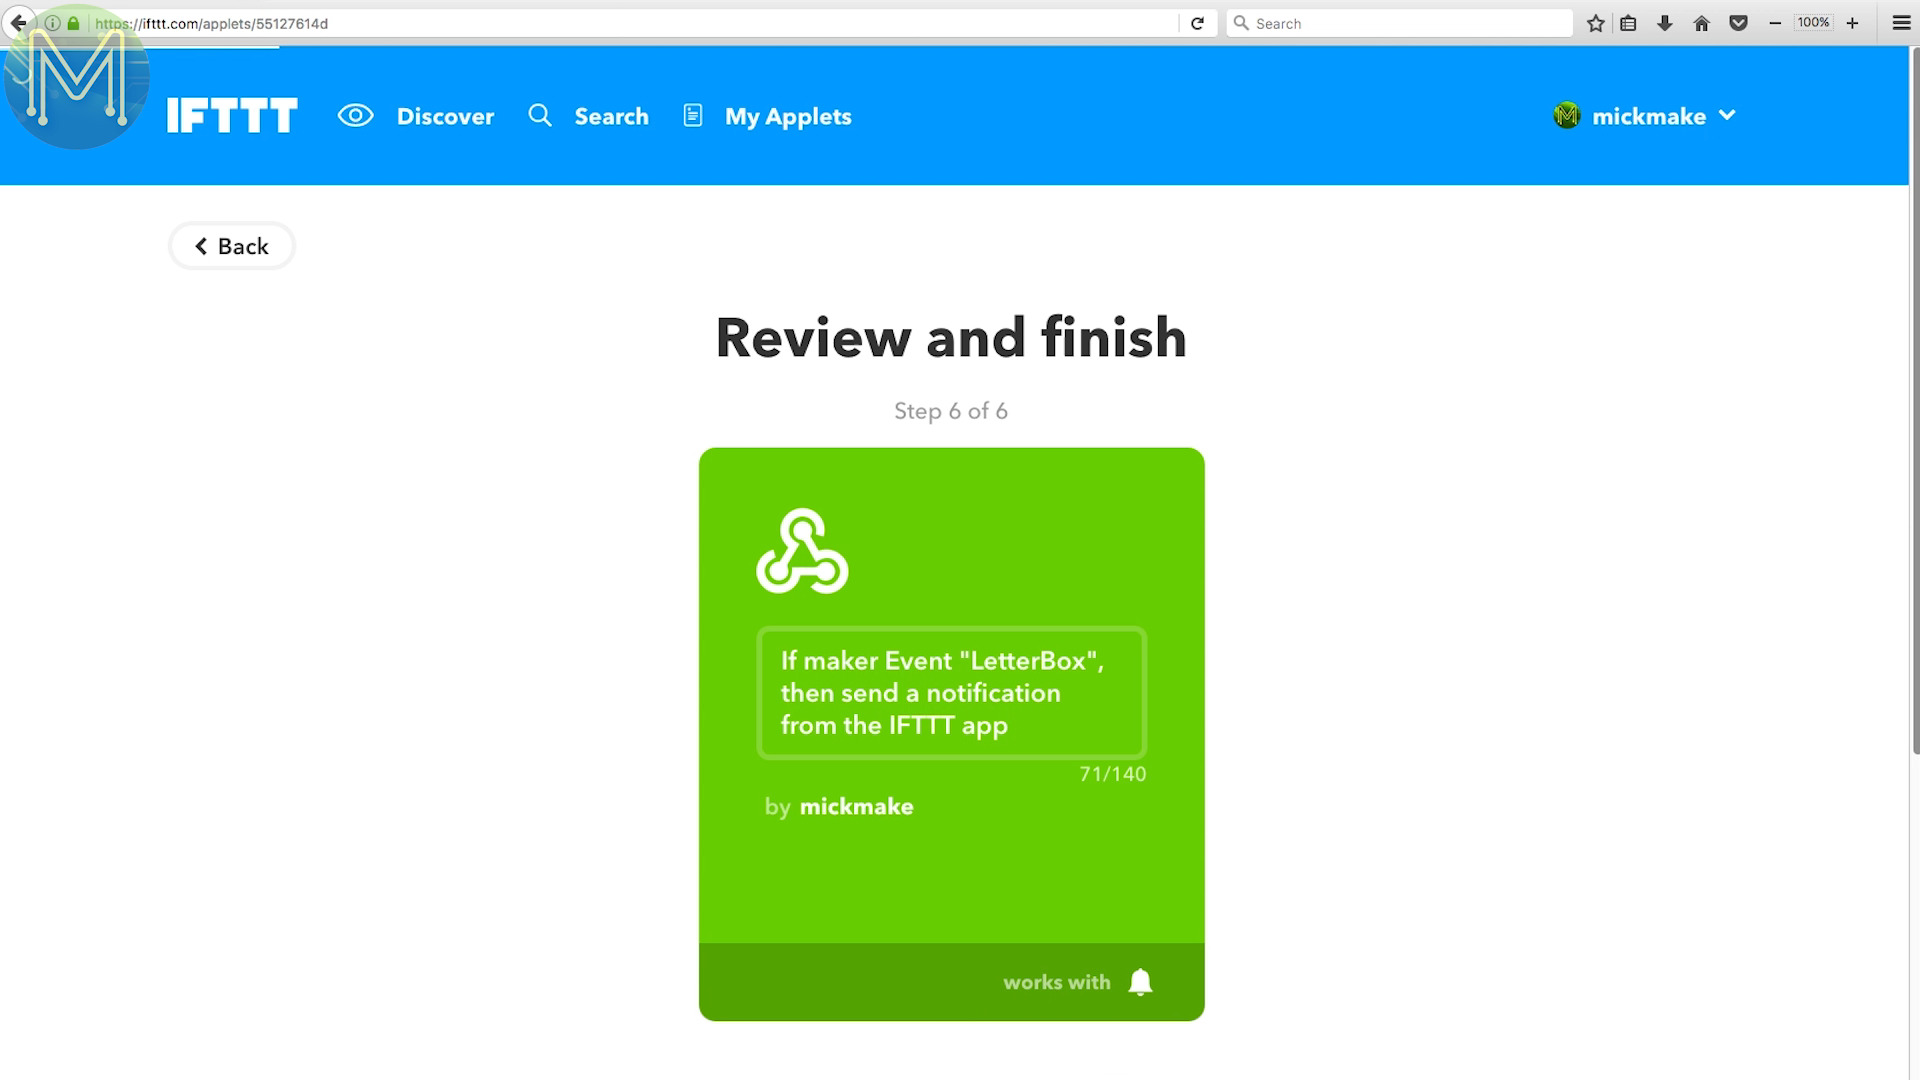
Then fire up a browser. You can actually do these next steps from your phone as well, but the website looked a bit clearer for this video. Sign in with your account, I always use two-factor authentication for everything and would suggest enabling it for added security.Next we need to connect an IFTTT service to your account, so click on the search link and search for webhooks. Click on that and then you can connect this to your IFTTT account.Click on Settings as you will need to record for later, the Webhooks key that has been created.Now you’ll need to create an applet for MQTTwarn to reference, click on “New Applet”,then click on the ‘this’ link and search for webhooks.Click on the webhooks link and then “Receive a web request”.Now, type in the event name. I used LetterBox. Remember this name as you’ll need this later as well.Then click on the ‘that’ link so you can tie the event to a service action.Search for notification. You could really use anything else for this.If you haven’t yet connected this service to your account it’ll prompt you to connect.Then click on the “Send a notification” link.This is where you can customize the notification message that gets sent to you. Since I want to see how many deliveries have be made, I set it to this. The number of deliveries will be contained in Value1.Then click on “Create Action” and then “Finish”.And that’s it for IFTTT, now back to your MQTT Broker. First make the /etc/mqttwarn directory, and create a file called mqttwarn.ini with your favourite editor.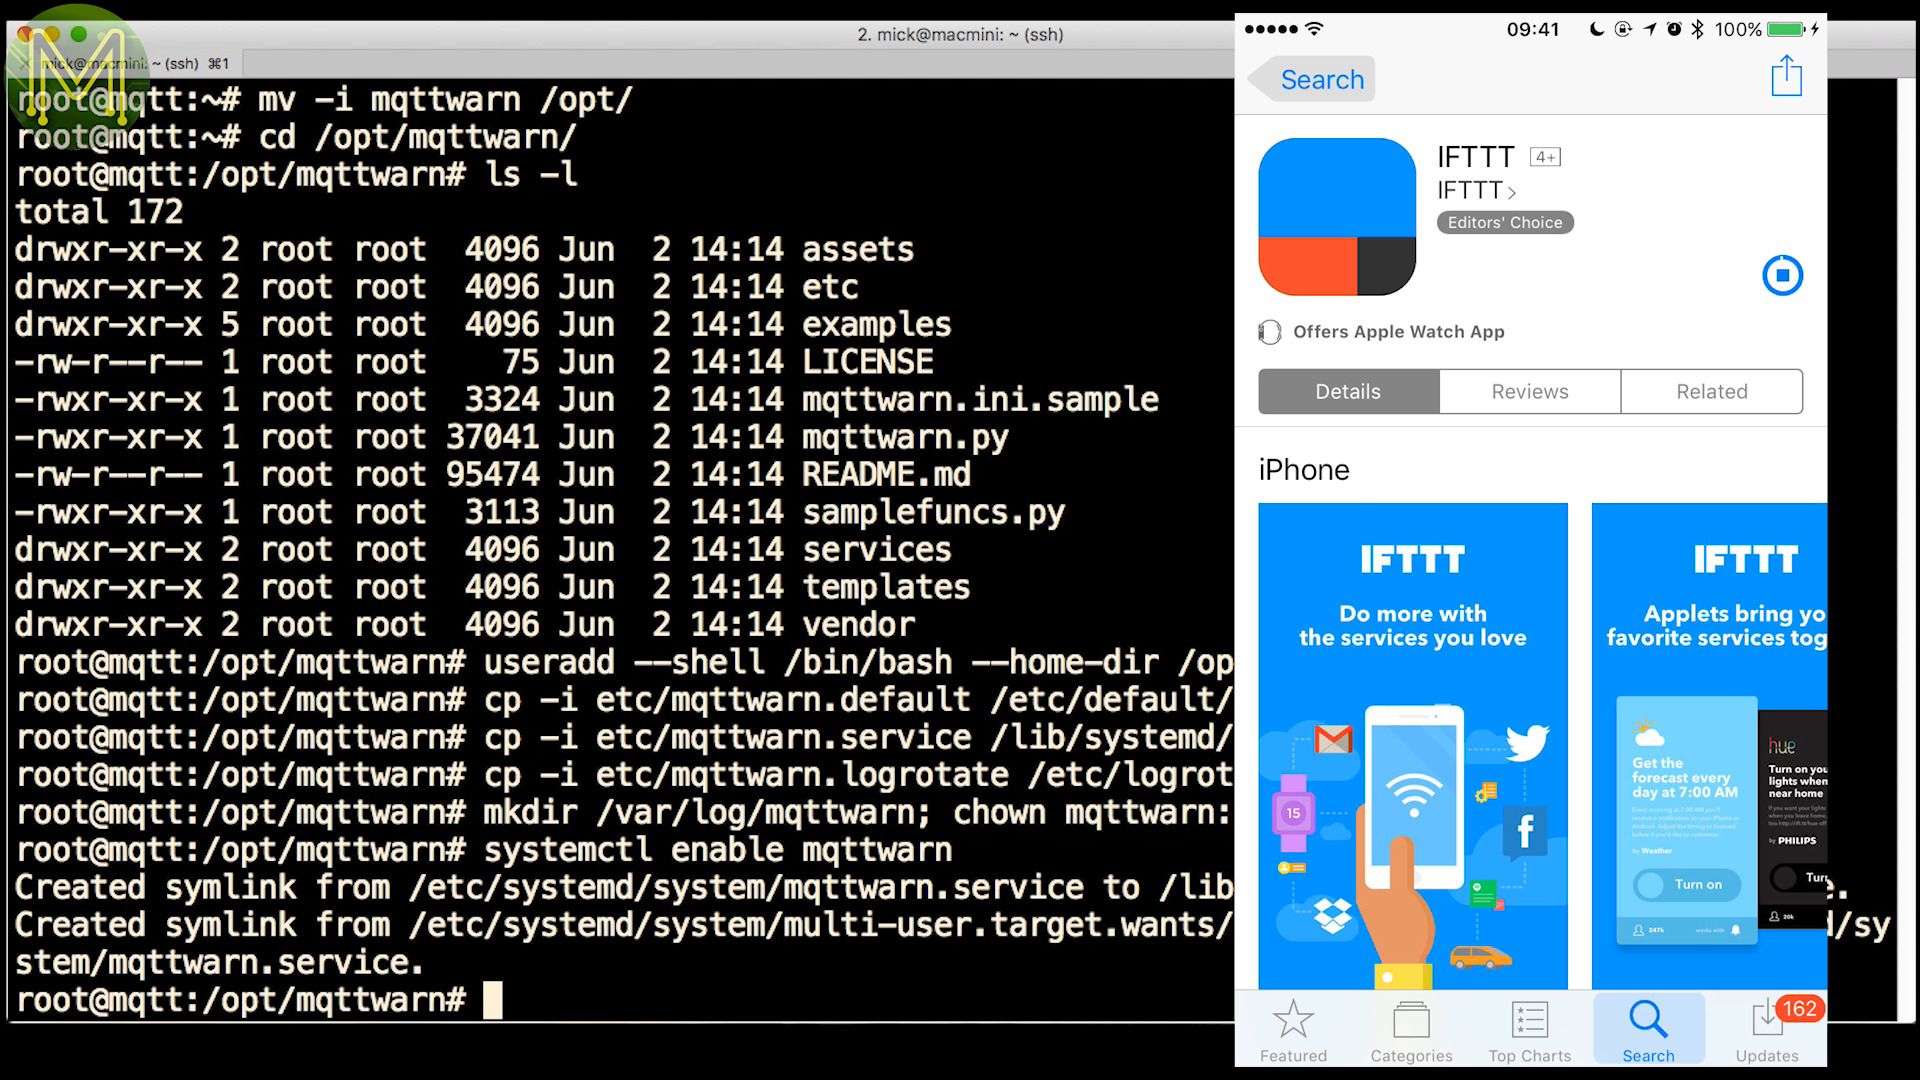


mkdir -p /etc/mqttwarn
vi /etc/mqttwarn/mqttwarn.ini
There are several key elements to the ini file.
[defaults]
hostname     = 'mqtt.homenet'
port         = 1883
username     = mqttwarn
password     = mqttwarn
clientid     = 'mqttwarn'
lwt          = 'Home/MQTTwarn/State'
skipretained = False
cleansession = False

; MQTTv31 = 3 | MQTTv311 = 4
protocol     = 4

; logging
logformat = '%(asctime)-15s %(levelname)-5s [%(module)s] %(message)s'
logfile   = '/var/log/mqttwarn/mqttwarn.log'

; one of: CRITICAL, DEBUG, ERROR, INFO, WARN
loglevel  = DEBUG

; name the service providers you will be using.
launch    = file, log, ifttt

[config:file]
append_newline = True
targets = {
    'mylog'     : ['/tmp/mqtt.log']
    }

[config:log]
targets = {
    'info'   : [ 'info' ]
  }

[config:ifttt]
targets = {
    'notify'   : [ 'dT2dZsuX_QeBZL-FSO040L', 'LetterBox' ]
  }

[Home/#]
targets = file:mylog, log:info

[Home/LetterBox/Delivery]
targets = ifttt:notify
The hostname of your MQTT server and the port number that the MQTT service is listening on.
hostname     = 'mqtt.homenet'
port         = 1883
The username and password of the MQTT user. Check out my MQTT installation video on how to do this.
username     = mqttwarn
password     = mqttwarn
Or if you’re in a hurry you can type this at the shell prompt.
mosquitto_passwd /etc/mosquitto/passwd mqttwarn
The clientid is used by the MQTT Broker to name clients.
clientid = 'mqttwarn'
The ‘lwt’ option will Publish a Topic message to the MQTT Broker when mqttwarn stops and starts.
lwt = 'Home/MQTTwarn/State'
We don’t need to worry about skipretained and cleansession for the moment.
skipretained = False
cleansession = False
Make sure you set your protocol to version 4 for new installs otherwise you’ll see authorized errors in the log file
protocol = 4
Where the location and message format can be configured here.
logformat = '%(asctime)-15s %(levelname)-5s [%(module)s] %(message)s'
logfile   = '/var/log/mqttwarn/mqttwarn.log'

loglevel  = DEBUG
You can also create functions that will translate MQTT data formats to service formats, but I’m not using this, so it’s commented out.
#functions = 'samplefuncs'
Next I load up three service providers: file, log and IFTTT.
launch = file, log, ifttt
These are referenced by these three sections. The file service will simply log data to a file.
[config:file]
append_newline = True
targets = {
    'mylog'     : ['/tmp/mqtt.log']
    }
The log service will send messages to syslog,
[config:log]
targets = {
    'info'   : [ 'info' ]
  }
and the IFTTT service is the one we’re interested in. Remember the key that I said to record? You’ll need to enter it here, and also the Event name from the WebHooks service from IFTTT.
[config:ifttt]
targets = {
    'notify'   : [ 'dT2dZsuX_QeBZL-FSO040L', 'LetterBox' ]
  }
Next you’ll need to tell mqttwarn what services are subscribed to what topics. You can see that all Topics starting from Home will be sent to syslog and a local file,
[Home/#]
targets = file:mylog, log:info
and only Topics from Home/LetterBox/Delivery will be sent to IFTTT.
[Home/LetterBox/Delivery]
targets = ifttt:notify
Now, just restart the mqttwarn service and you’re done. That’s it! Pretty easy.
systemctl restart mqttwarn
So, does it work? Using a fake publish message from the MQTT server. Yup. Works OK.
It would also be nice to send a notification when some checks the mail. Add in another target in the IFTTT section. Remember the event name for the IFTTT applet. Then create a new subscription on the Check Topic.
[config:ifttt]
targets = {
    'notify'   : [ 'dT2dZsuX_QeBZL-FSO040L', 'LetterBox' ],
    'check'   : [ 'dT2dZsuX_QeBZL-FSO040L', 'LetterBoxCheck' ]
  }

[Home/#]
targets = file:mylog, log:info

[Home/LetterBox/Delivery]
targets = ifttt:notify

[Home/LetterBox/Check]
targets = ifttt:check
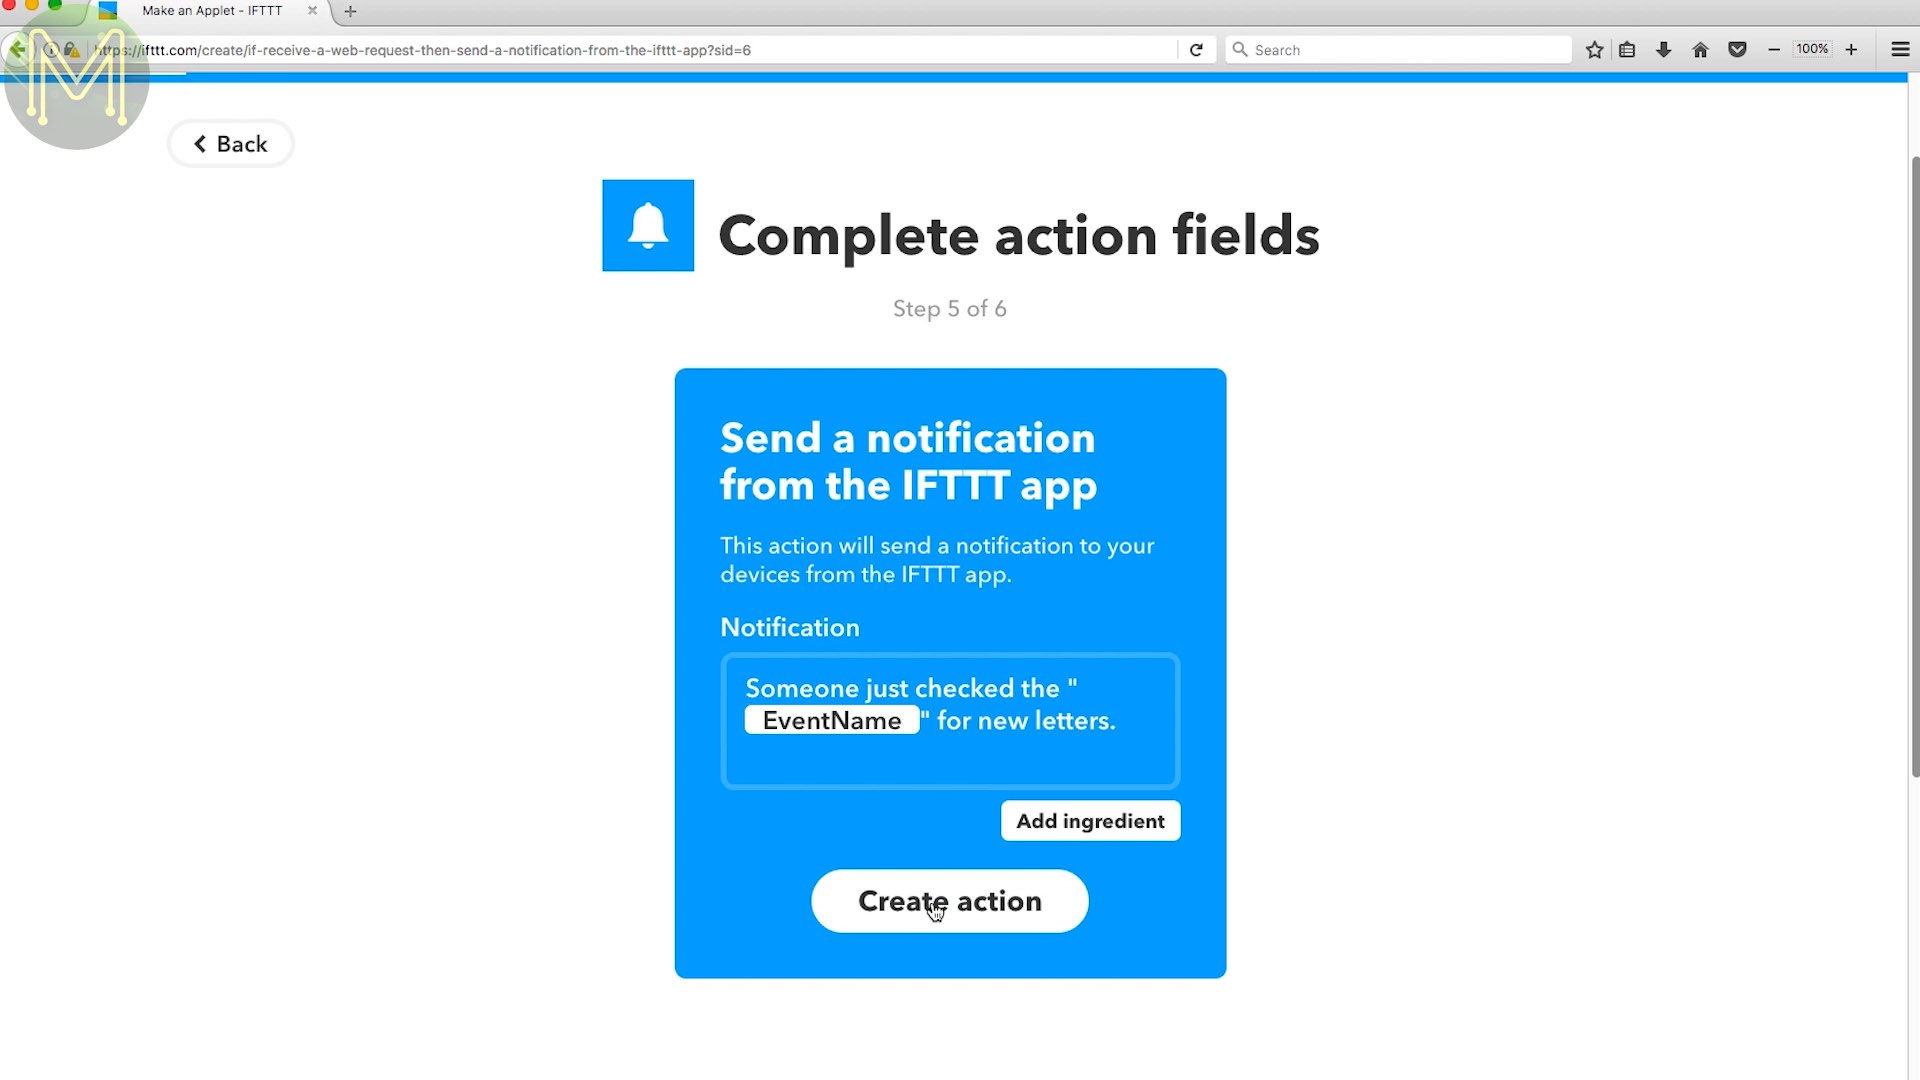
Then moving back to the IFTTT website we need to create a new applet based on the WebHook service, this time use the event name you used in the mqttwarn file, and set the notification message to something appropriate and click Finish.
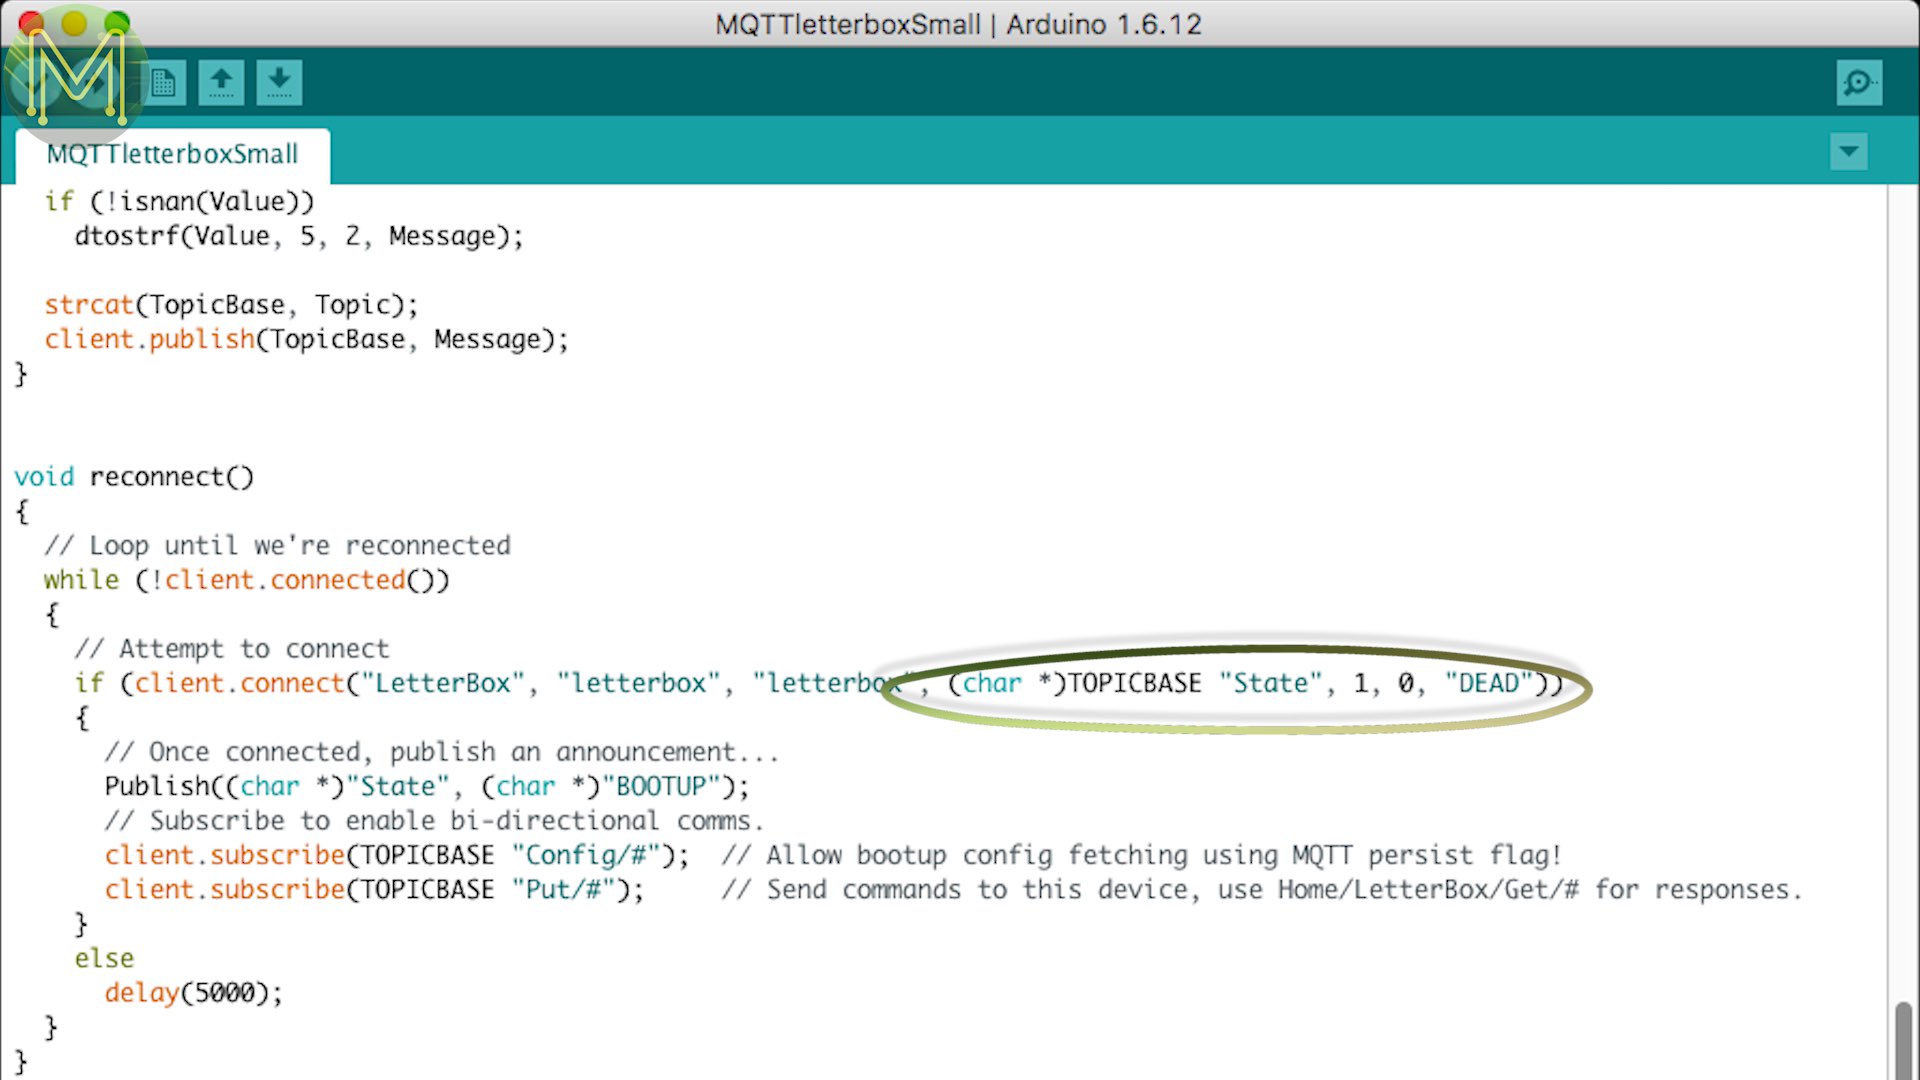
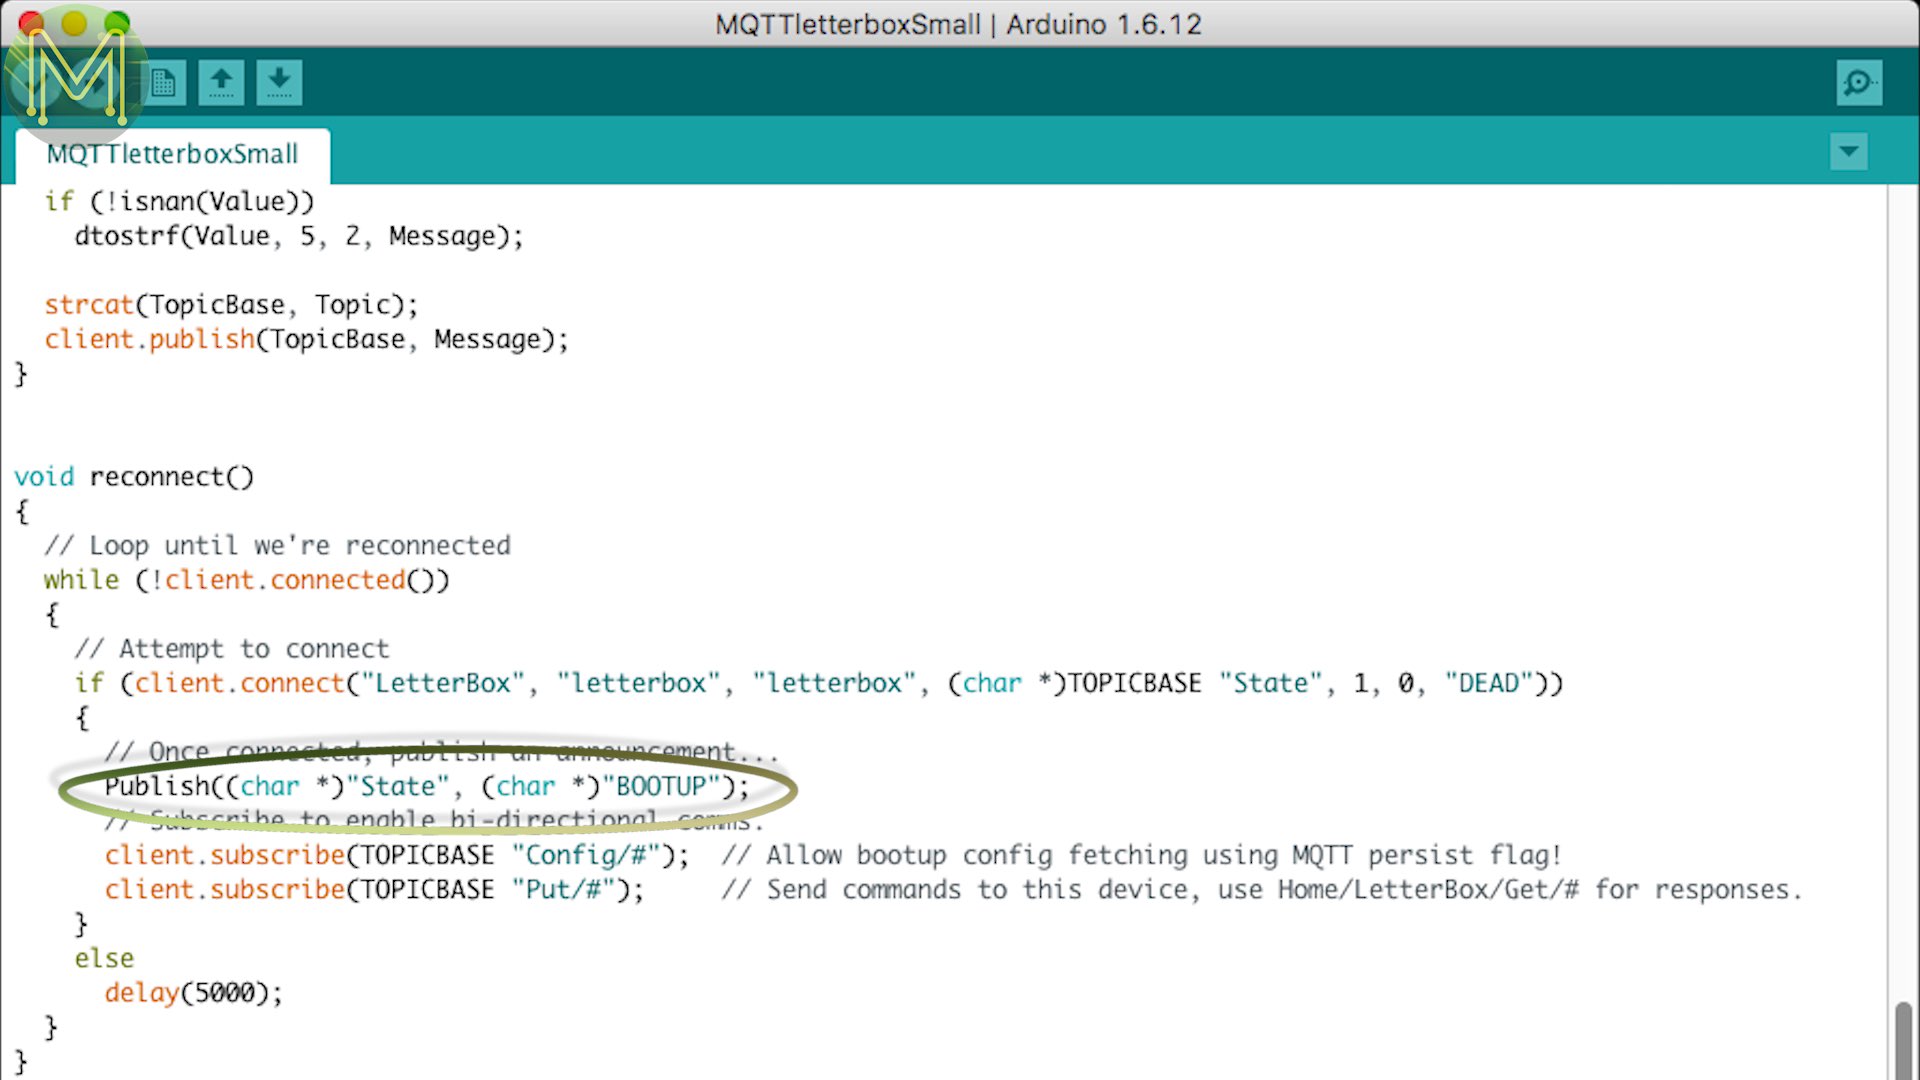
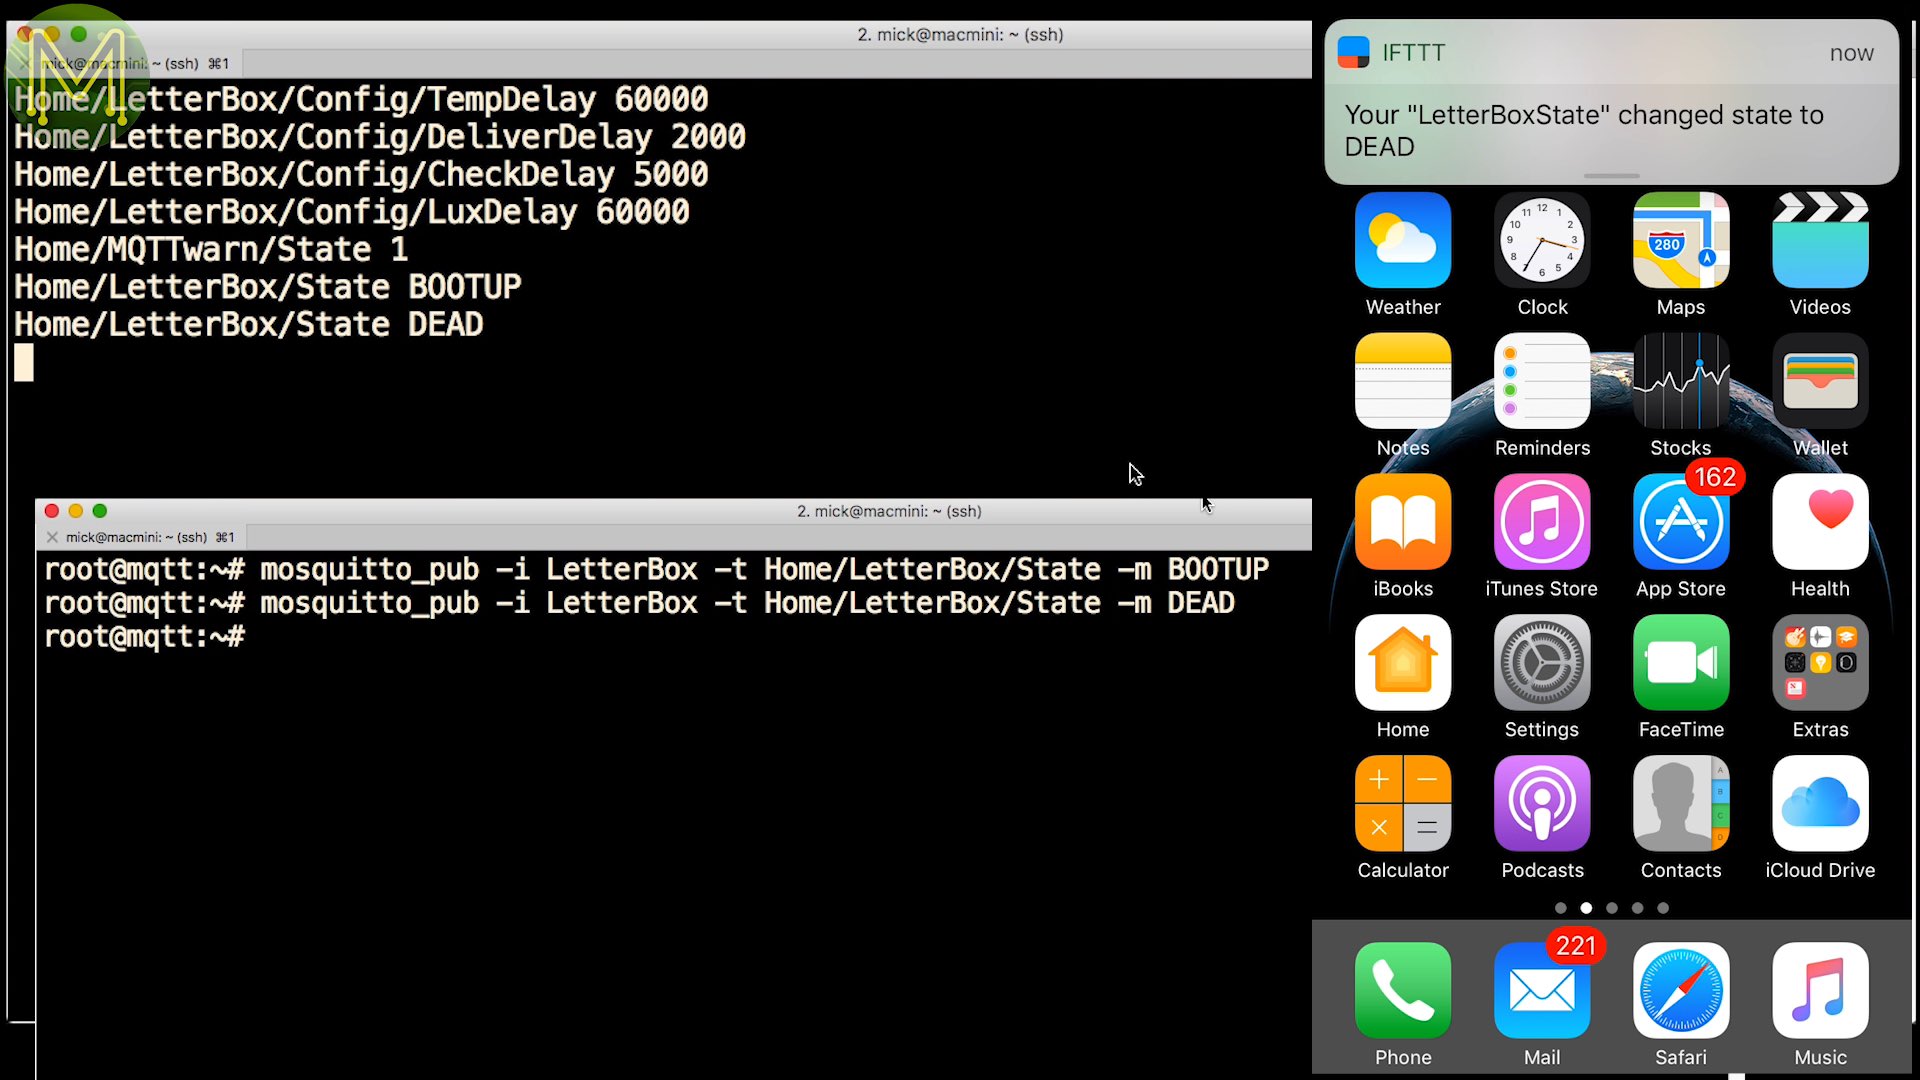
Testing it out with some dummy messages. Yup, works OK.The MQTT Broker will automatically publish a message to the Home/LetterBox/State topic when the letterbox dies because the letterbox has declared a last will.Also, when the ESP8266 boots up another message will be published.So, it’d be nice to have alerts sent for the current state of the letterbox. Adding this in is fairly trivial as well. Add the subscribe section and target in to the mqttwarn ini file and go through a similar process on the IFTTT website.

[config:ifttt]
targets = {
    'notify'   : [ 'dT2dZsuX_QeBZL-FSO040L', 'LetterBox' ],
    'check'   : [ 'dT2dZsuX_QeBZL-FSO040L', 'LetterBoxCheck' ],
    'state'   : [ 'dT2dZsuX_QeBZL-FSO040L', 'LetterBoxState' ]
  }

[Home/#]
targets = file:mylog, log:info

[Home/LetterBox/Delivery]
targets = ifttt:notify

[Home/LetterBox/Check]
targets = ifttt:check

[Home/LetterBox/State]
targets = ifttt:state
Yup, works well.
Solar Panel In the previous video I used a small solar panel, but I found it really hard to find a cheap way of securing it to the letterbox.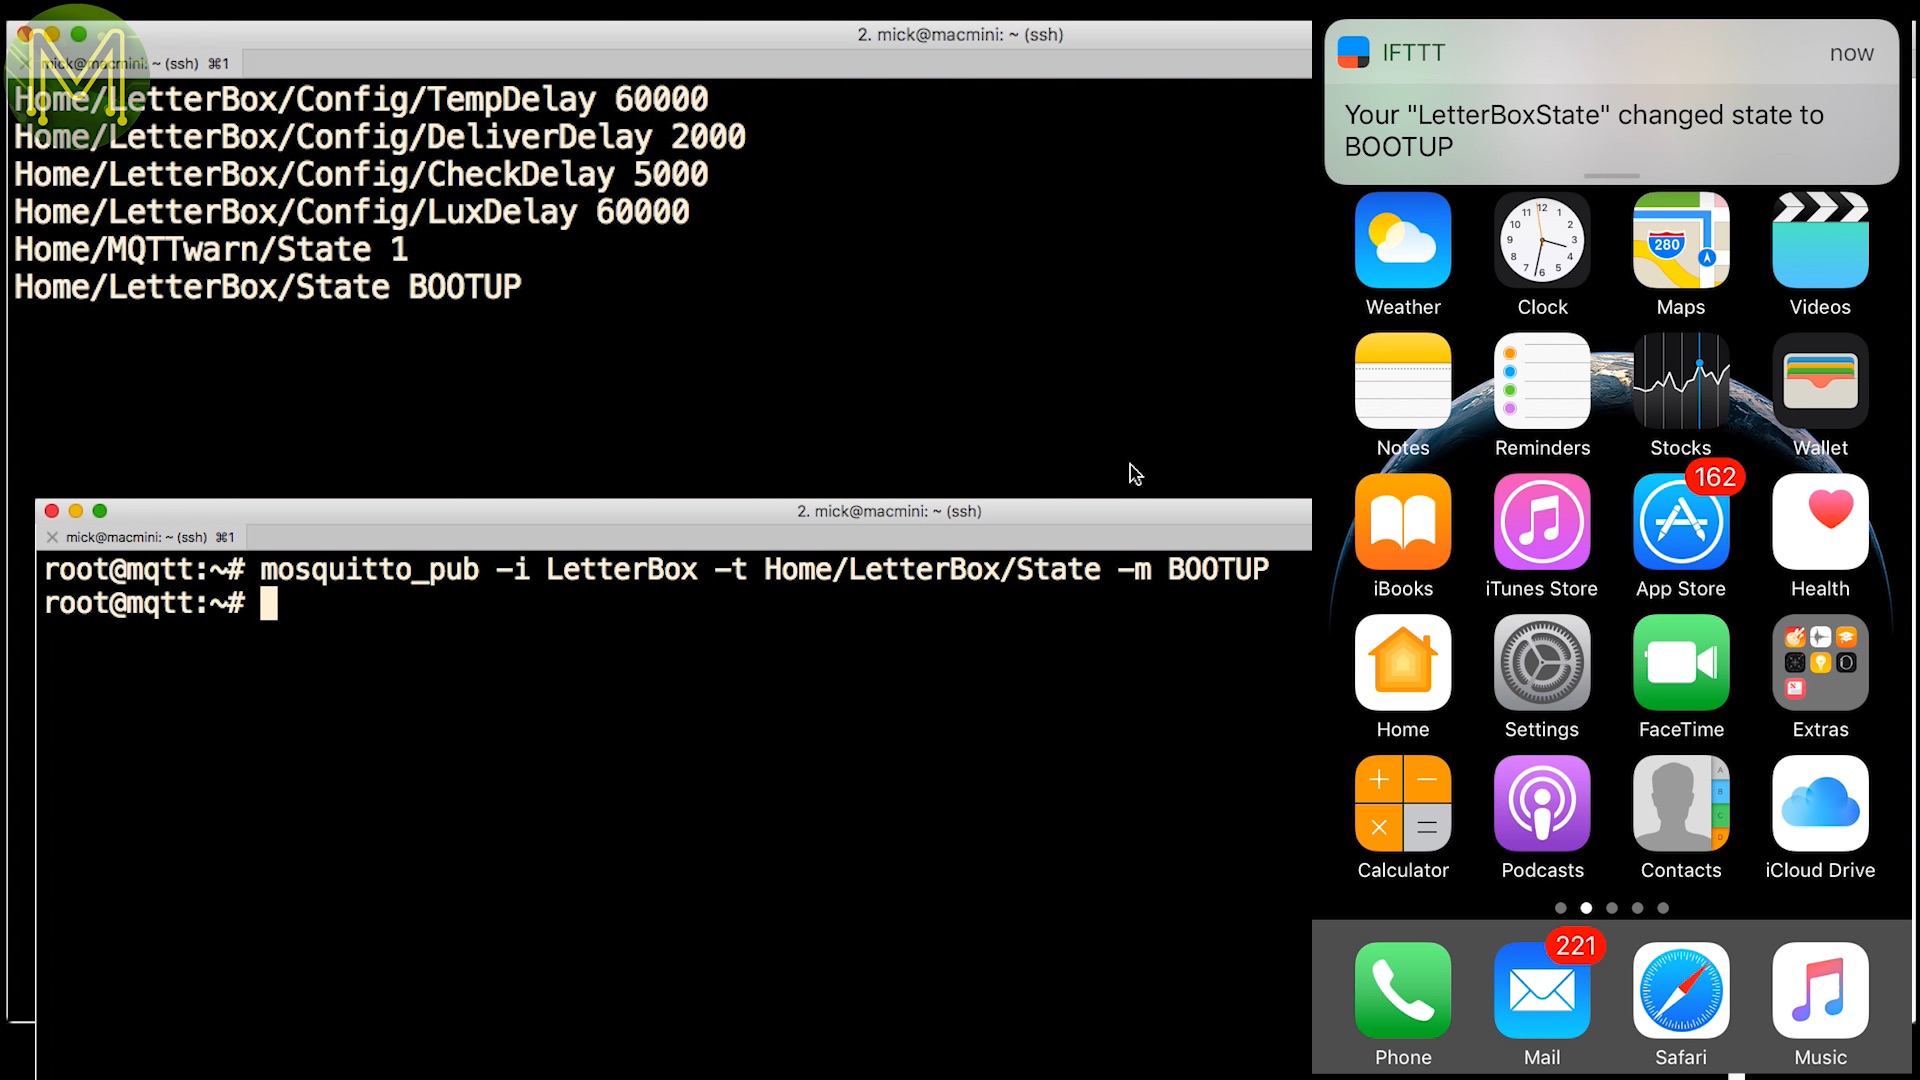
So I picked up this one from Jaycar. It had everything reliably water-proofed. You could probably pick one up cheaper, but make sure it’s a 6V version as the DFrobot charger can’t handle anything over that.
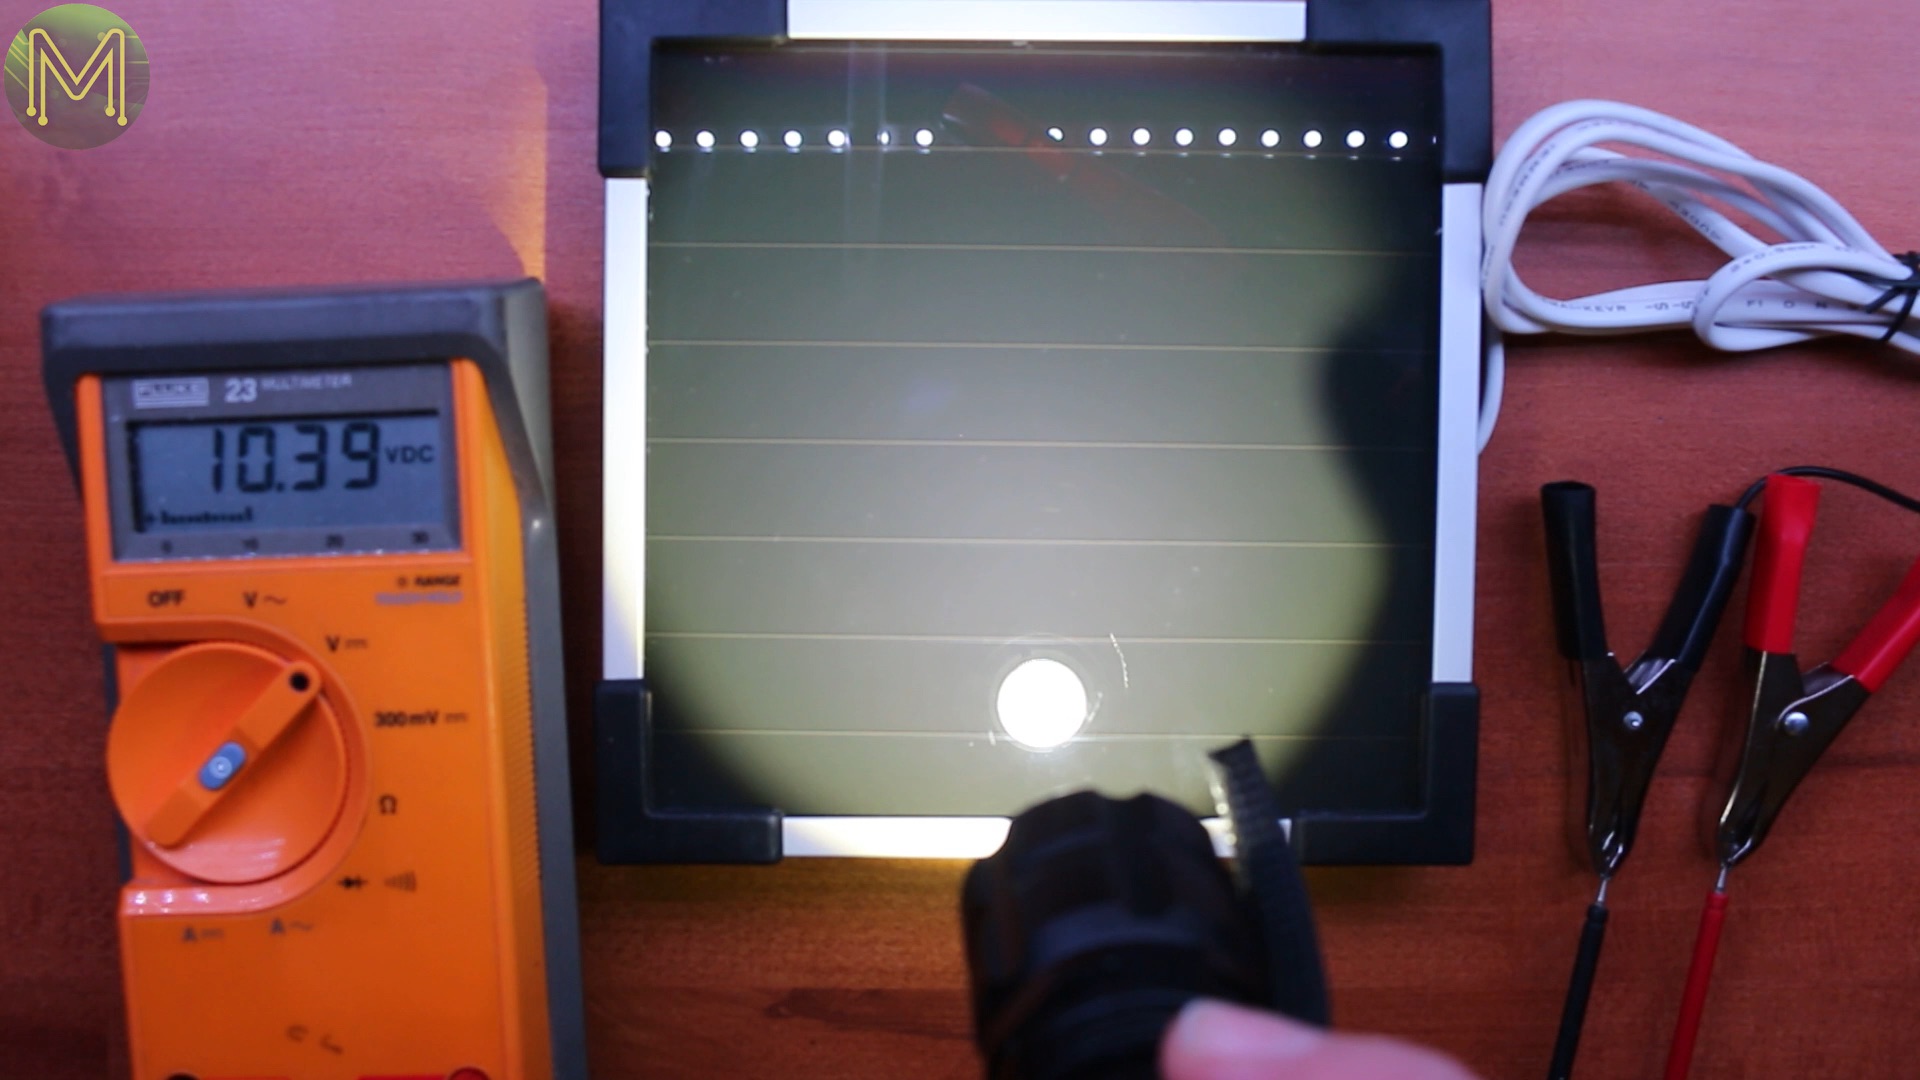
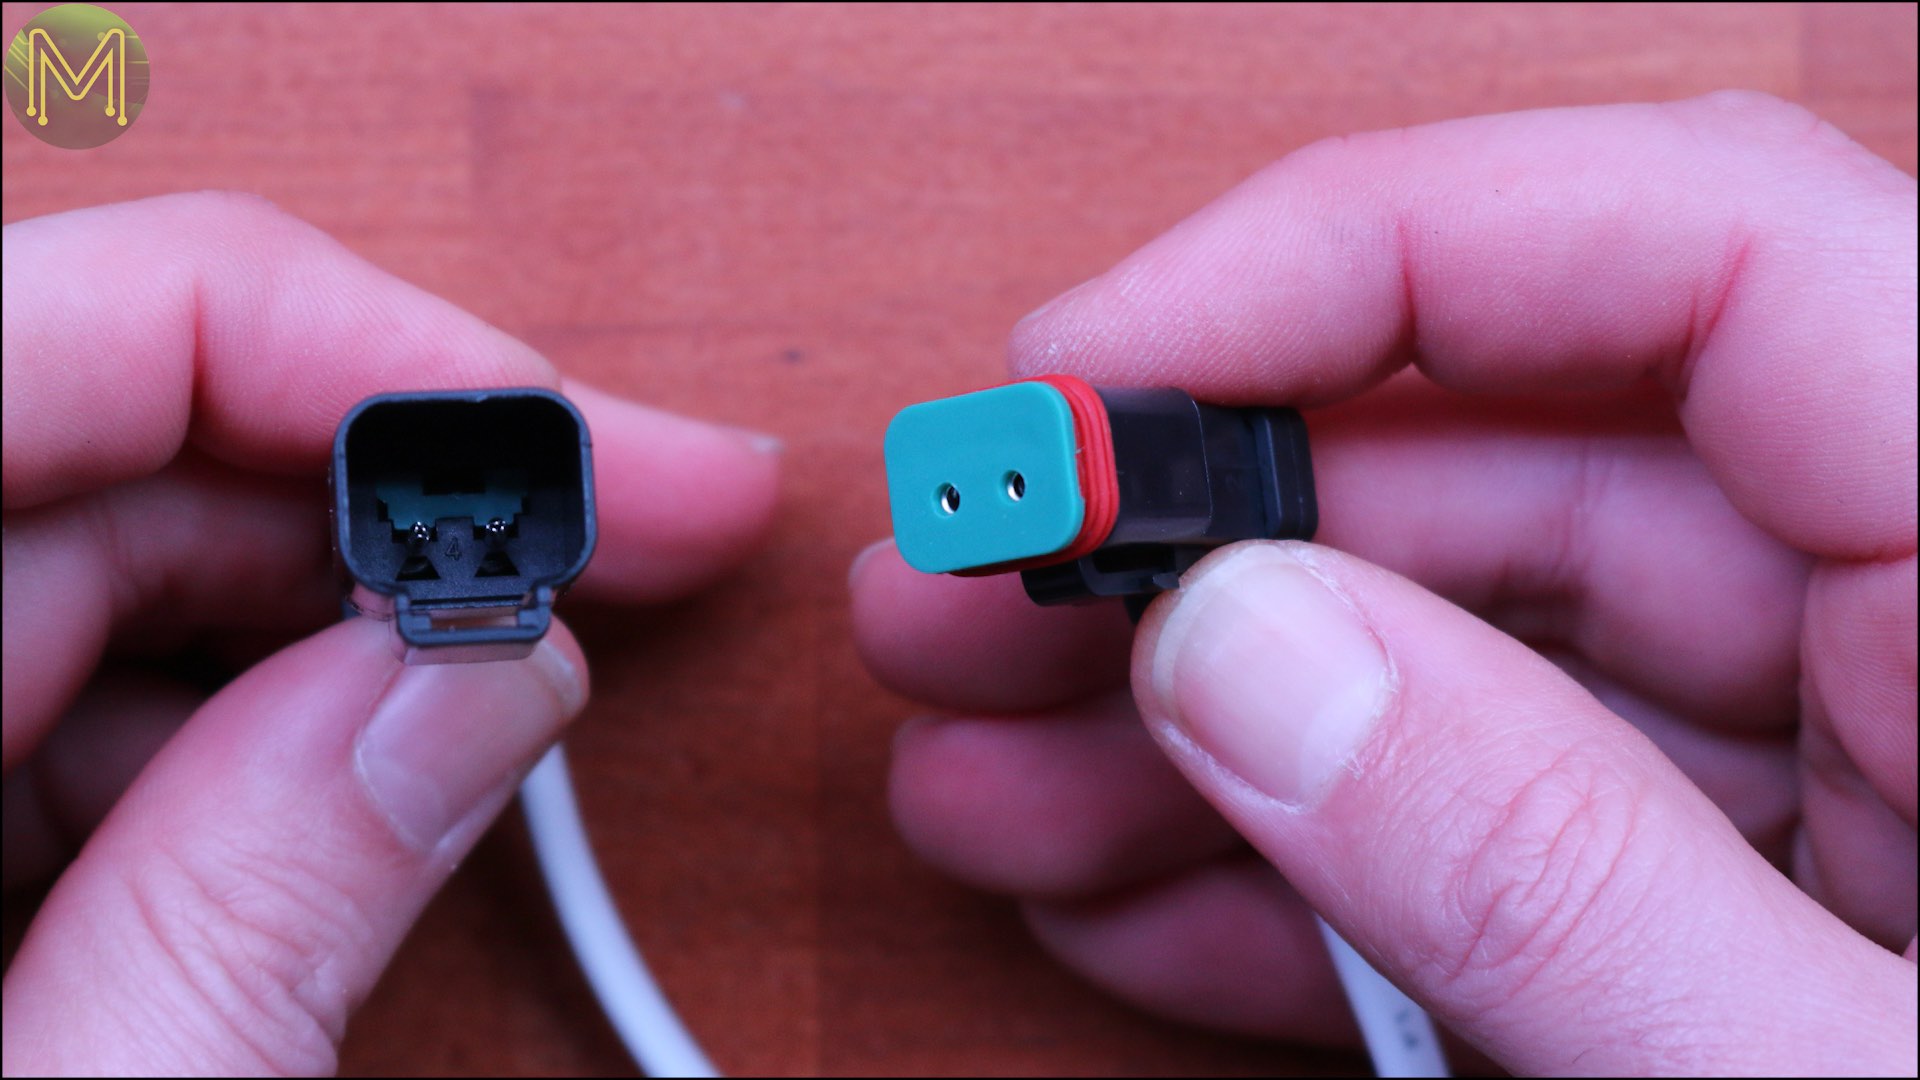
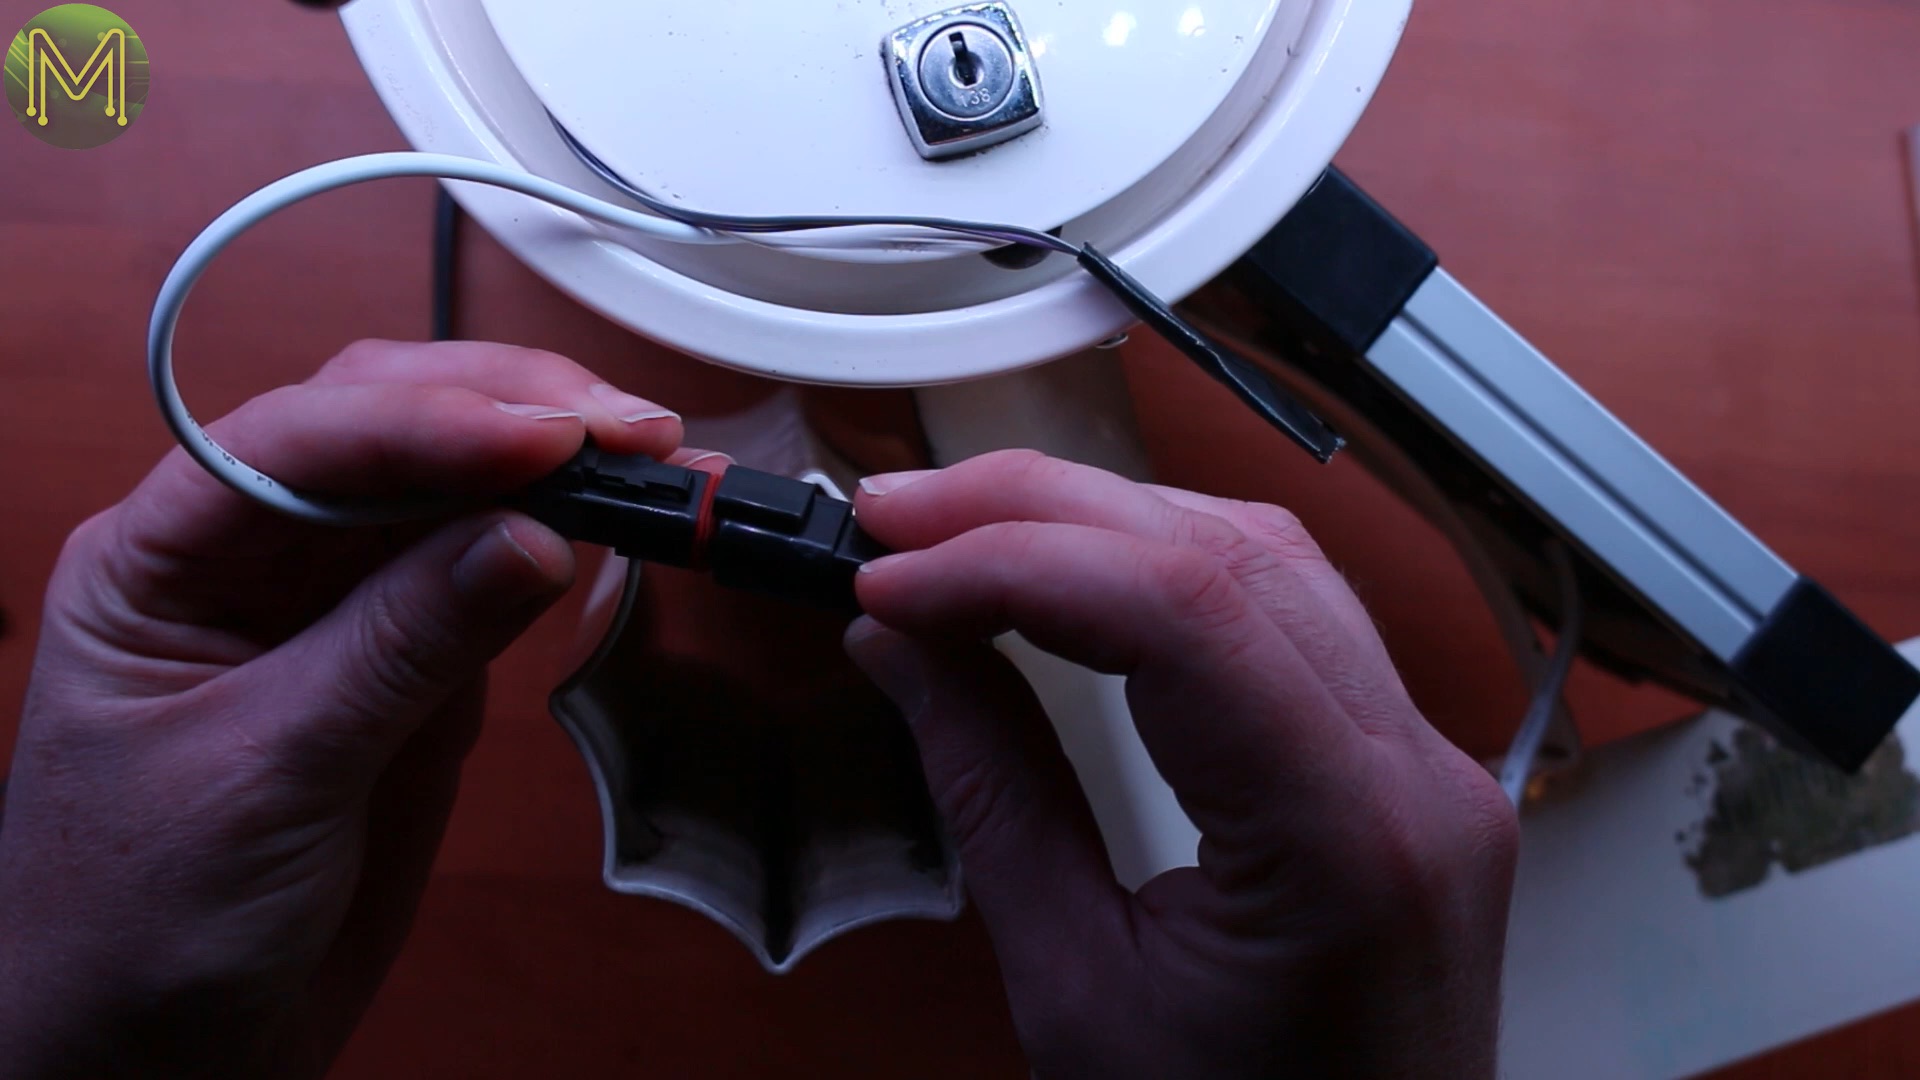
Under my studio lights it was generating an open-circuit voltage of around 9v, whilst the loaded voltage dropped down to around 2.6v. Nice. Note the open-circuit voltage of this panel can hit around 10v, so you have to be careful when connecting up.So, I’ll need to add a weatherproof connector so I can change the cell out if I need to. This was a 2way Deutsch connector, which guarantees no water will get in.It’s pretty easy to connect it up. Check my video on how to do this.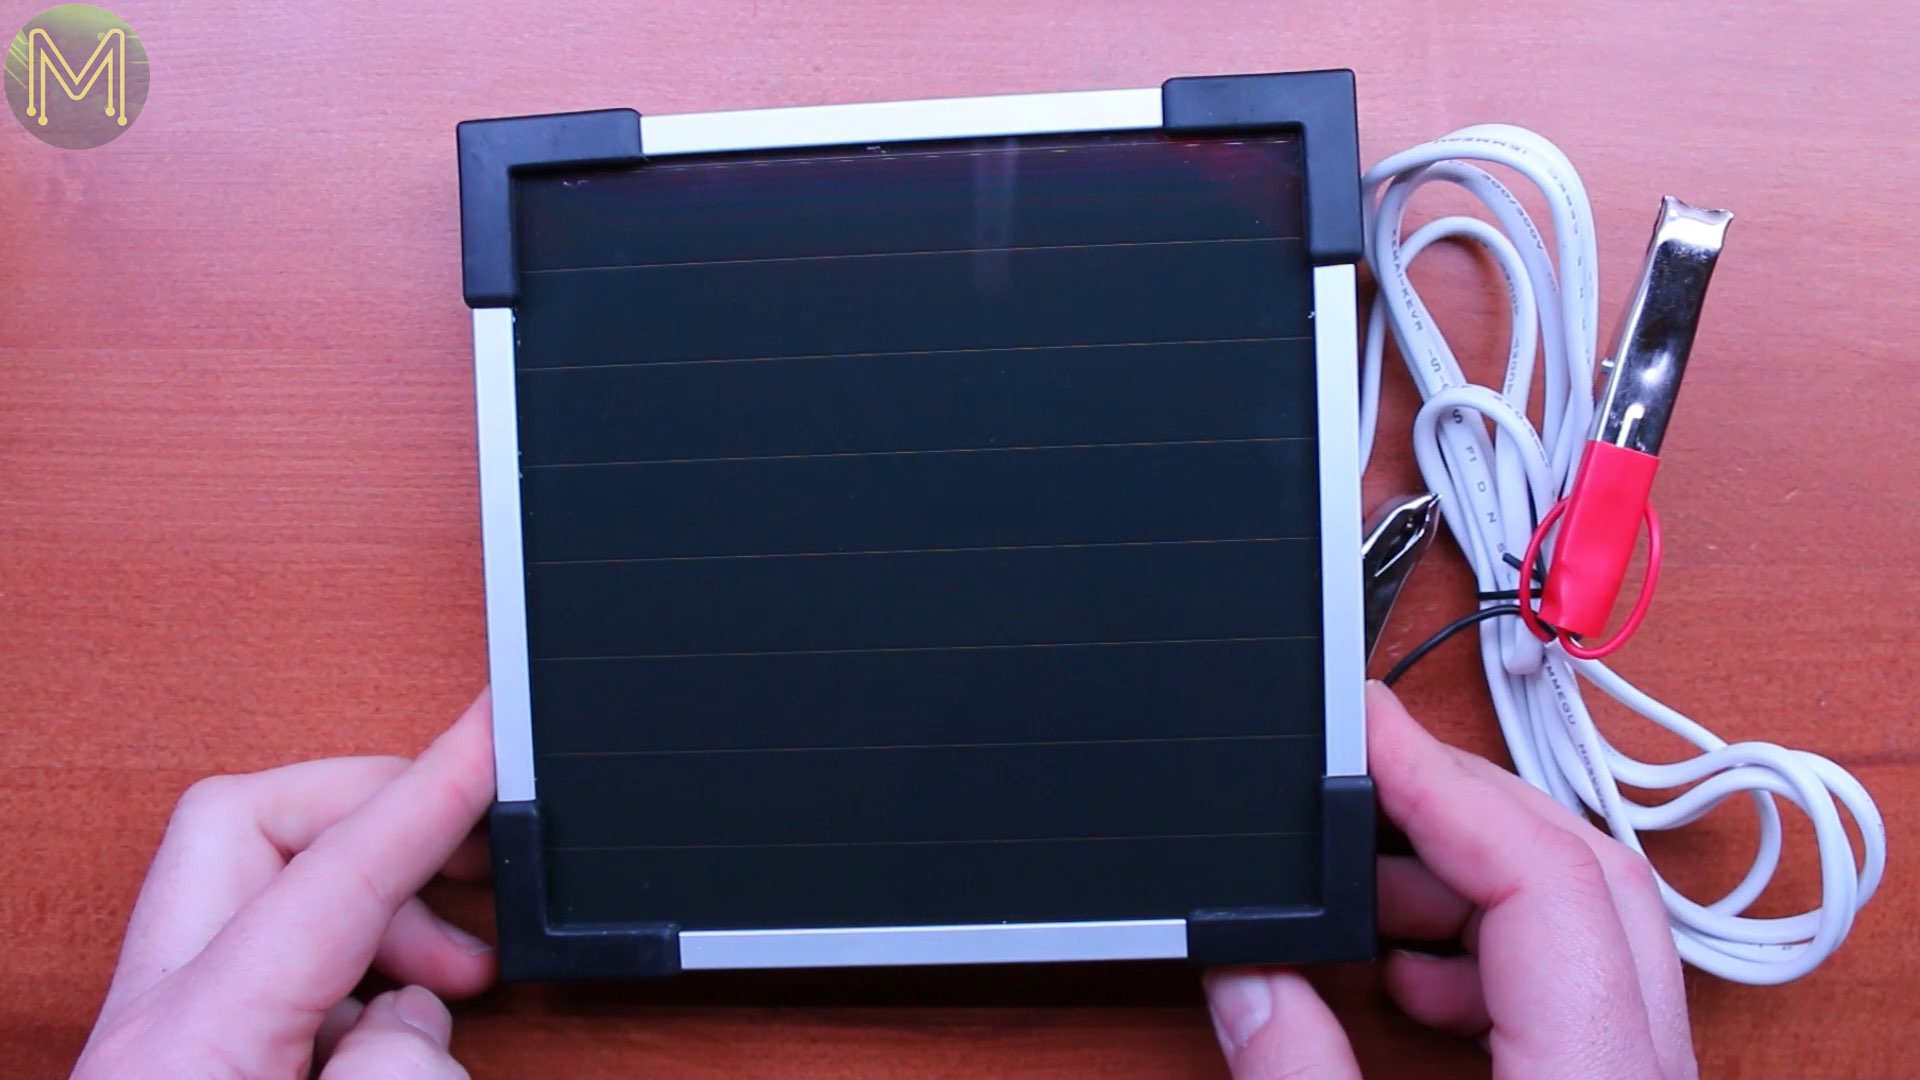
The other end of the cable I trimmed and tinned so I could screw into the DFrobot LiPo solar charger and allow me to remove either the panel or ESP8266 box for maintenance.
Before connecting up make sure you black out the panel, because the open-circuit voltage could potentially damage the LiPo charger. The voltage levels were all in spec and predictable. Chucking a battery on and checking the voltage. Yup everything seems to be working, and the solar cell will charge the LiPo when there’s enough photons hitting it.In a later version of this letterbox, I’ll remove the Lux sensor and just use the LiPo charge indicator to see the current charge rate.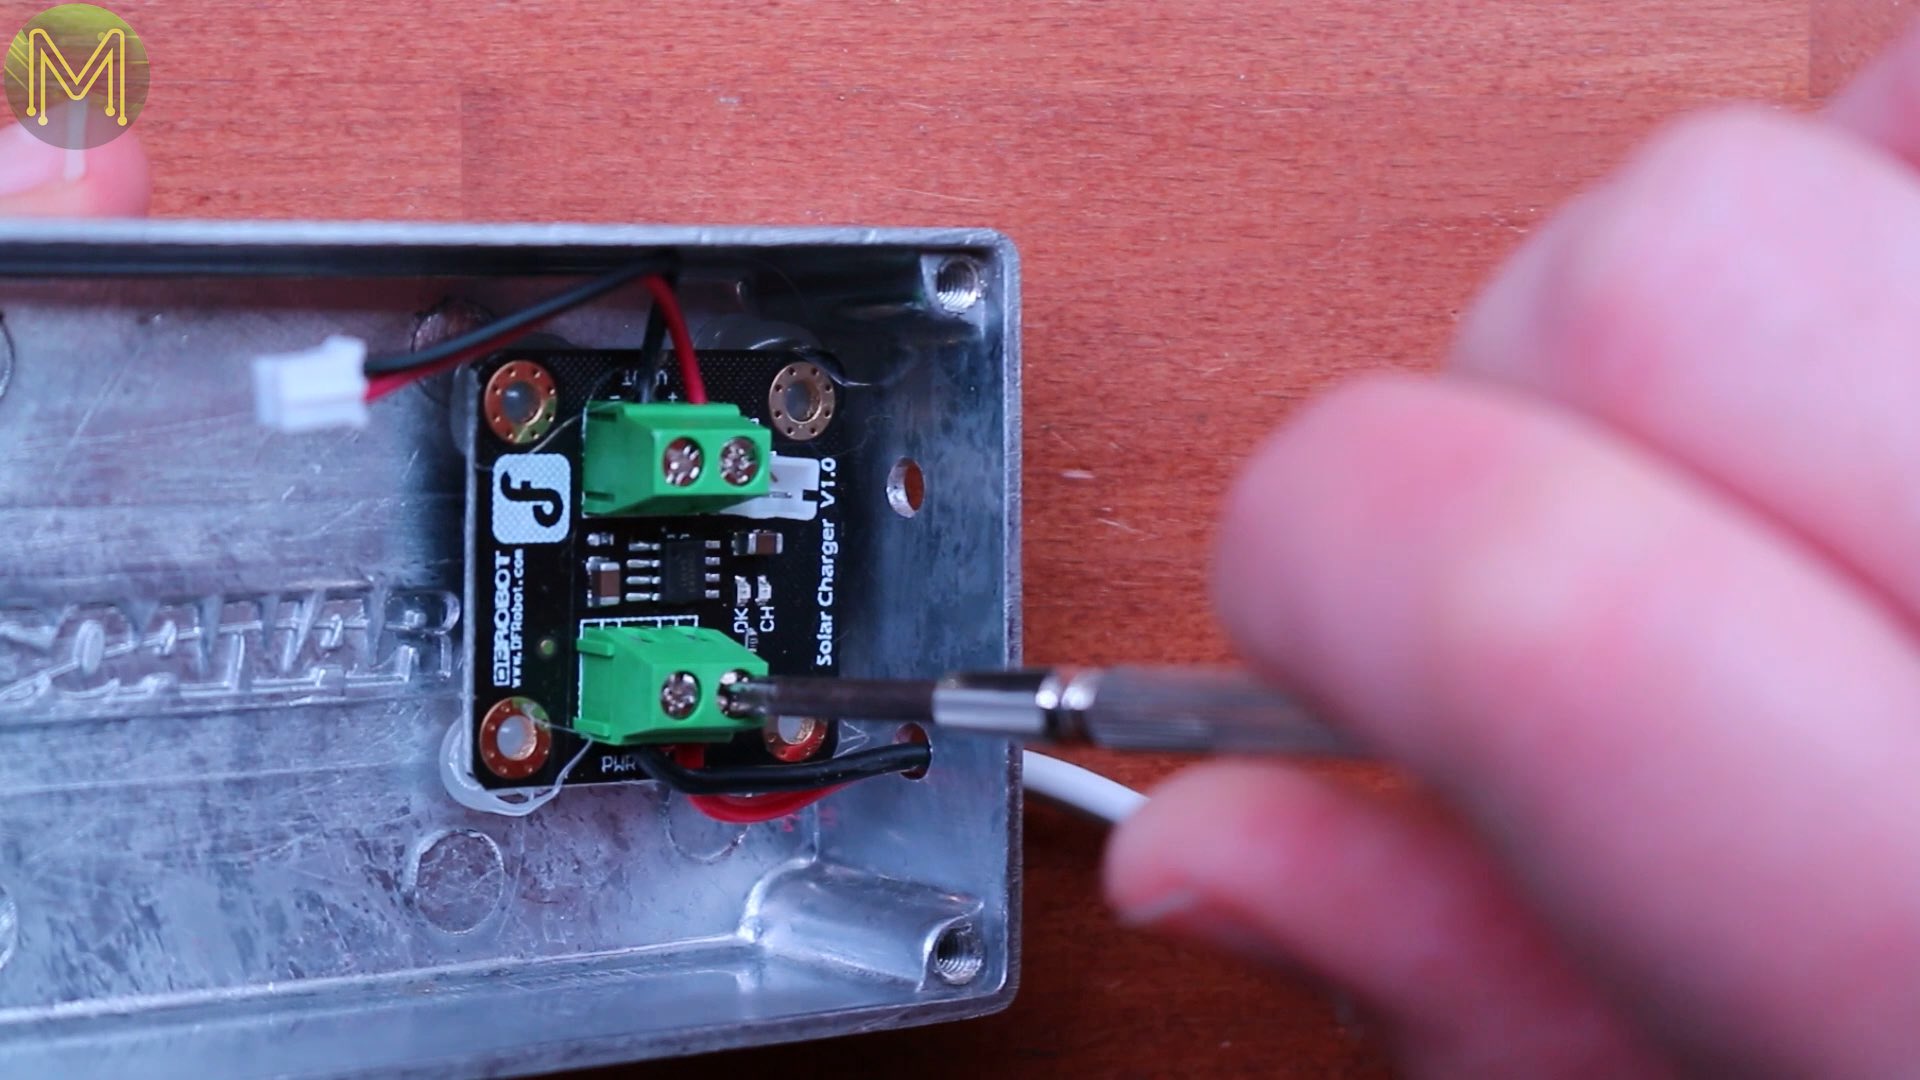

Setup
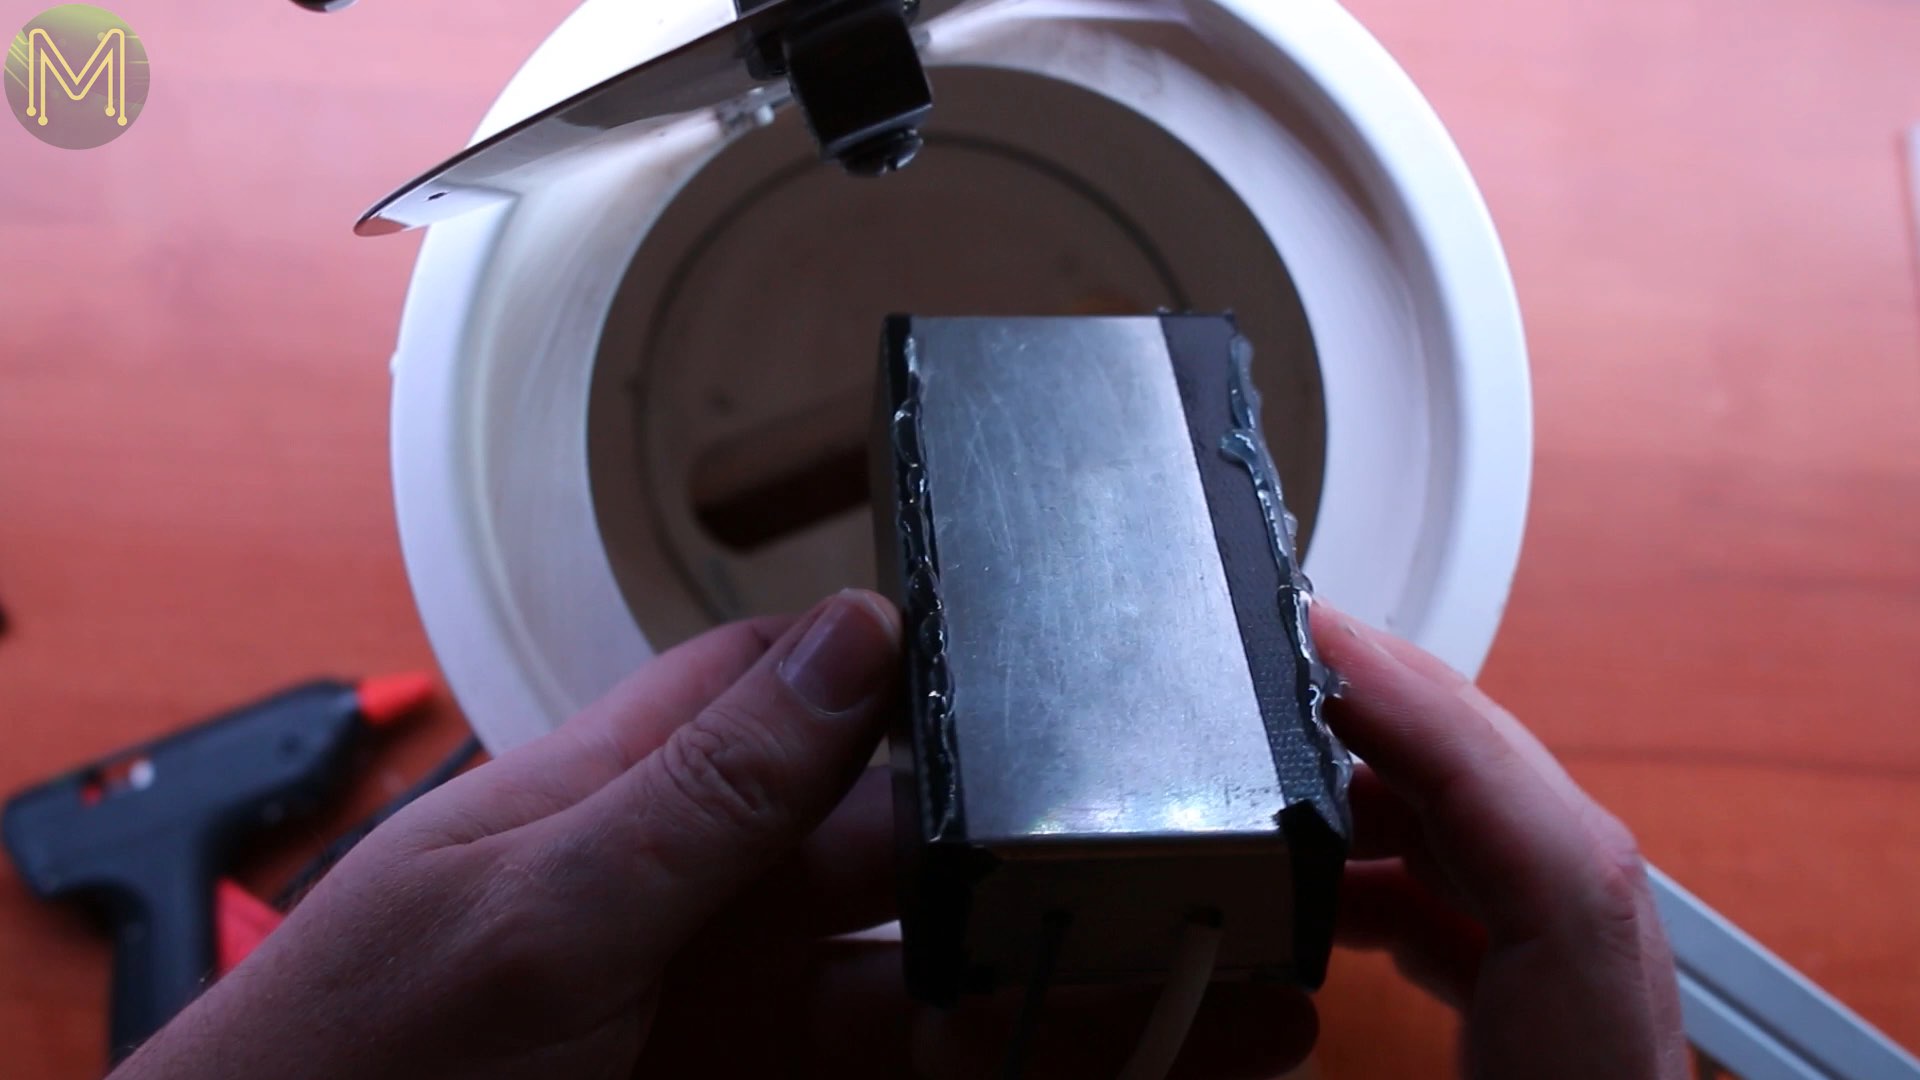
Installing the solar panel was easy. I used hot glue for this as I wanted to be able to take it off easily should I need to, and also didn’t want to drill any mounting holes into the letterbox making it less waterproof. Since it was a cold day, I had to pre-heat both the letterbox and ESP box so that the hot glue would stick better to the metal. Then ran some glue on the edges of the ESP box and held it in place until the glue hardened.
It ended up being fairly secure. I suspect that on a very hot Australian summer it’d melt and fall off, but that’s another 6 months away for me and I have plenty of time to fix it properly.Next, connect up the panel, and mount the rear flap sensor with a bit of gaff tape.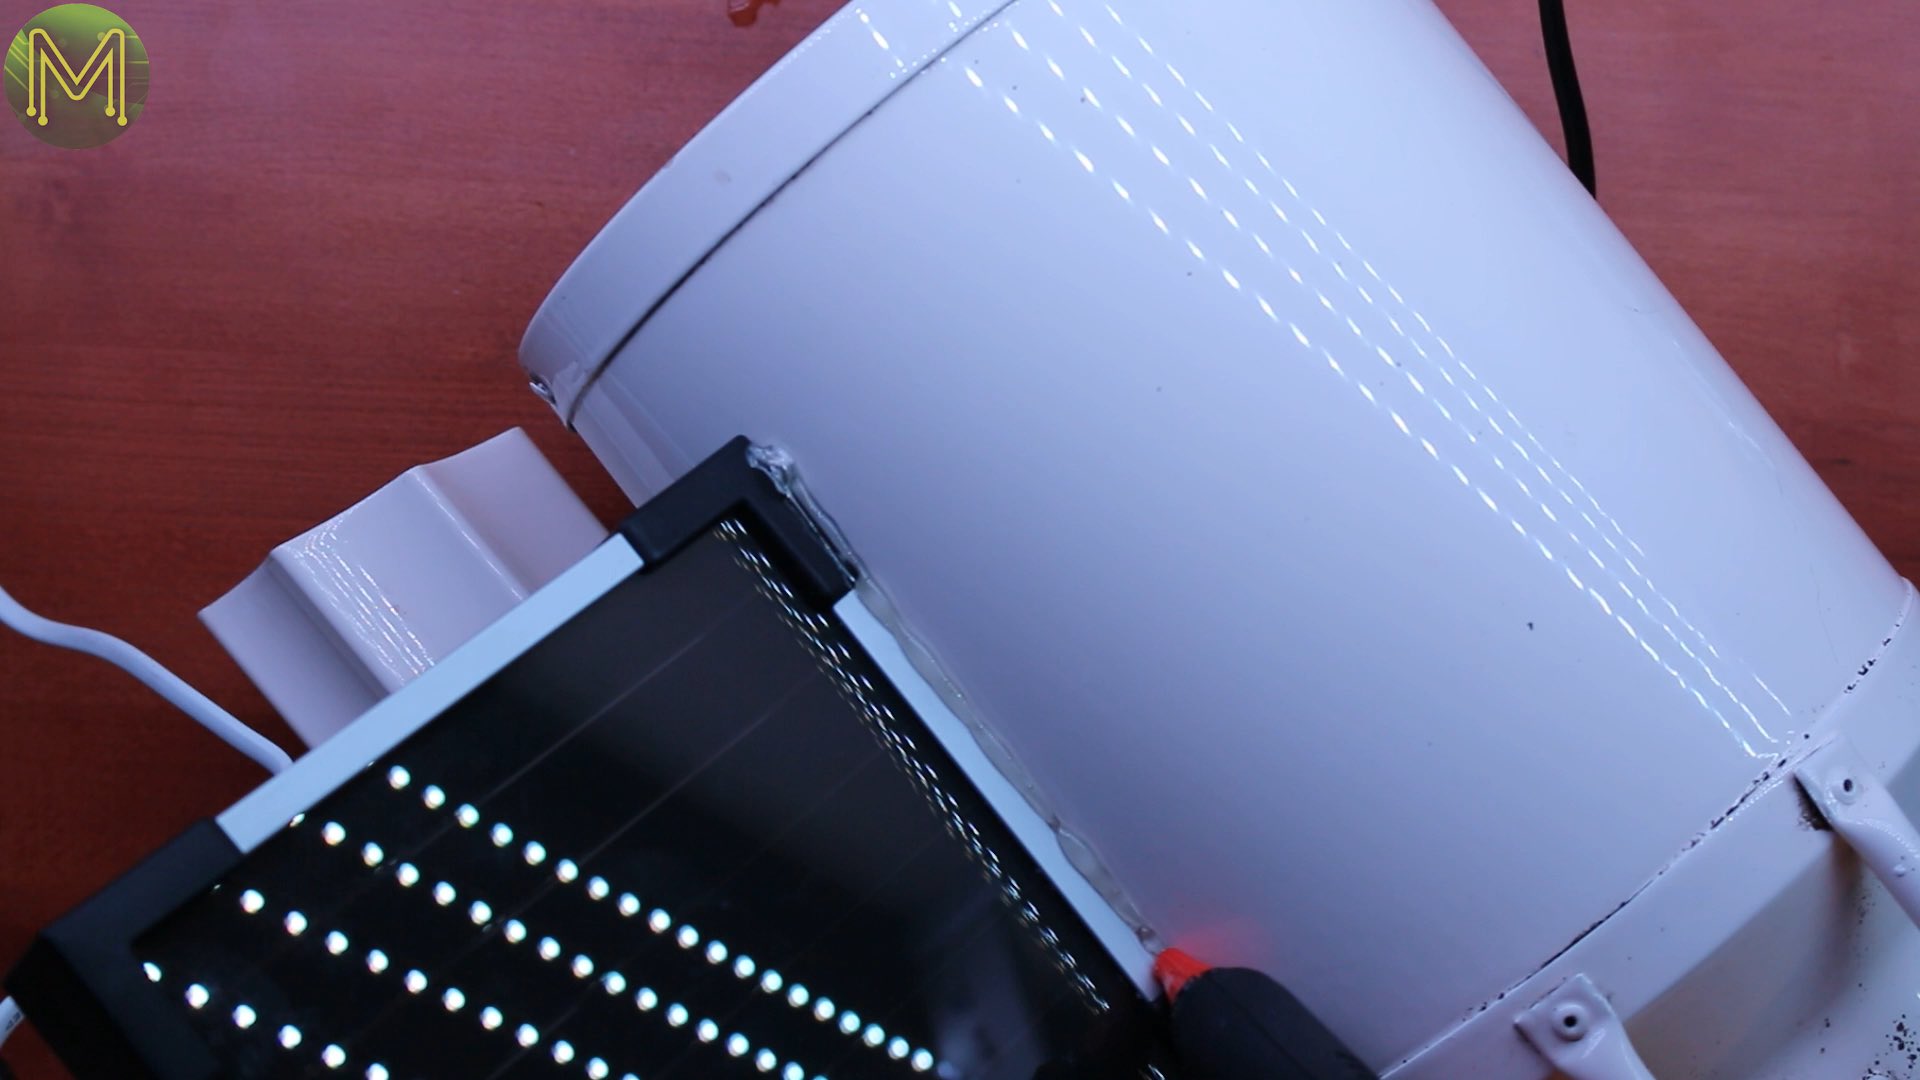

Testing
So that the battery would start out fully charged I left it overnight connected up to my bench power supply limited to 160mA current and 6v. So, how well does it work?
First a mail delivery test. Cool!
And what about checking the rear flap? A bit of a delay, but still pretty good.So, there we have it. A pretty simple setup. I ended up spending more on this than I originally intended, but I think the end result was worth it. Leave a comment below if you made one yourself and any improvements you might have made.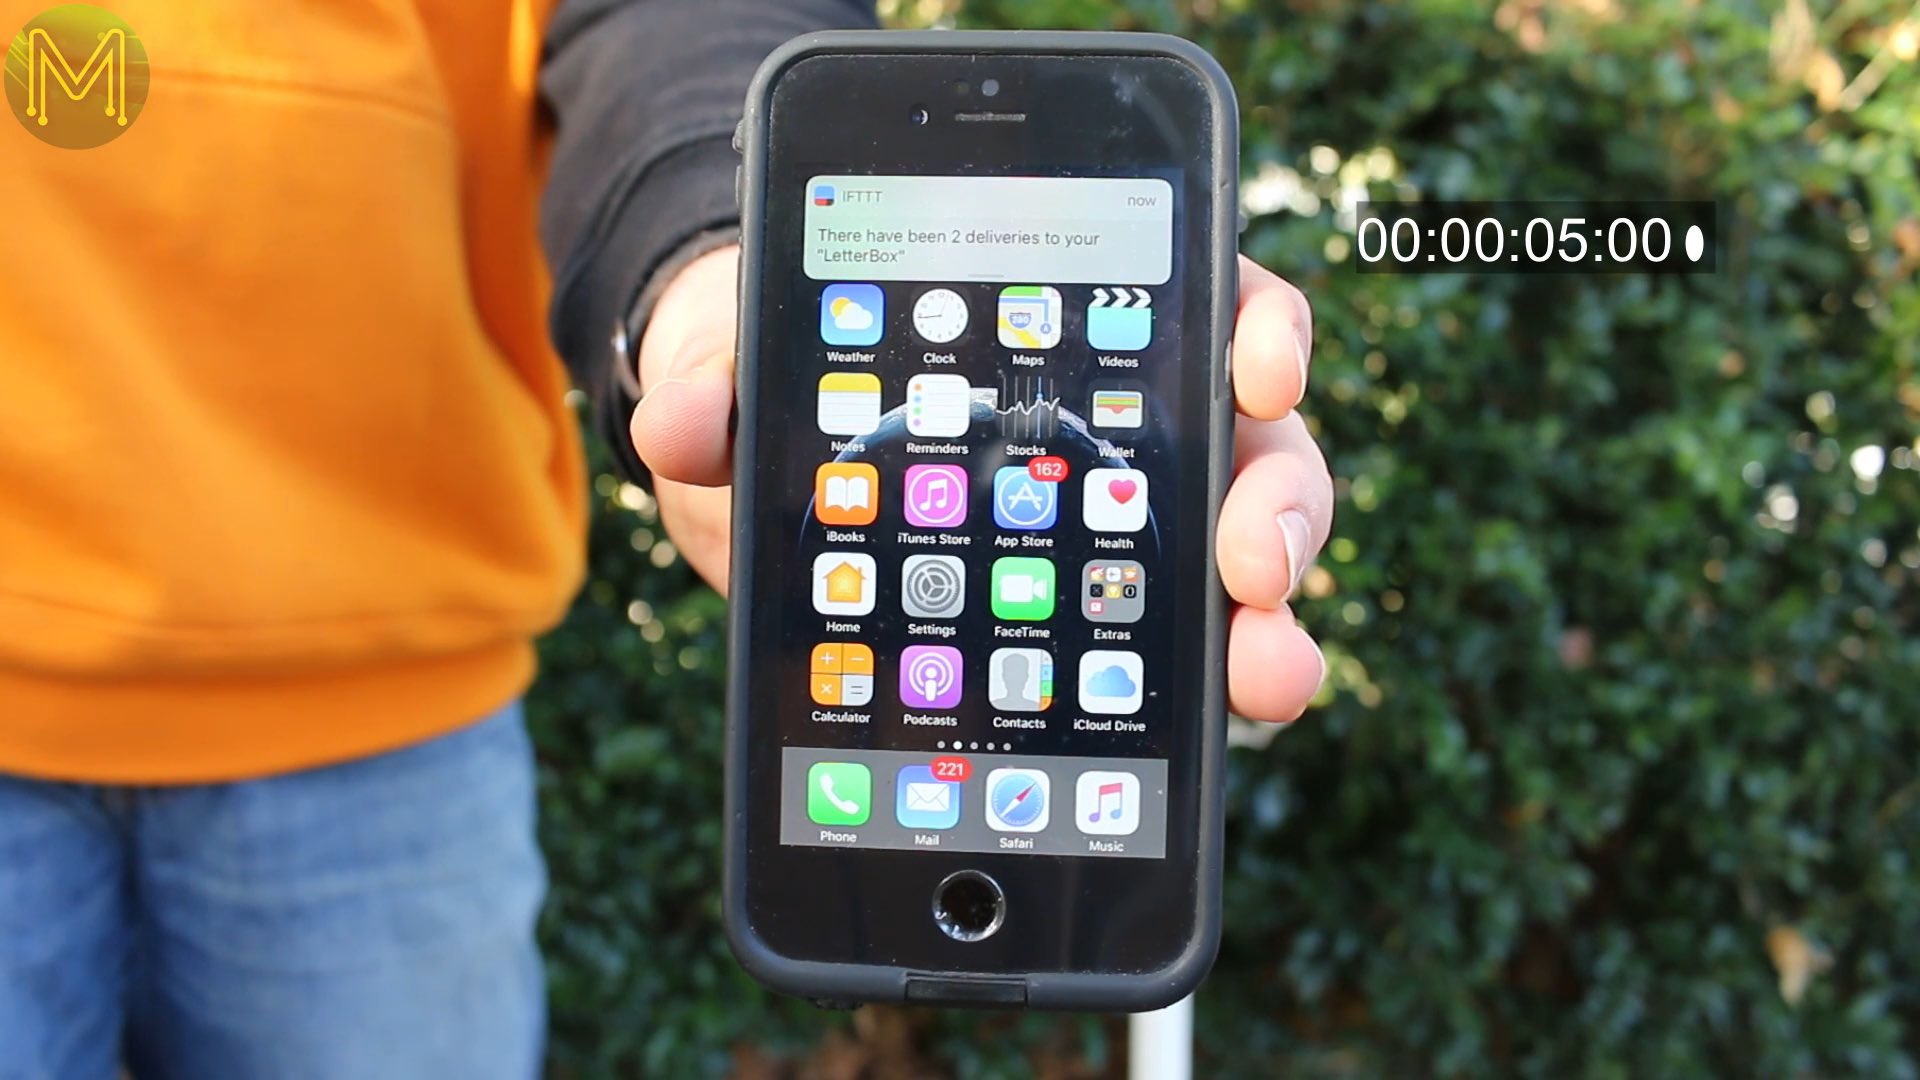

In a followup video I’ll be looking at battery optimization, because there could be some weeks where there’s not enough sun to charge the LiPo and it’d be good to be able to get a full week out of a single charge.
I’ve also created a tutorial of this video on instructables.com and entered it into the IoT competition. So, if you liked this project head on over to instructables.com and vote on my project.