MQTT Mosquitto on a Pi Zero W in under 5 minutes // Tutorial
Setting up the Mosquitto MQTT Broker is pretty easy. In this video I’ll show you how to setup a Broker in under 5 minutes.
Updating Raspbian
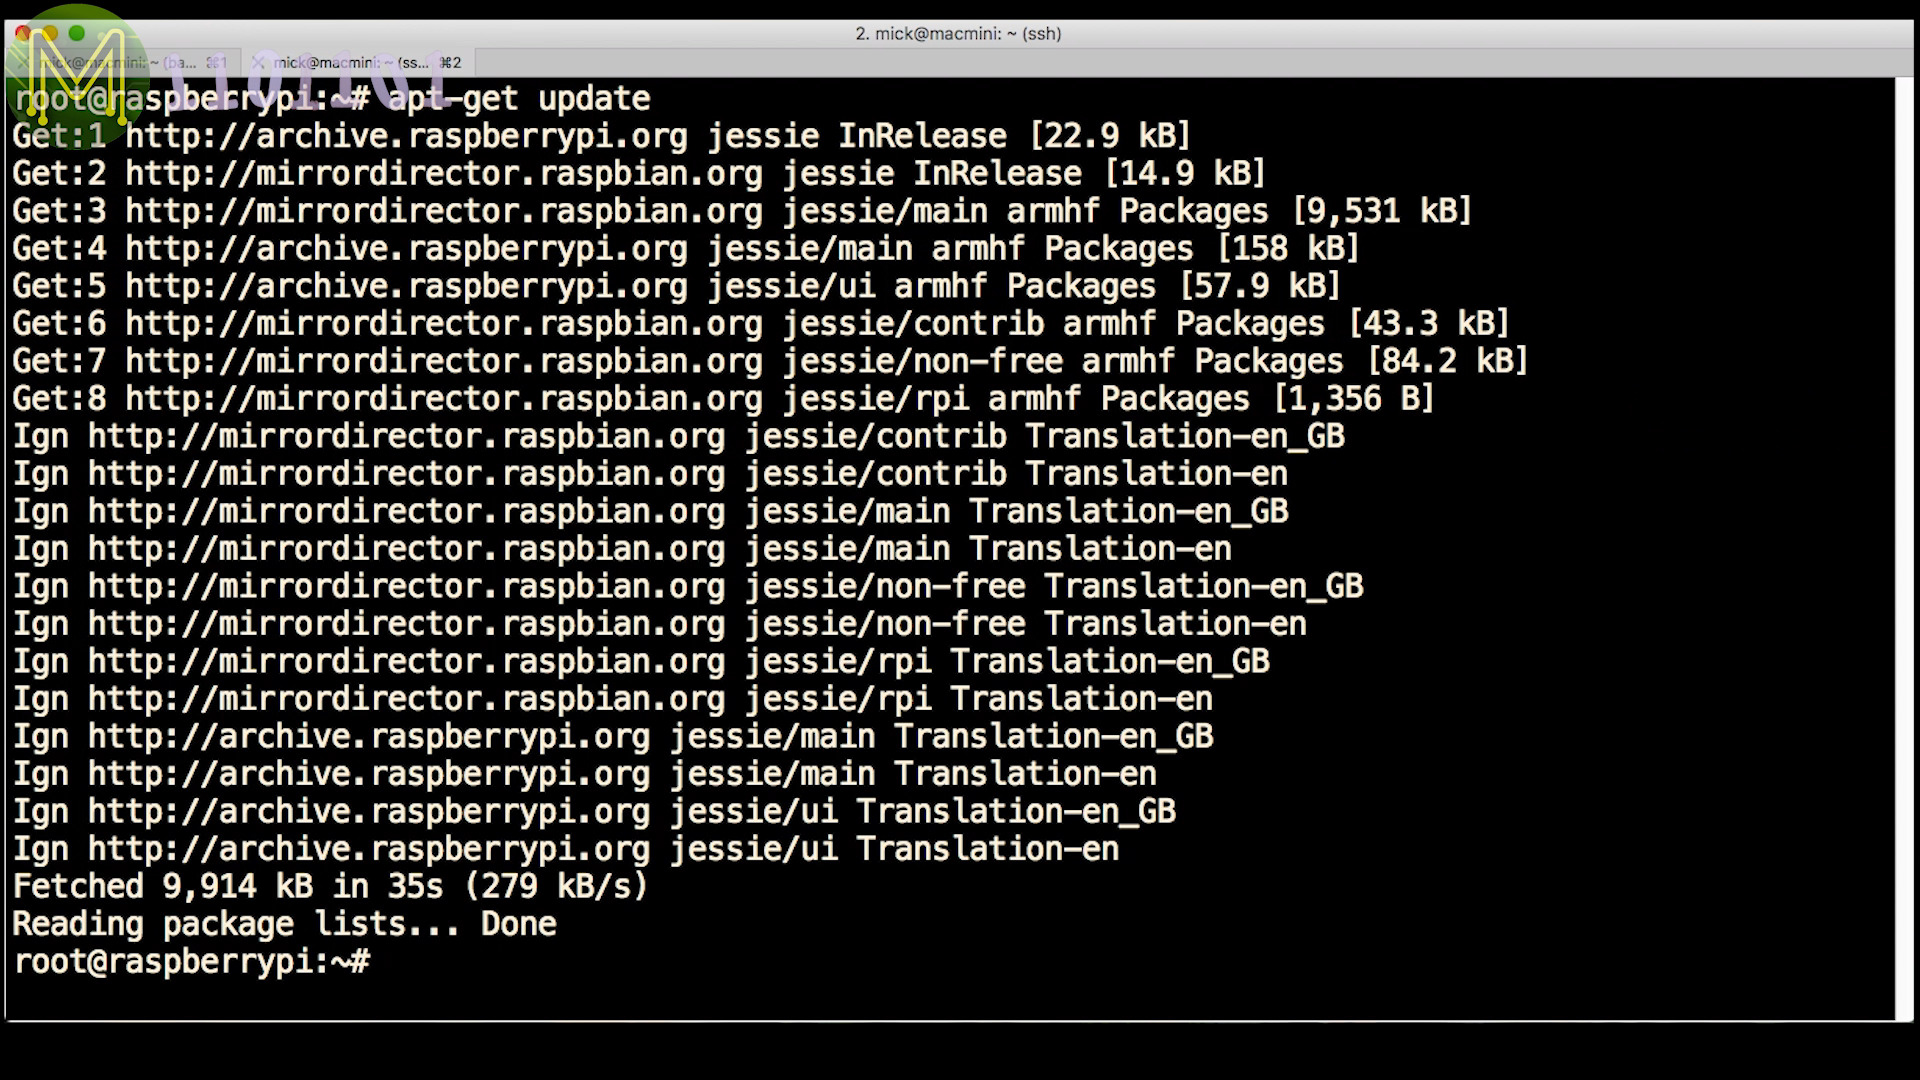
If you followed my previous article on installing Raspbian without a keyboard or screen, then the next step is to make sure you update your Debian package lists and upgrade, this will ensure you have the latest of everything.
apt-get update
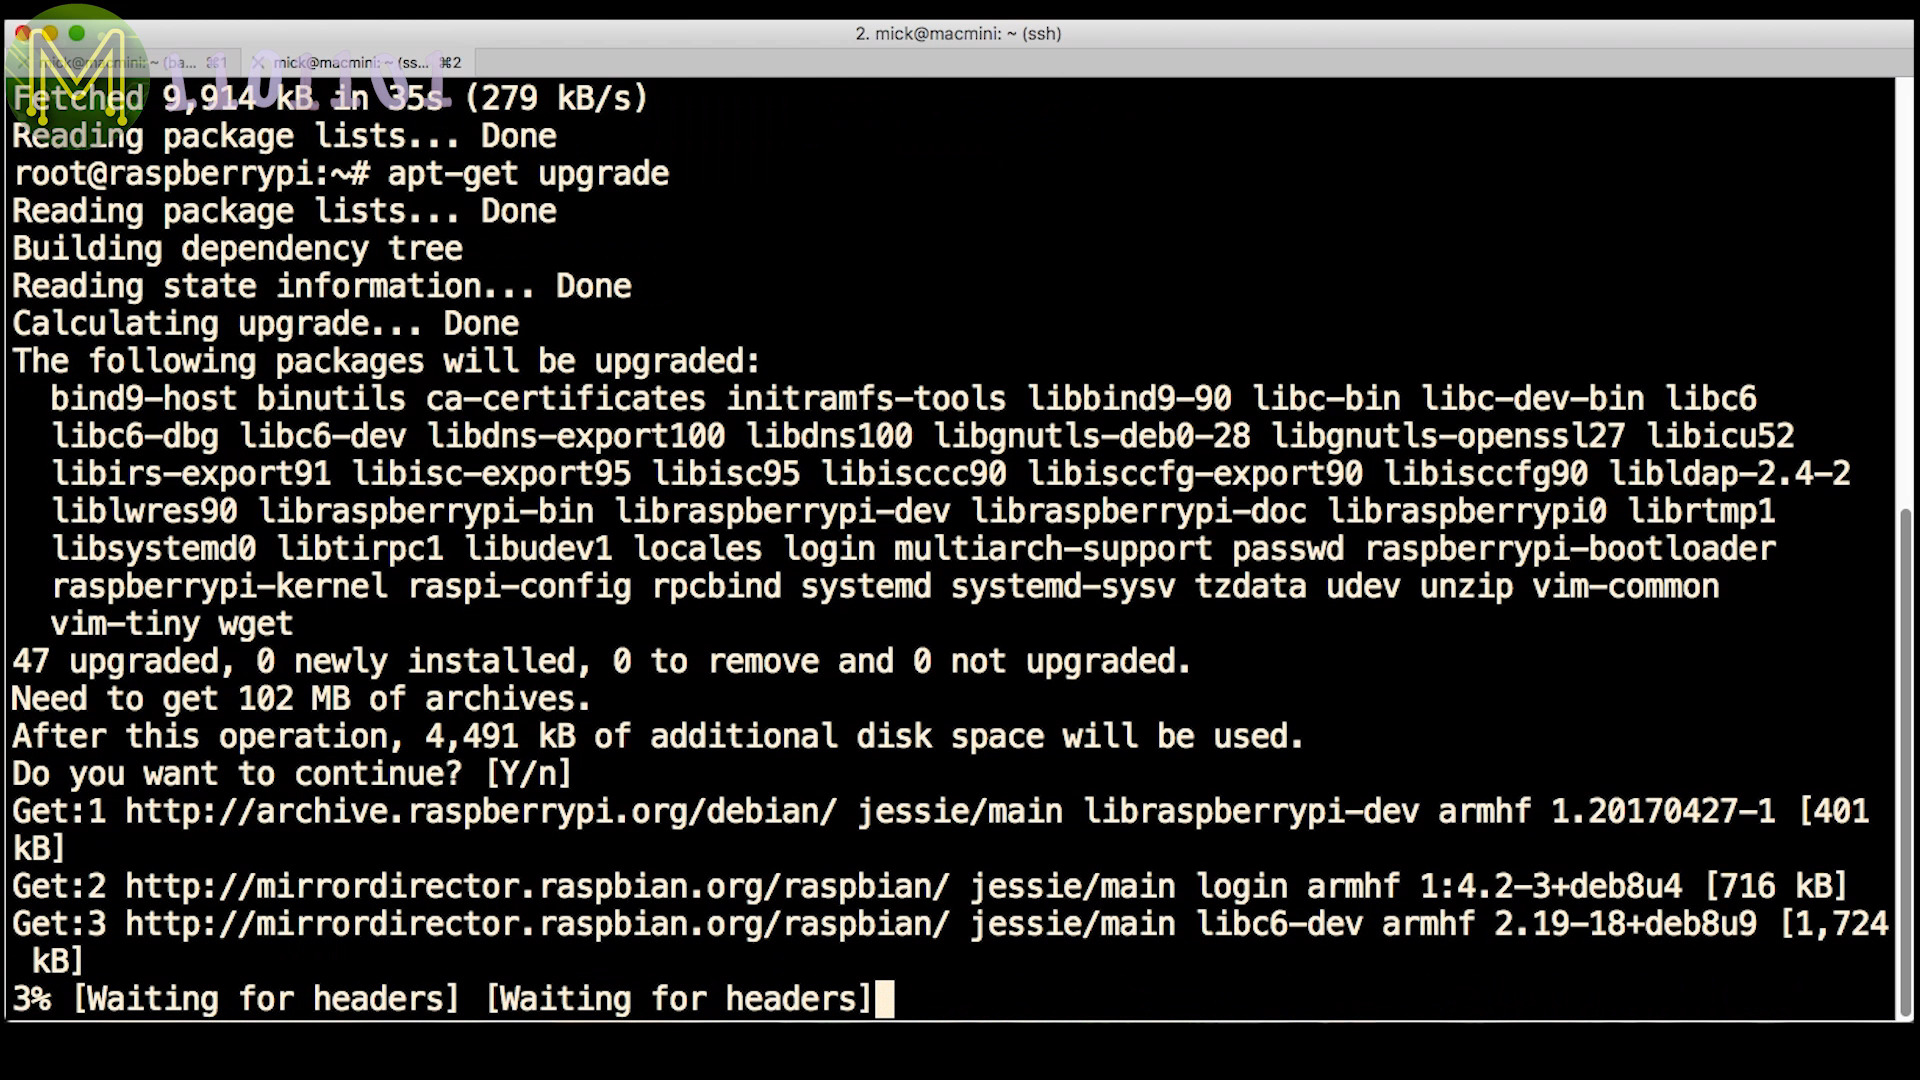
apt-get upgrade
If you haven’t done this before, it may take a while to complete.
Installing Mosquitto
There are three packages that we want to install; the Mosquitto MQTT Broker, clients and Python bindings.
apt-get install mosquitto mosquitto-clients python-mosquitto

Overview
Once installed, we will have four new binaries:
- /usr/sbin/mosquitto - Mosquitto broker daemon.
- /usr/bin/mosquitto_passwd - password generation tool.
- /usr/bin/mosquitto_pub - publishing client.
- /usr/bin/mosquitto_sub - subscribe client.
There’s also several important configuration files:
- /etc/mosquitto/mosquitto.conf - The Mosquitto broker config file.
- /etc/mosquitto/conf.d - Directory where you can place additional config files.
- /etc/mosquitto/ca_certificates - SSL certificate authority directory.
- /etc/mosquitto/certs - SSL certificates directory.
- /etc/init/mosquitto.conf, /etc/init.d/mosquitto - System startup config file and executable.
- /etc/logrotate.d/mosquitto - Log rotate configuration.
The default config file, (/etc/mosquitto/mosquitto.conf), really doesn’t need to be changed for a simple setup. The persistence database is defined by persistence_location, and the log file will be saved to log_dest. If you want to add additional config options then place them in the config directory, (include_dir).
# /etc/mosquitto/mosquitto.conf
# Place your local configuration in /etc/mosquitto/conf.d/
#
# A full description of the configuration file is at
# /usr/share/doc/mosquitto/examples/mosquitto.conf.example

pid_file /var/run/mosquitto.pid

persistence true
persistence_location /var/lib/mosquitto/

log_dest file /var/log/mosquitto/mosquitto.log

include_dir /etc/mosquitto/conf.d
Then there’s the SSL certificate authority files here, and SSL certificates here.
/etc/mosquitto/ca_certificates
/etc/mosquitto/certs
Lastly the init config file, (/etc/init/mosquitto.conf), which you don’t need to touch.
# /etc/init/mosquitto.conf
description "Mosquitto MQTTv3.1 broker"
author "Roger Light <roger@atchoo.org>"

start on net-device-up

respawn

exec /usr/sbin/mosquitto -c /etc/mosquitto/mosquitto.conf
However, you will want to setup your MQTT broker as the defaults won’t give you much. There are three more important files that you can take from the examples directory under /usr/share/doc/mosquitto/examples.
Access Control List file (aclfile.example) - which contains who can access what Topics,
# This affects access control for clients with no username.
topic read $SYS/#

# This only affects clients with username "roger".
user roger
topic foo/bar

# This affects all clients.
pattern write $SYS/broker/connection/%c/state
Private and public shared key file (pskfile.example) - for providing an SSL layer over the MQTT protocol.
id:deadbeef
easy:12345
Password file (pwfile.example) - which, of course, contains usernames and passwords.
letterbox:$6$vUHWt42YX42at+K424242423PNU6C49+ecXuehYwev50qkWwd4242420ZKdkPEOSHYWUbirKDWH4242427BqNUMgAEKmqpNIu22zRIA==
mqttwarn:$6$mP1S42jSarFl42Ls$42424242U2Y/xcKek/S60RaIteNFG+XK0tr3N7e4242420a2hdK55LMNGjkqOmicks_password9cKYTtM3GMw==
Basic setup
Now that we know what all the files do, the first step is to create a username and password combination. You can do this with the Mosquitto password tool. In this case I created a user called “letterbox”, since I used MQTT in my letterbox project - Part 1 & Part 2. (This is also on instructables.com).
mosquitto_passwd /etc/mosquitto/passwd letterbox

vi /etc/mosquitto/aclfile
Here you can add users that are allowed to read and write to topics and also topics that can be subscribed to. Without these basic sets of lines you won’t be able to do much.
# /etc/mosquitto/aclfile
topic read $SYS/#

user letterbox
user mqttwarn
topic Home/#
Once you have those files created, then change the ownership to the mosquitto user and also the permissions.
chown mosquitto /etc/mosquitto/passwd /etc/mosquitto/aclfile
chmod 700 /etc/mosquitto/passwd /etc/mosquitto/aclfile
Next I’ll create a config file under the config directory.
vi /etc/mosquitto/conf.d/MickMake.conf
And add the password and ACL file.
password_file /etc/mosquitto/passwd
acl_file /etc/mosquitto/aclfile
Then restart the Mosquitto service either using the etc init script,
/etc/init.d/mosquitto restart
or using systemd.
systemctl restart mosquitto
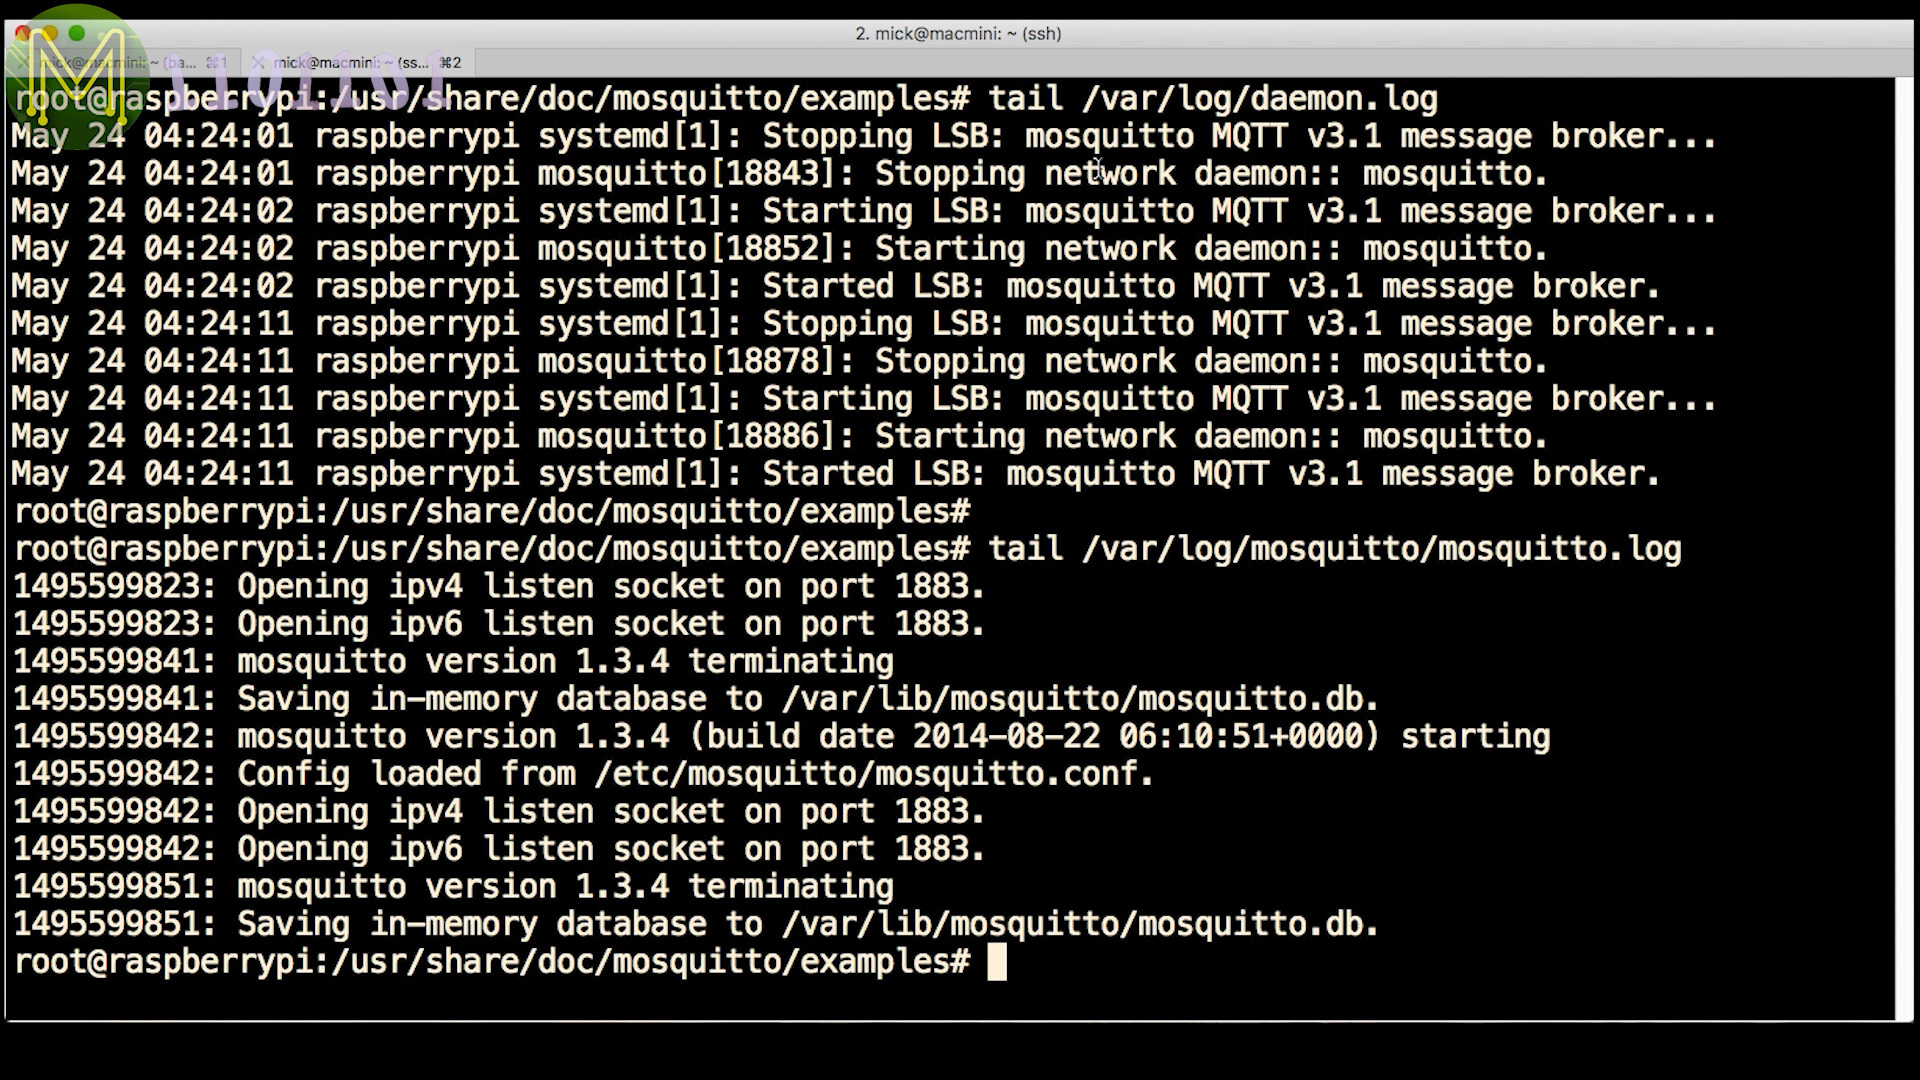
You should see the Mosquitto daemon writing to syslog as well as it’s own logfile.
Testing
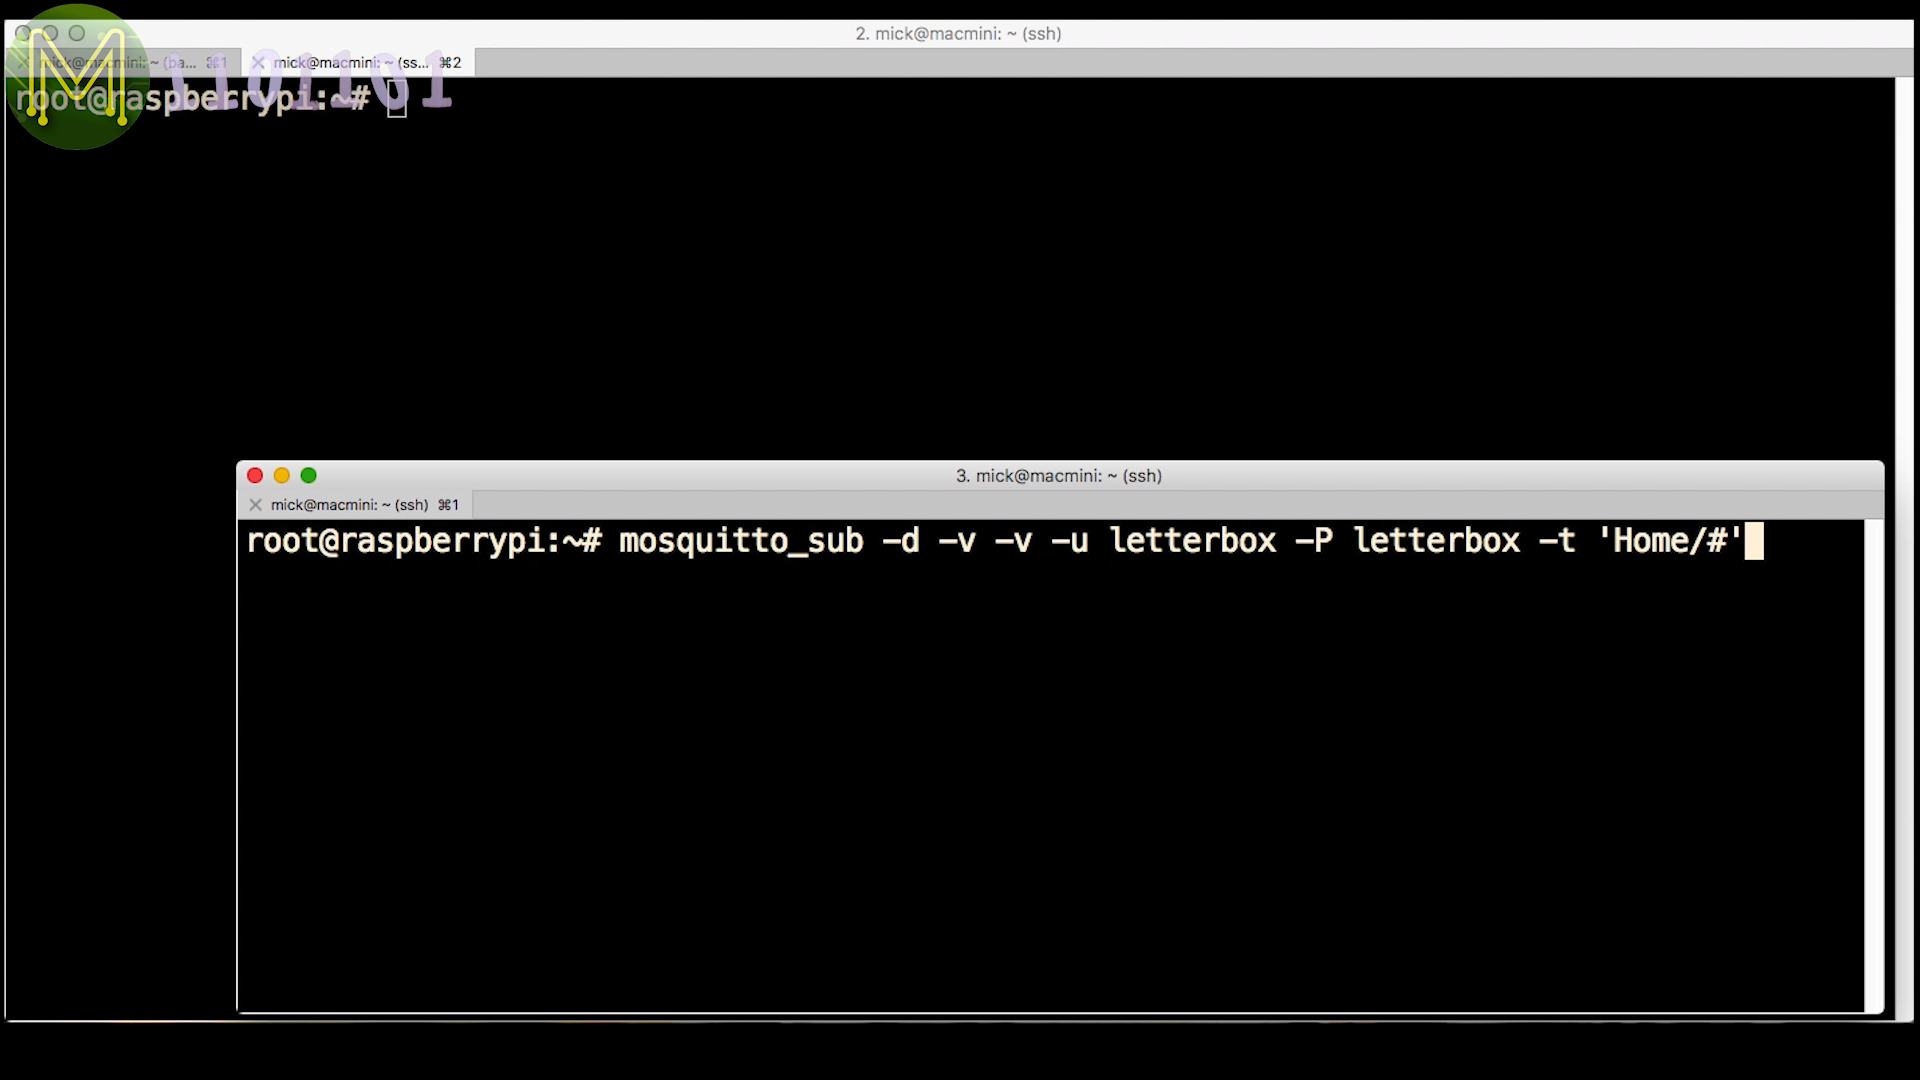
Now, open two shells on your Pi. In the first one run te subscriber client.
mosquitto_sub -d -v -v -u letterbox -P letterbox -t 'Home/#'
This will:
-t 'Home/#'- Subscribe to all topics under the “Home” topic.-u letterbox- using this username,-P letterbox- and this password.-d -v -v- these other options will just make the output more verbose.
mosquitto_pub -d -t Home/LetterBox/State -m FULL -u letterbox -P letterbox
This will:
-t Home/LetterBox/State- Publish under the Home/LetterBox/State topic.-m FULL- With a string value of “FULL”.-u letterbox -P letterbox- Using the same credentials as before.
You should see the subscribe window respond with what was just published.
Or you can another publish to topic Home/LetterBox/Temperature with value 39.
mosquitto_pub -d -t Home/LetterBox/Temperature -m 39 -u letterbox -P letterbox

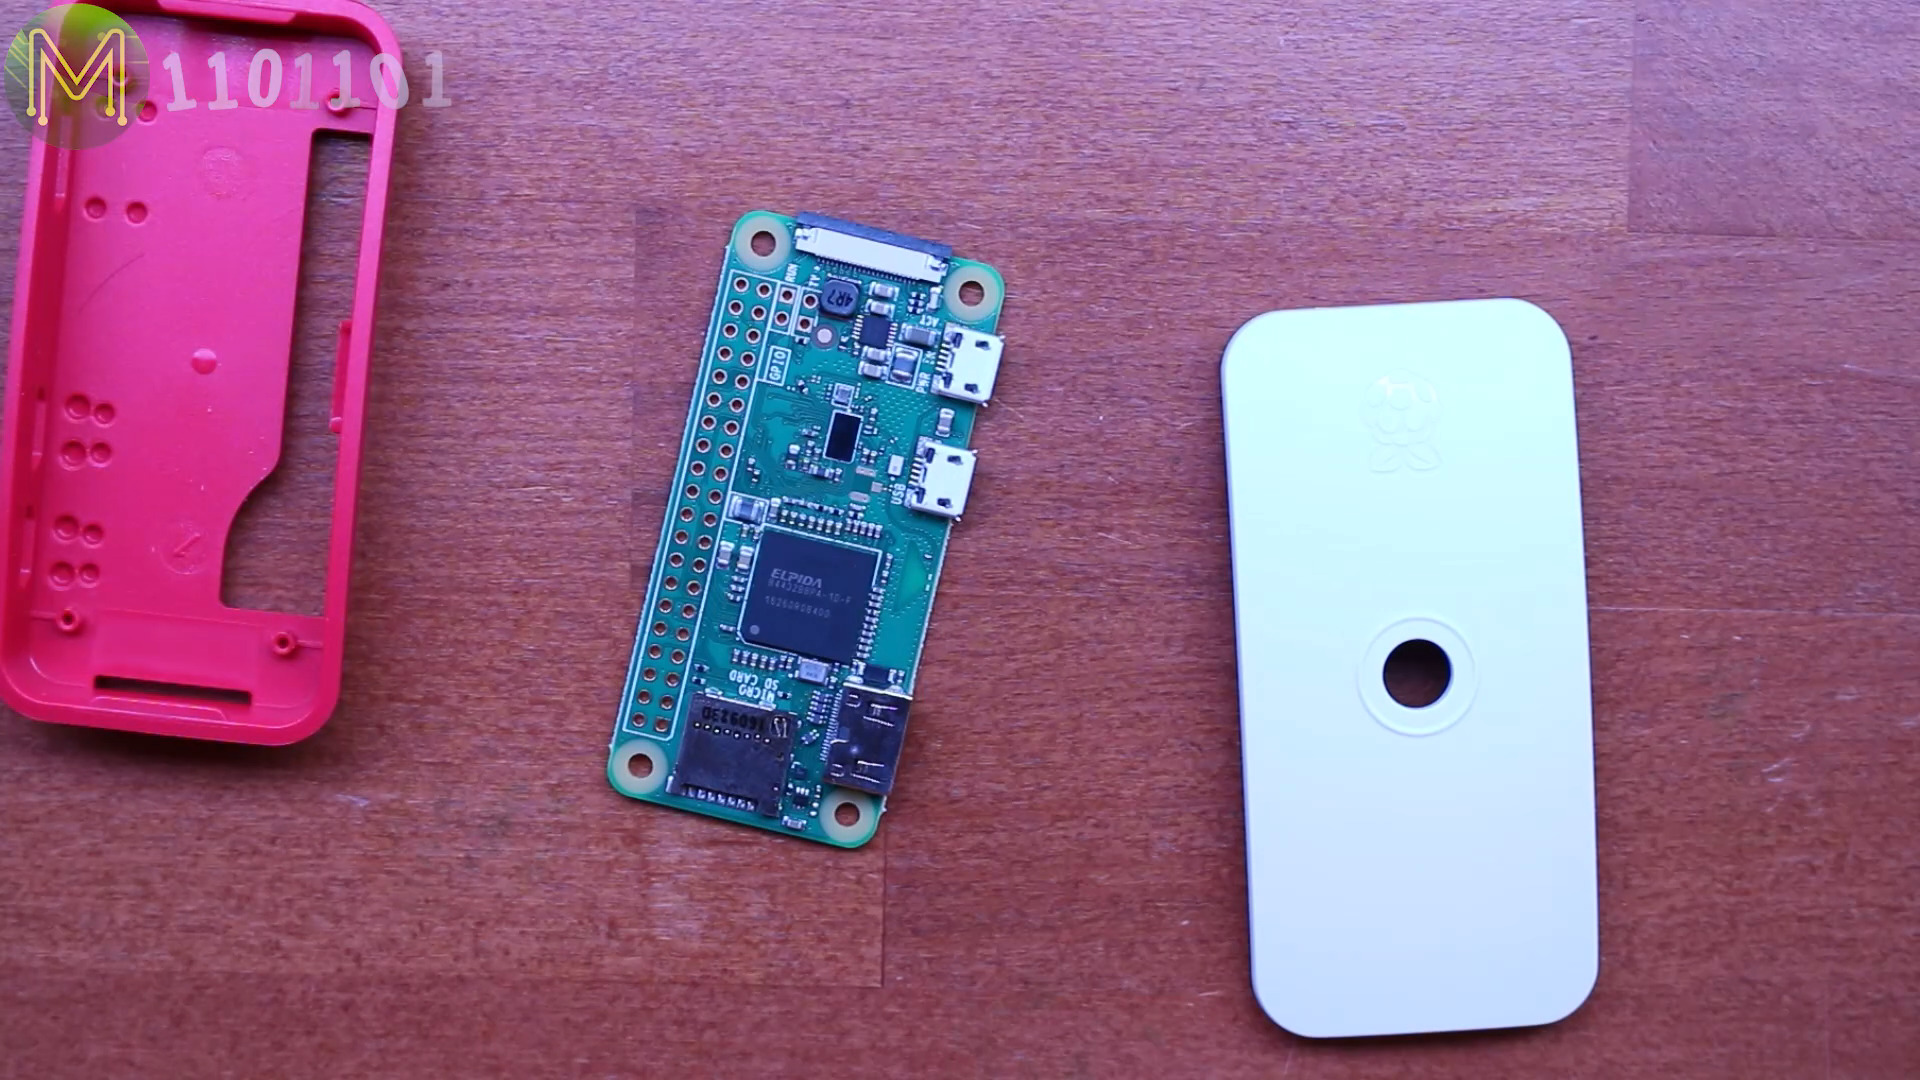
Of course a Pi Zero W makes a really excellent MQTT Broker. Small, cheap and low power.
Summary
In a follow up video I’ll show you how to secure your MQTT Broker using SSL.
Or check out my other videos on MQTT, such as “What is MQTT?” and a letterbox that’ll use MQTT to send you alerts to your mobile.