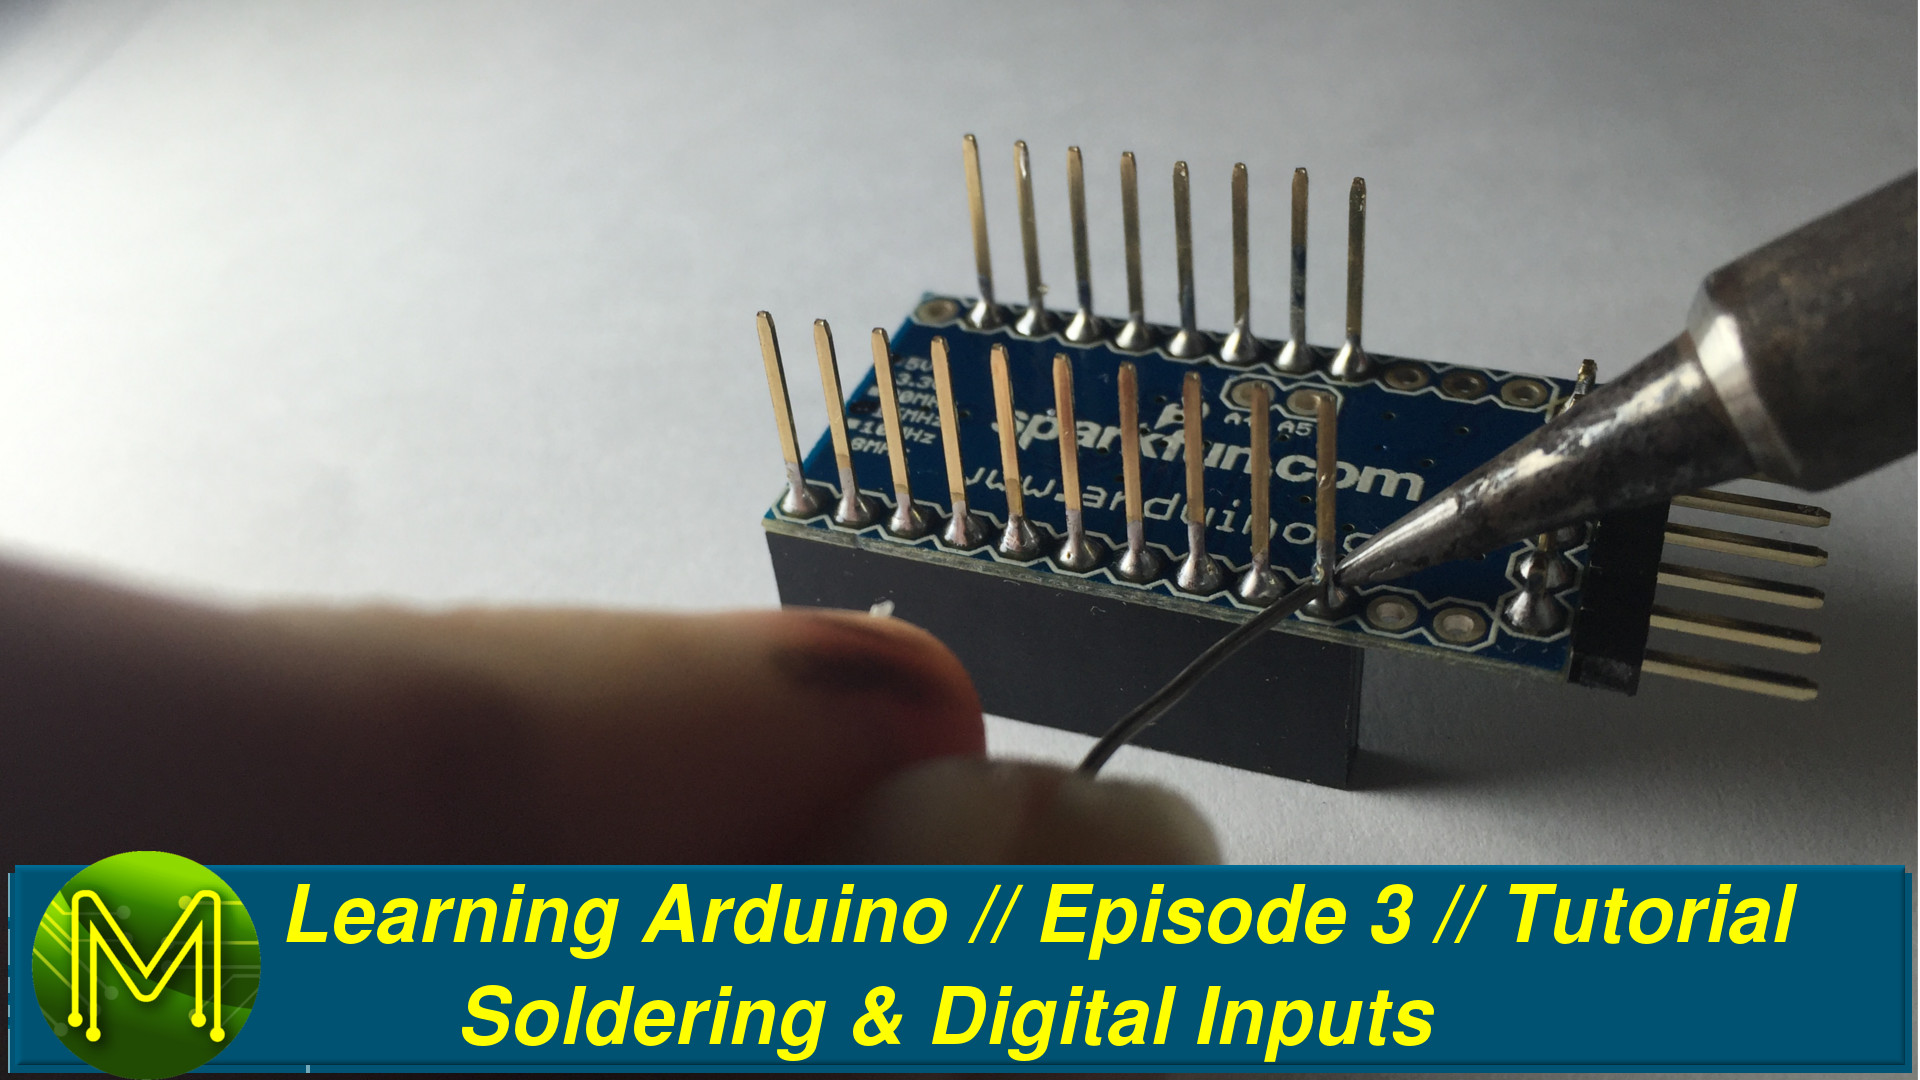
Learning Arduino: Soldering and Digital Inputs // Episode 3 // Tutorial
So you want to learn Arduino?
One of my mates, Tim, is on a mission to do the same. In this third episode Tim looks at detecting inputs.
Tim’s goal is to build an automatic firing mechanism for his Nerf guns. By the end of this course he will be able to not only do that, but create a world of modding opportunities that will keep him busy for years. Everything that we will cover in this video series will help you to do the same, no matter what your project goals are. If you have any questions or comments feel free to ask on Facebook or YouTube.
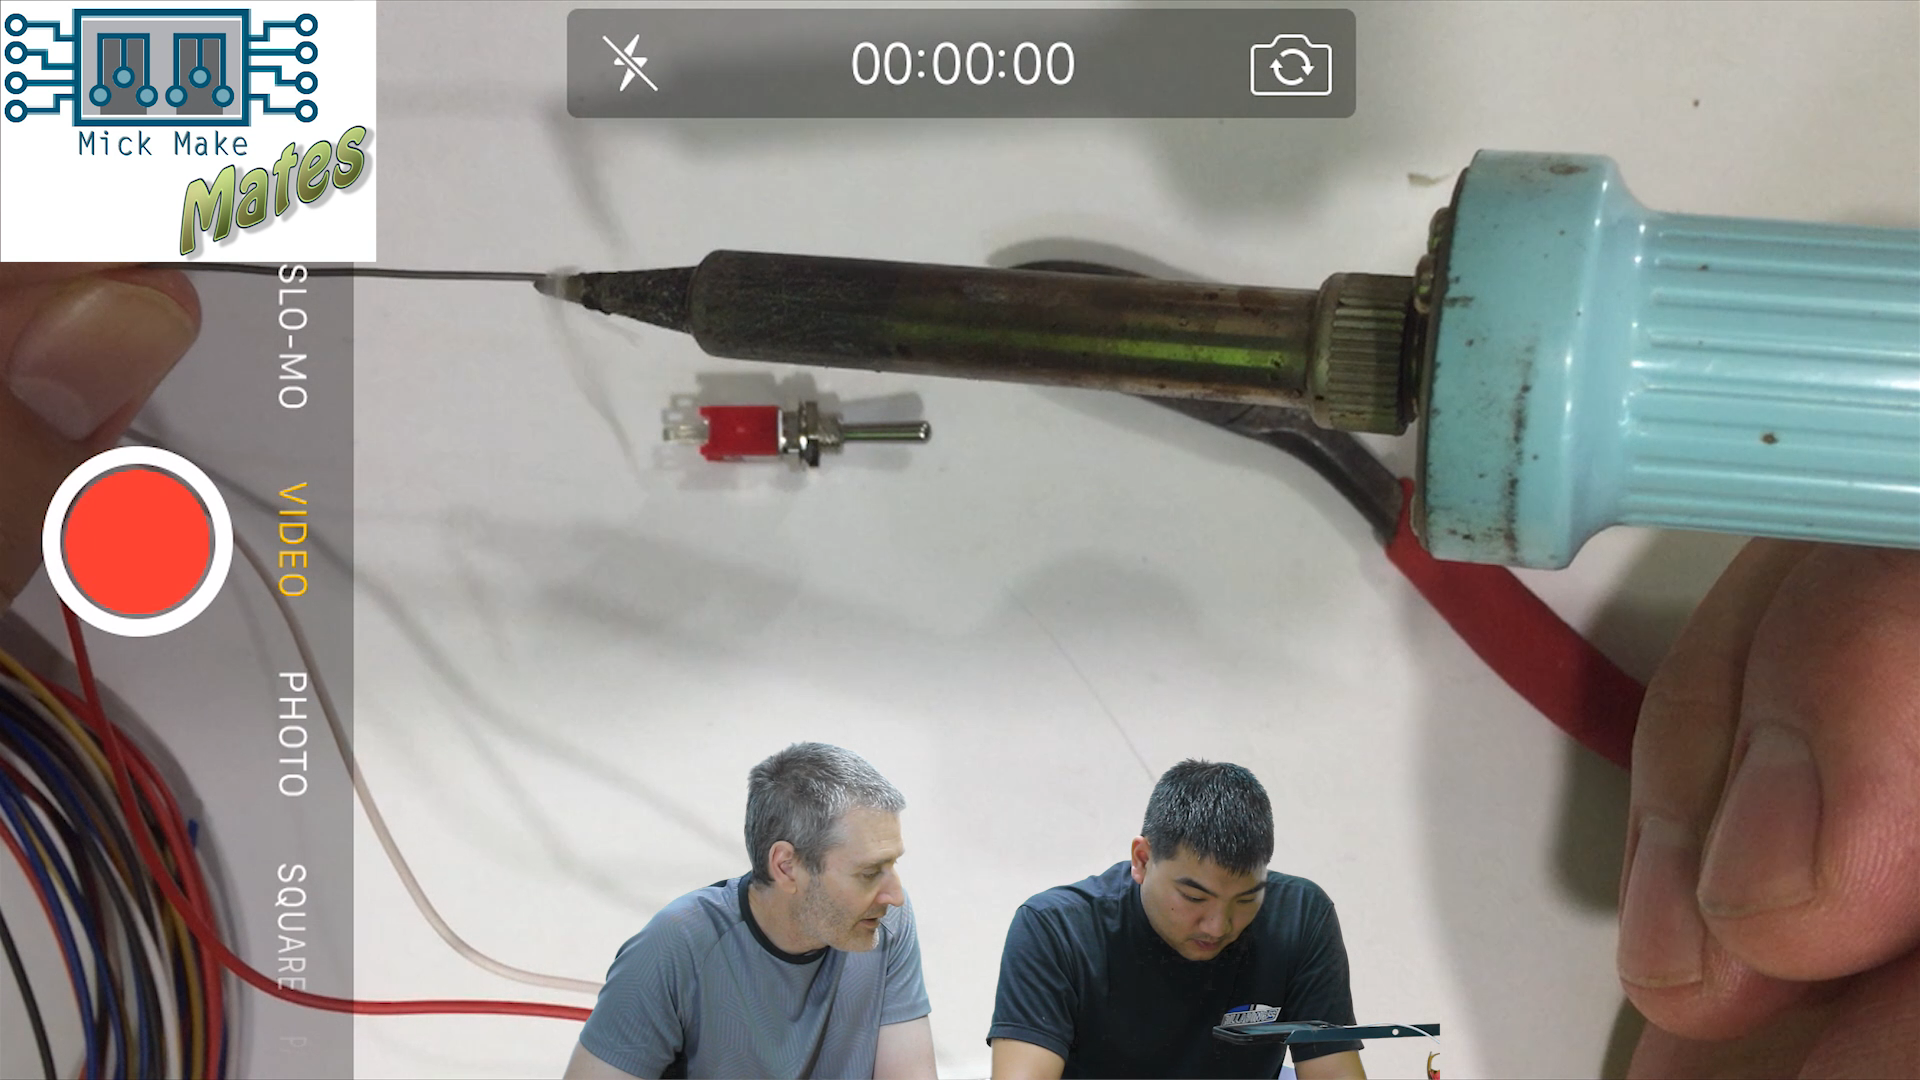
Part 1: Soldering Techniques

Like most things; proper soldering is an art form. Being good at soldering will come with time and practice. However; poor tools in any scenario will yield poor results. Following is a list of tips to become great at soldering:
Soldering Iron
The most imprtant thing is a good soldering iron. Some people will tell you that you can make do with a $3 iron. Sure, when you are experienced and as a last resort you can do that, but save yourself the hassle and go and get a good one.
I’ve been using a Weller TC2020 for the past 20? 30? years. It’s served me really well, but these days you can get some decent ones with fixed temperature control. Get one of those. Don’t bother with the cheap variable temperature ones. You run the risk of cooking your tip and then nothing will solder.
Soldering tips
Call them tips, nibs or points. It’s the bit that melts the solder. Make sure you have a couple on hand. Look after your tip and it’ll look after you.
Get the right sized tip. Don’t get a massive tip for soldering surface mount.
When soldering make sure to keep the tip a silvery shiney appearance. Don’t let the solder “dry out” on the tip. Always use a wet sponge to remove any solder on the tip after soldering.
Perodically clean the tip with fine sandpaper, (at least 1000 grit). You want to maintain a clean silvery shine.
Flux
Nothing to do with time travel. Flux improves the flow of solder. When you are soldering old connectors, then dabbing both joints in flux will improve the adhesion.
Solder
Solder comes in various sizes and abilities. You can get flux embedded solder so you don’t have to buy a seperate tin of flux, large core, and small core. I tend to use 0.56mm size solder.
Traditionally solder has a certain amount of lead contained in it which lowers the melting temperature. Of course, lead isn’t so good for humans and so you can get lead free solder. This is usually much more difficult to solder with. I tend to use lead based solder with extraction fans as I’m “old school”, but remember lead is a toxic chemical and should not be breathed in. So, if you use lead based solder you use it at your own risk.
Abrasives
Sandpaper, steel wool are always good to have around if you ever are soldering an old joint. Prepare the metal by rubbing with sandpaper or steel wool. 1000 grit sandpaper is best you don’t need it very coarse, just fine enough to shine up the metal. Also when soldering old joints, use flux to help the solder flow well.
Solder suckers
Always a good tool to have when you make mistakes. These tools will remove solder from a joint. The way it works is to vacuum up the solder very quickly. It comes in a tube with a spring loaded rod you push down. When you release the rod it flies back up the tube and will suck up the solder in an instant.
“Helping Hands”
This tool allows you to hold two ends of a solder joint still while you solder. They usually have two or more alligator clips arranged on flexible arms. You should get your hands on one of these! They are invaluable.
How to solder
There are many ways people will tell you how to solder. Some are right, some are wrong. Basically whatever method allows the solder to flow freely into the joint you are soldering will work. I always work to the goldilocks principle. That is: “Just enough solder. Just enough time.”
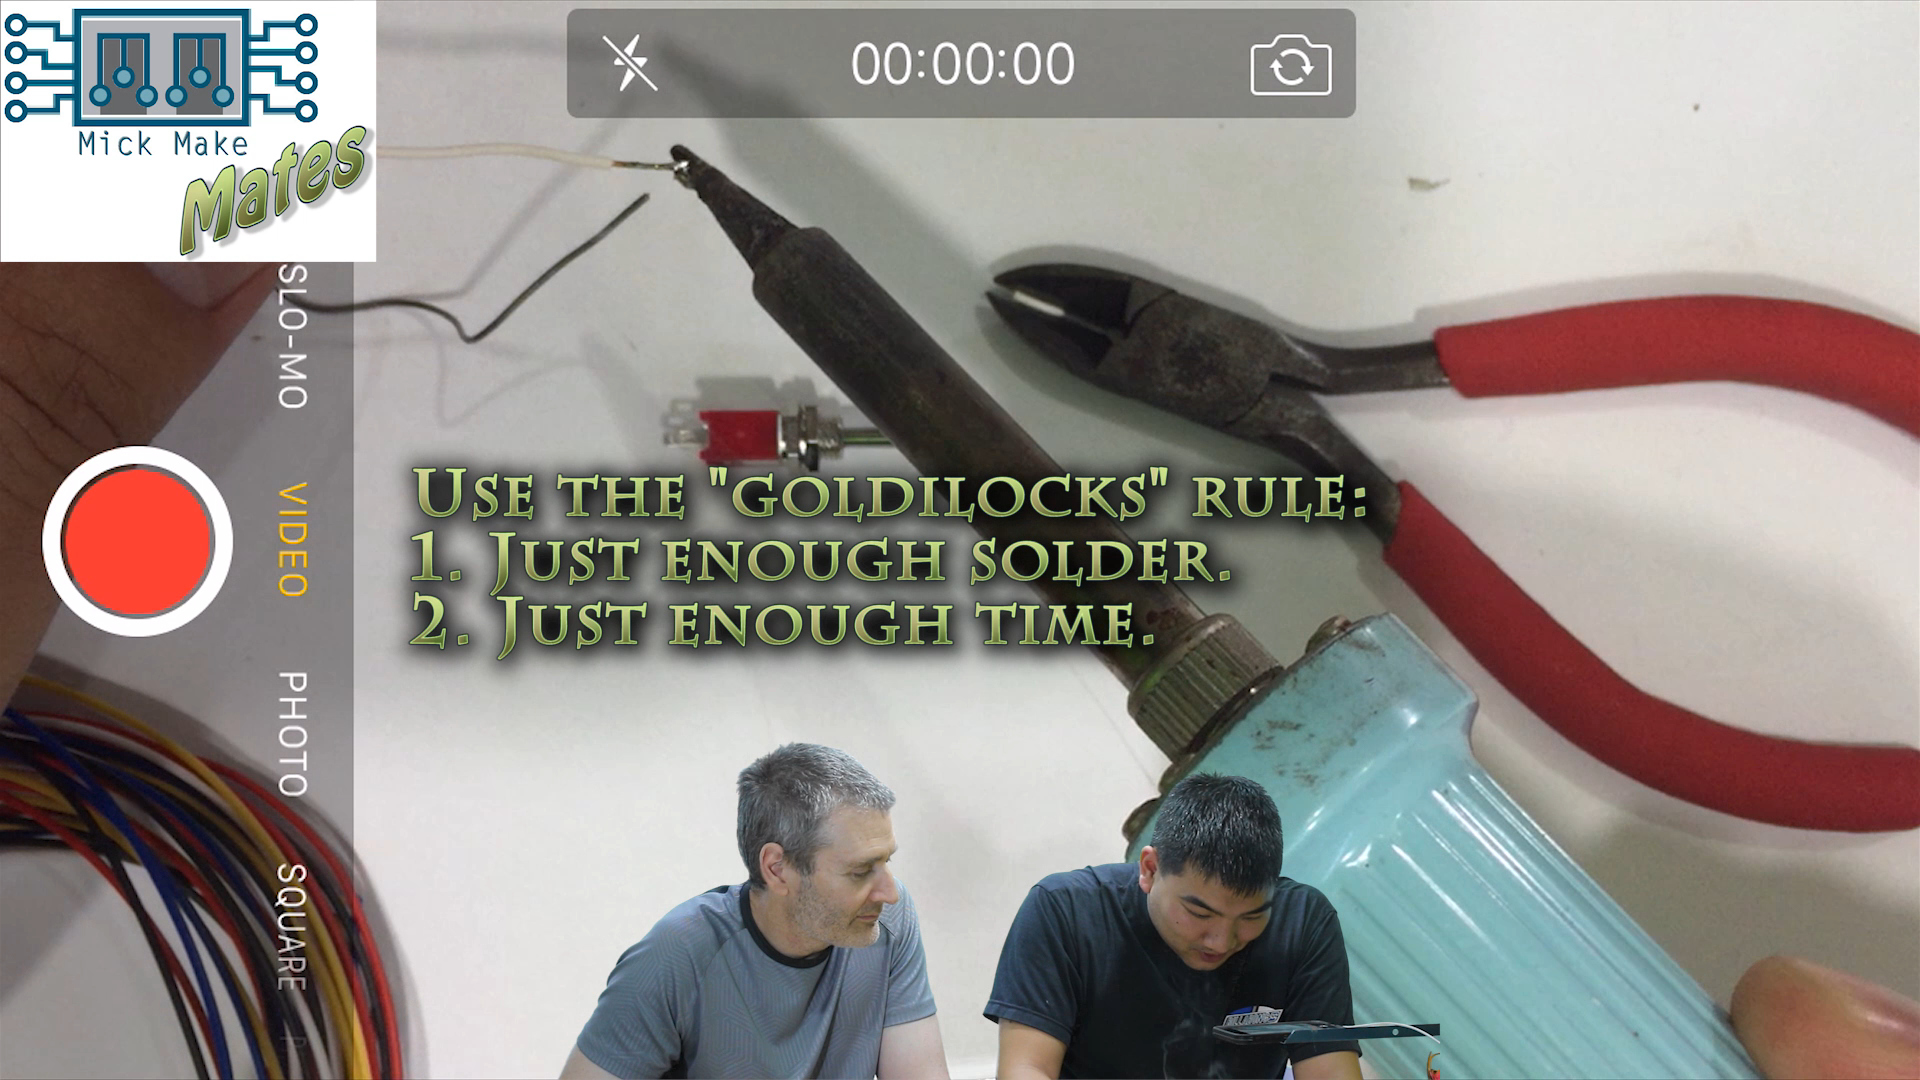
There are several things you need to bear in mind:
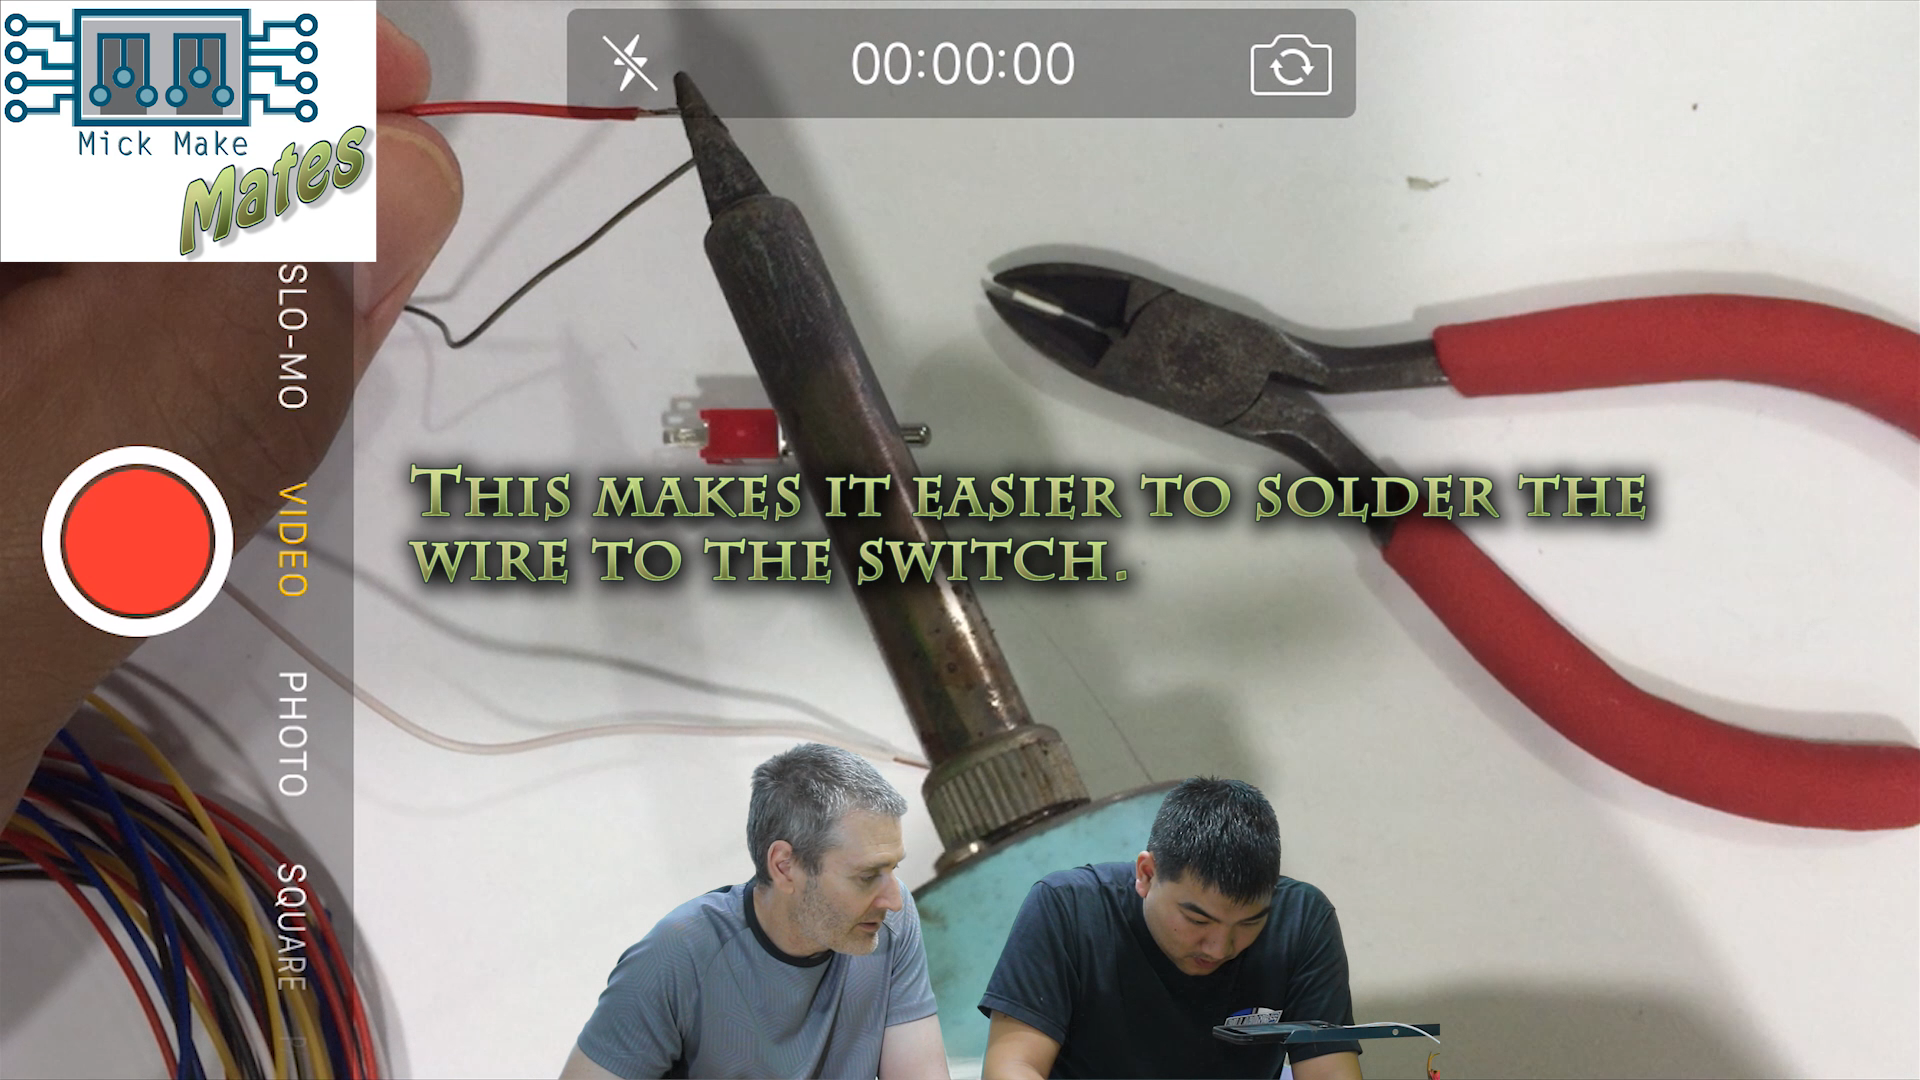
Preparation
Prepare the two ends of the join that you are soldering. If it’s wire, you will need to remove the older wire first. You can use side cutters, wire strippers, or the “melt the plastic with the soldering iron” method. I’ve always used the last method because… well it’s efficient, quick, reduces wire breakage, and means I don’t have another tool to lose. Just make sure you don’t use the bit of the tip that has solder on it, otherwise you’ll have trouble soldering.

If it’s old wire; clean it up with sandpaper before you “tin” the wire. “Tinning” refers to preloading the wire with solder. This will improve the flow of solder and consequently make a more secure joint.
If you are soldering a header block to a PCB you may need to remove old solder with a solder sucker.
Anyway… whatever you are soldering make sure both ends are clean of oils, dirt and older solder. They should be shiney and clean!
Temperature
Make sure the temperature is right before you solder. The best way is to melt some solder. It should melt cleanly.
You will notice in my video that I brought the soldering iron close to my lips to check the temperature. Bear in mind I’ve been playing with electronics for 30 years. I know what I’m doing. Please don’t do this as you will run the risk of injuring yourself!

Hold it still
While the solder is cooling down after you’ve melted it you need to hold it very still. Any movement in the joint will cause what is called a “cold solder”. Inadequate temperature will also do this. This is bad. A cold solder does not have any mechanical strength and will break when and force is put on it.
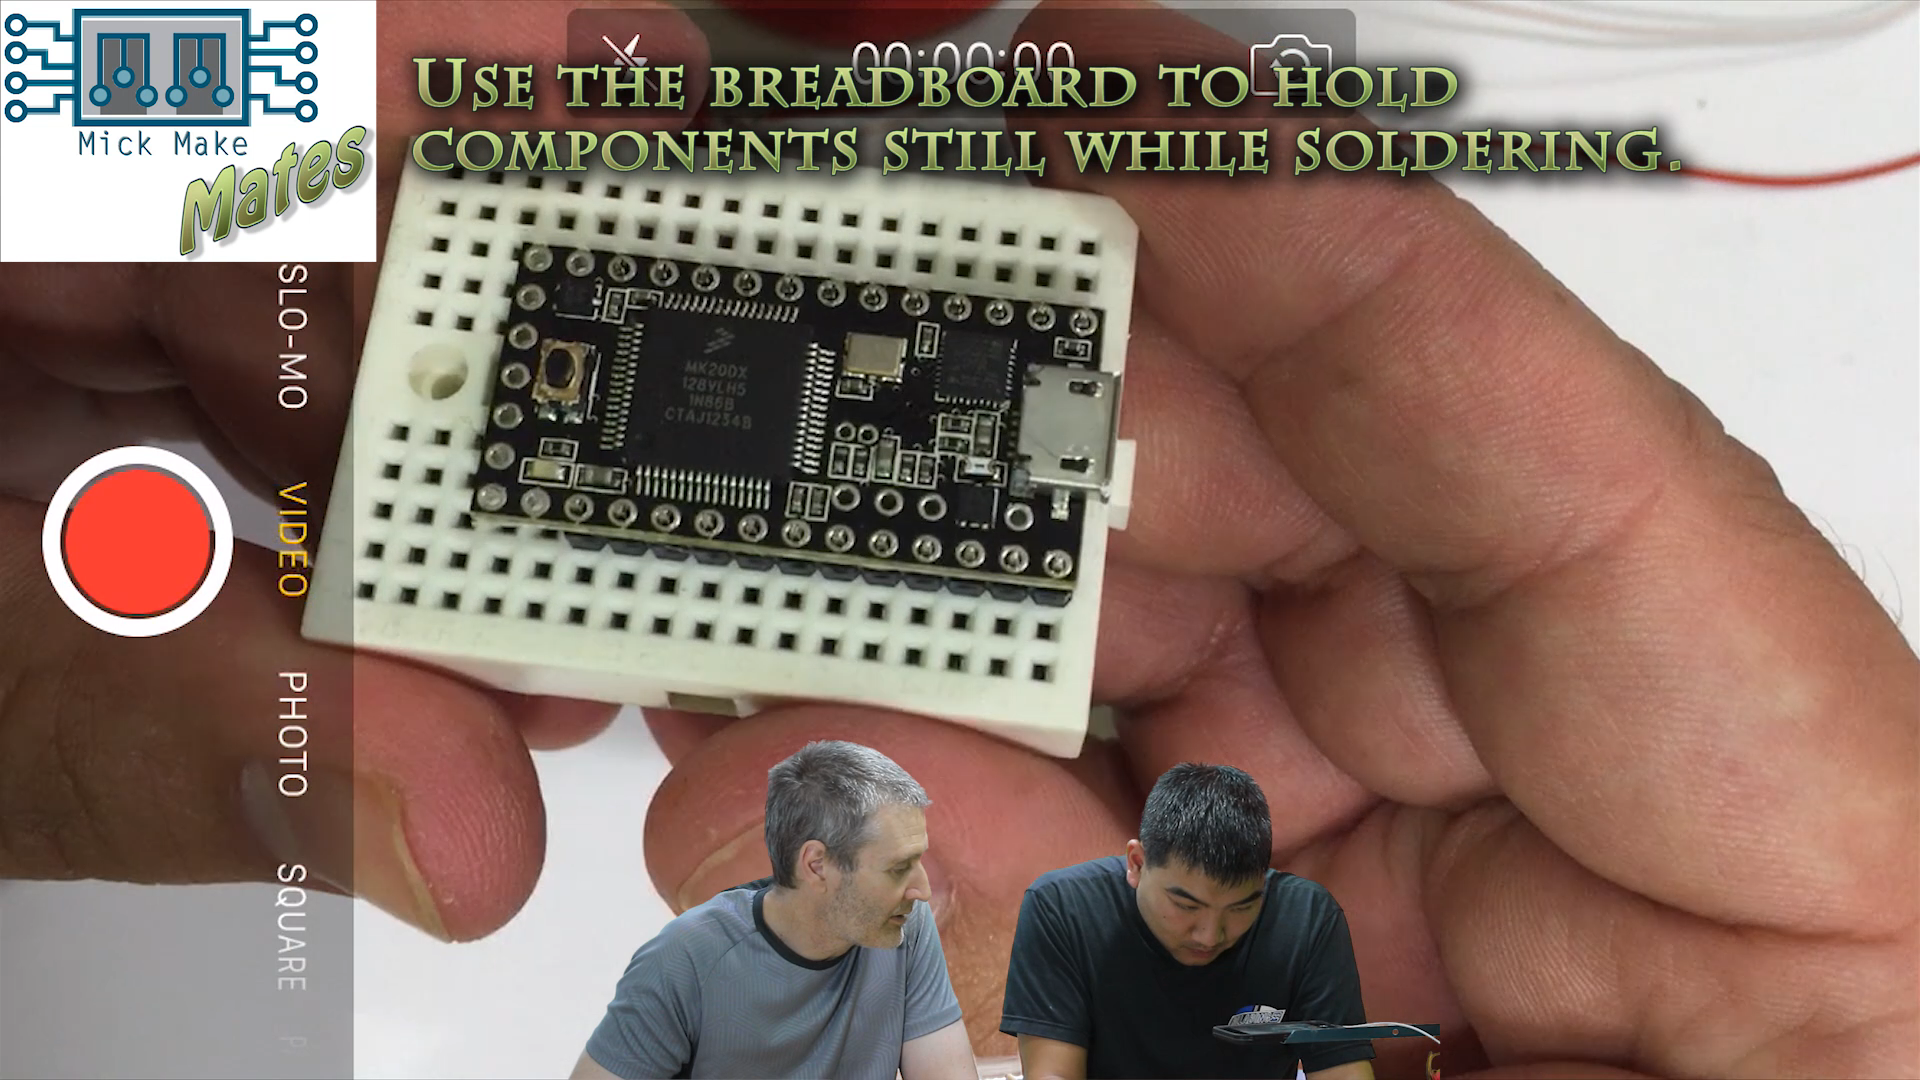
You can use a “helping hands” tool or if you are soldering a header block to a PCB you can hold it still in a breadboard.
Make it flow
There are several ways people will tell you how best to solder. Whatever method that you find is the best way to heat both ends of the joint up at the same time will work. The best I’ve found is to: 1. Make sure the solder tip has a small amount of solder on it. 2. Use this to heat up both sides of the joint at the same time. 3. Then push the solder onto both sides of the joint. 4. The solder should flow freely in and around the joint.

Part 2: Plugging It In
Once you have your switch soldered up. You can look at the demo sketch called “button” in the Arduino IDE.

This is located under “File” -> “Examples” -> “02.Digital” -> “Button”.
You will need to select which port you are going to use on your Arduino and plug it into your breadboard.
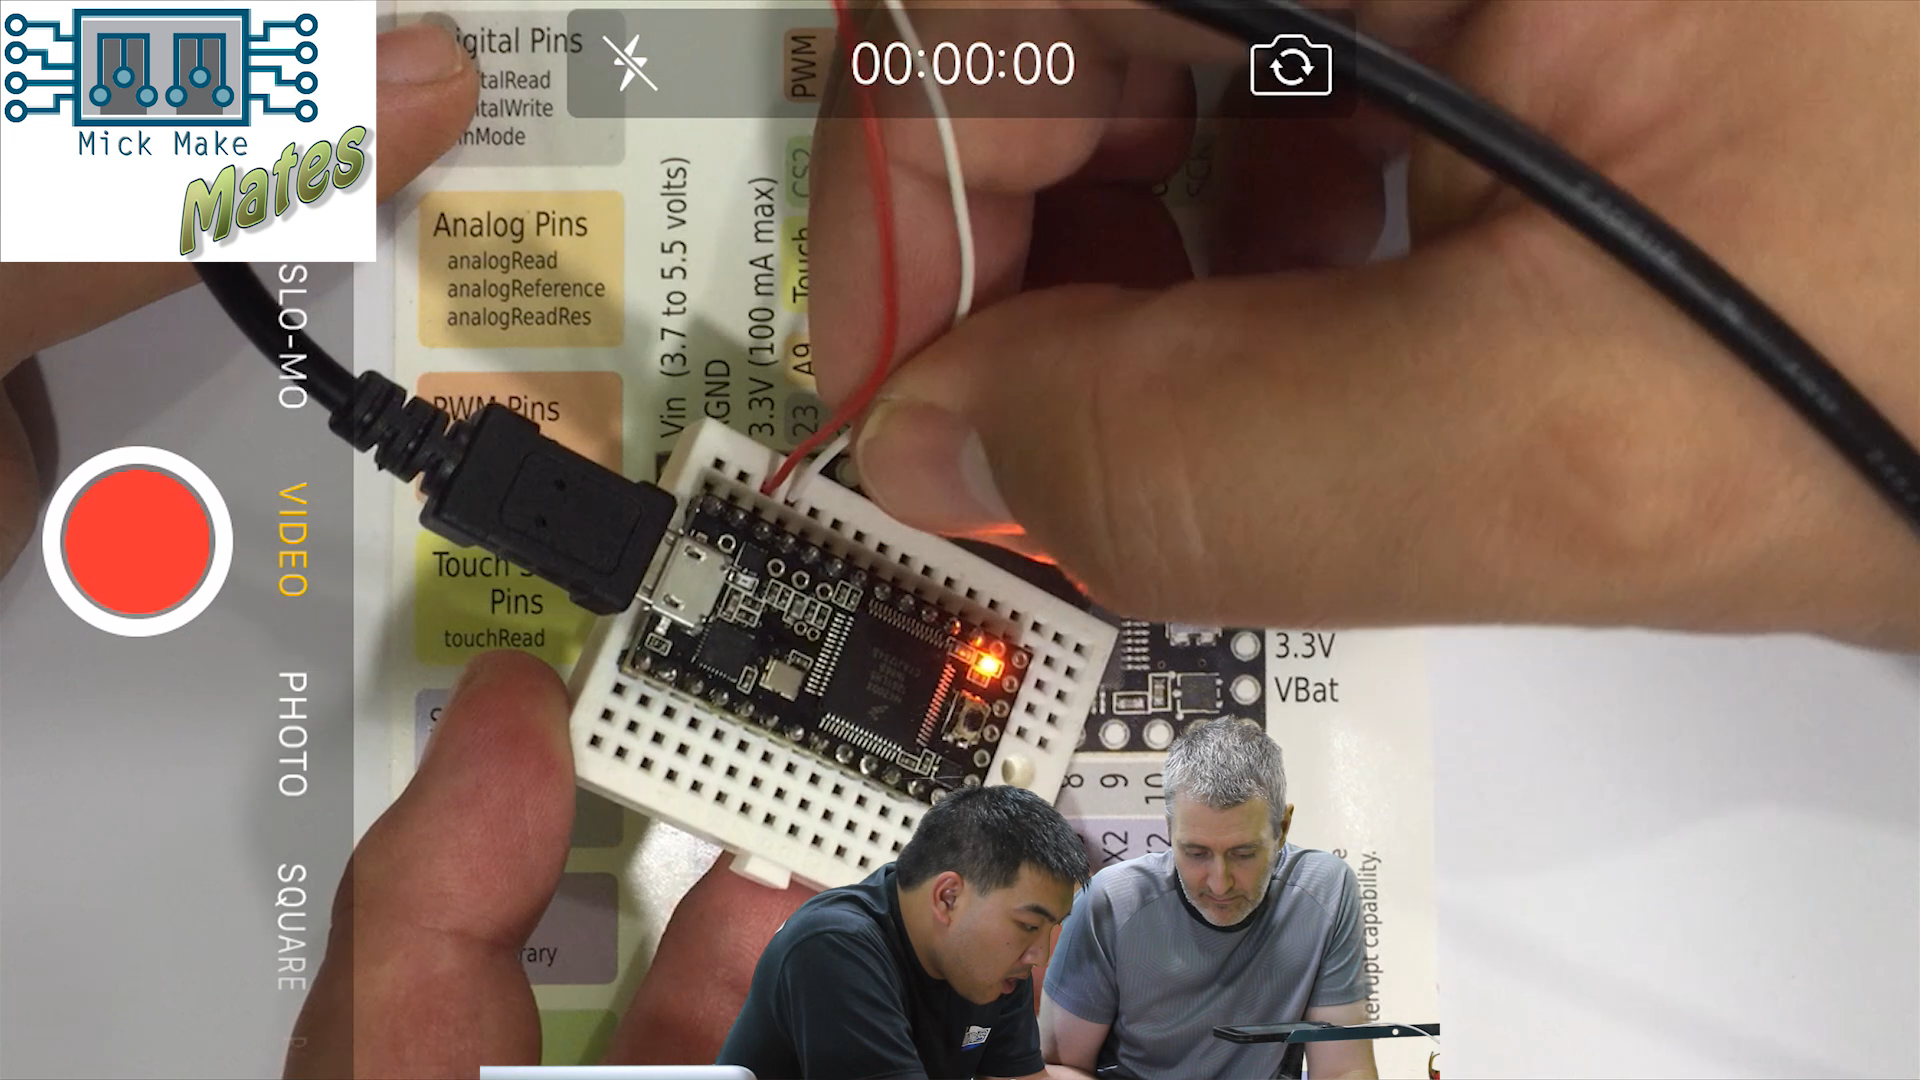
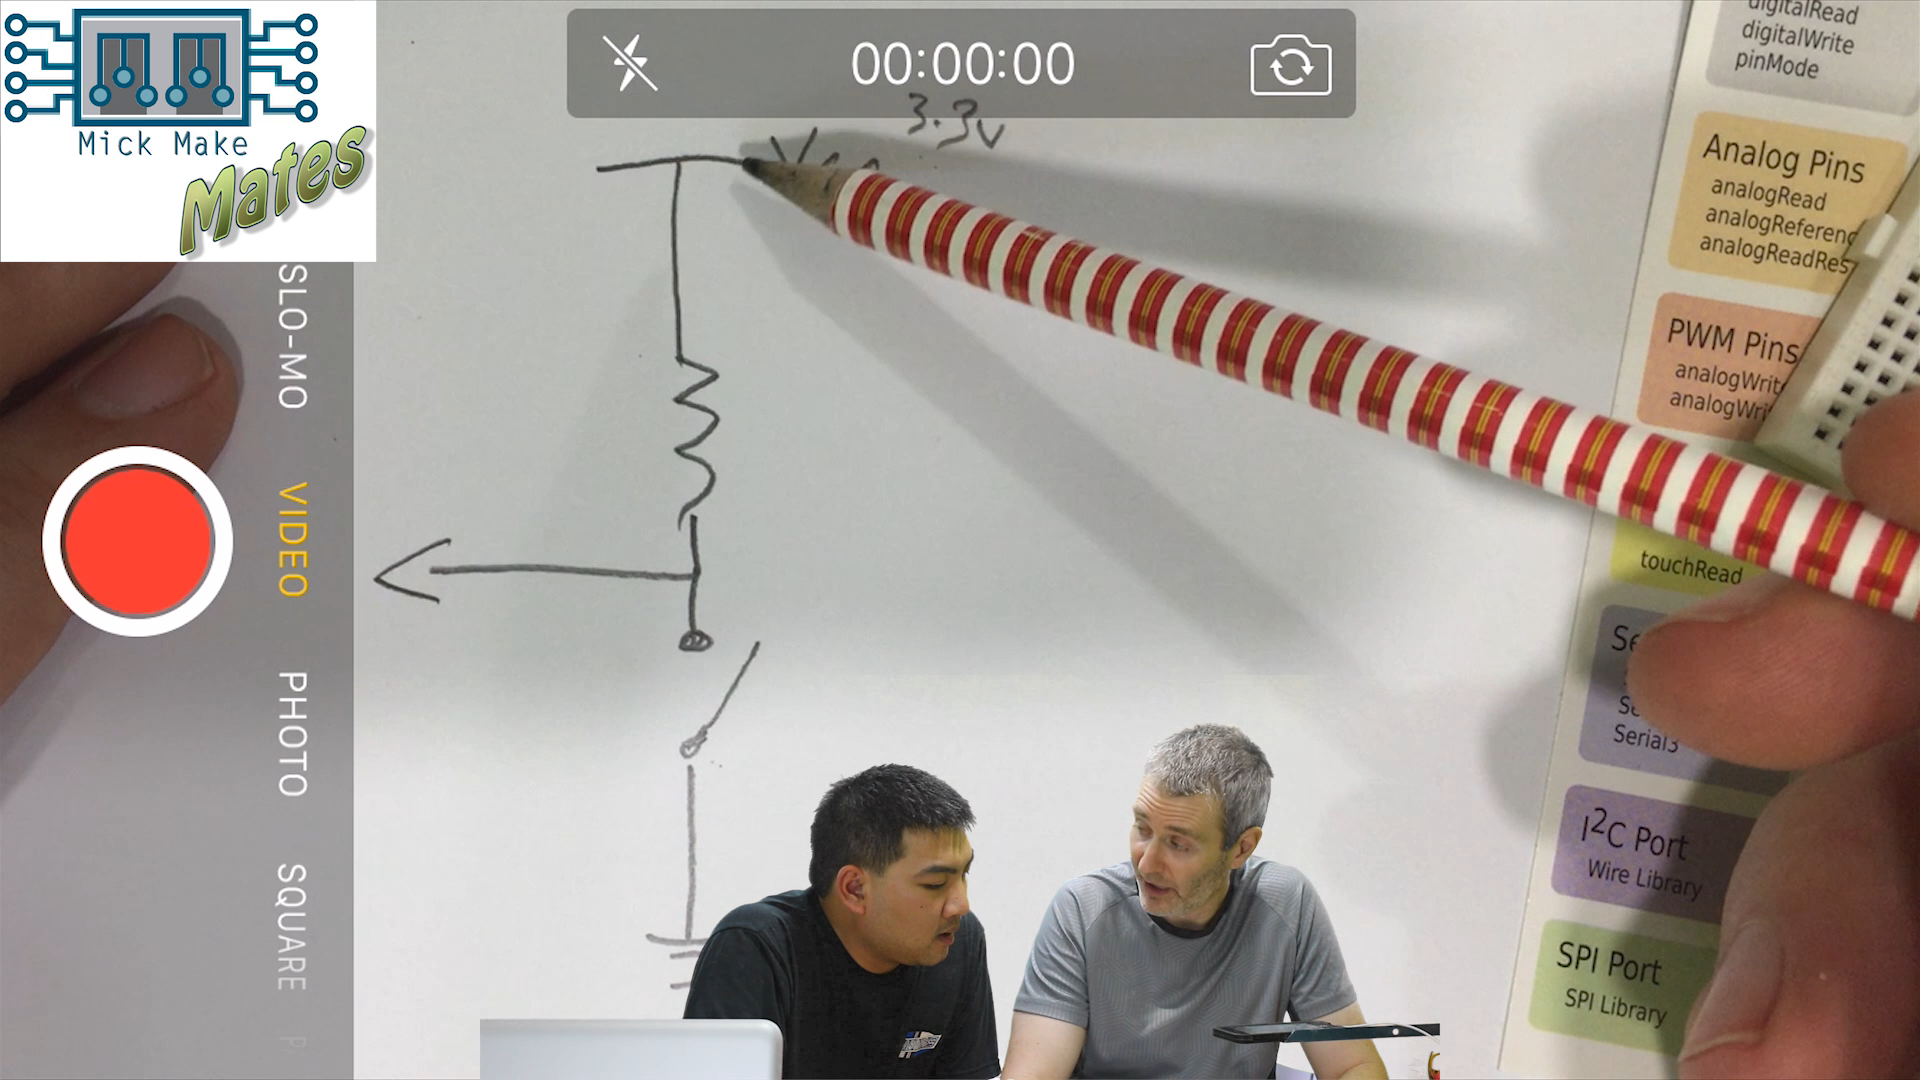
Note that in the video I had assumed that the Teensy had internal pulldown resistors. A “pulldown” and “pullup” resistor is required to make sure that the pin is at either a logic HIGH or logical LOW. If you don’t do this, then you run the risk of the input floating. Watch the video to see what happened.


The “Button” sketch code walkthrough
The next episode:
In the next episode Tim will be finishing up his LED control.