Headless Pi Zero W: 2 easy ways of connecting // Tutorial
This QuickBits video will show you two ways to setup your Raspberry Pi Zero W from scratch without a keyboard or screen using WiFi or USB connectivity. This is often called a headless setup.
Step 1: Download Raspbian.
The first thing you need is the Raspbian image from the Raspberry Pi Foundation website.
Download the latest image, whatever it happens to be.
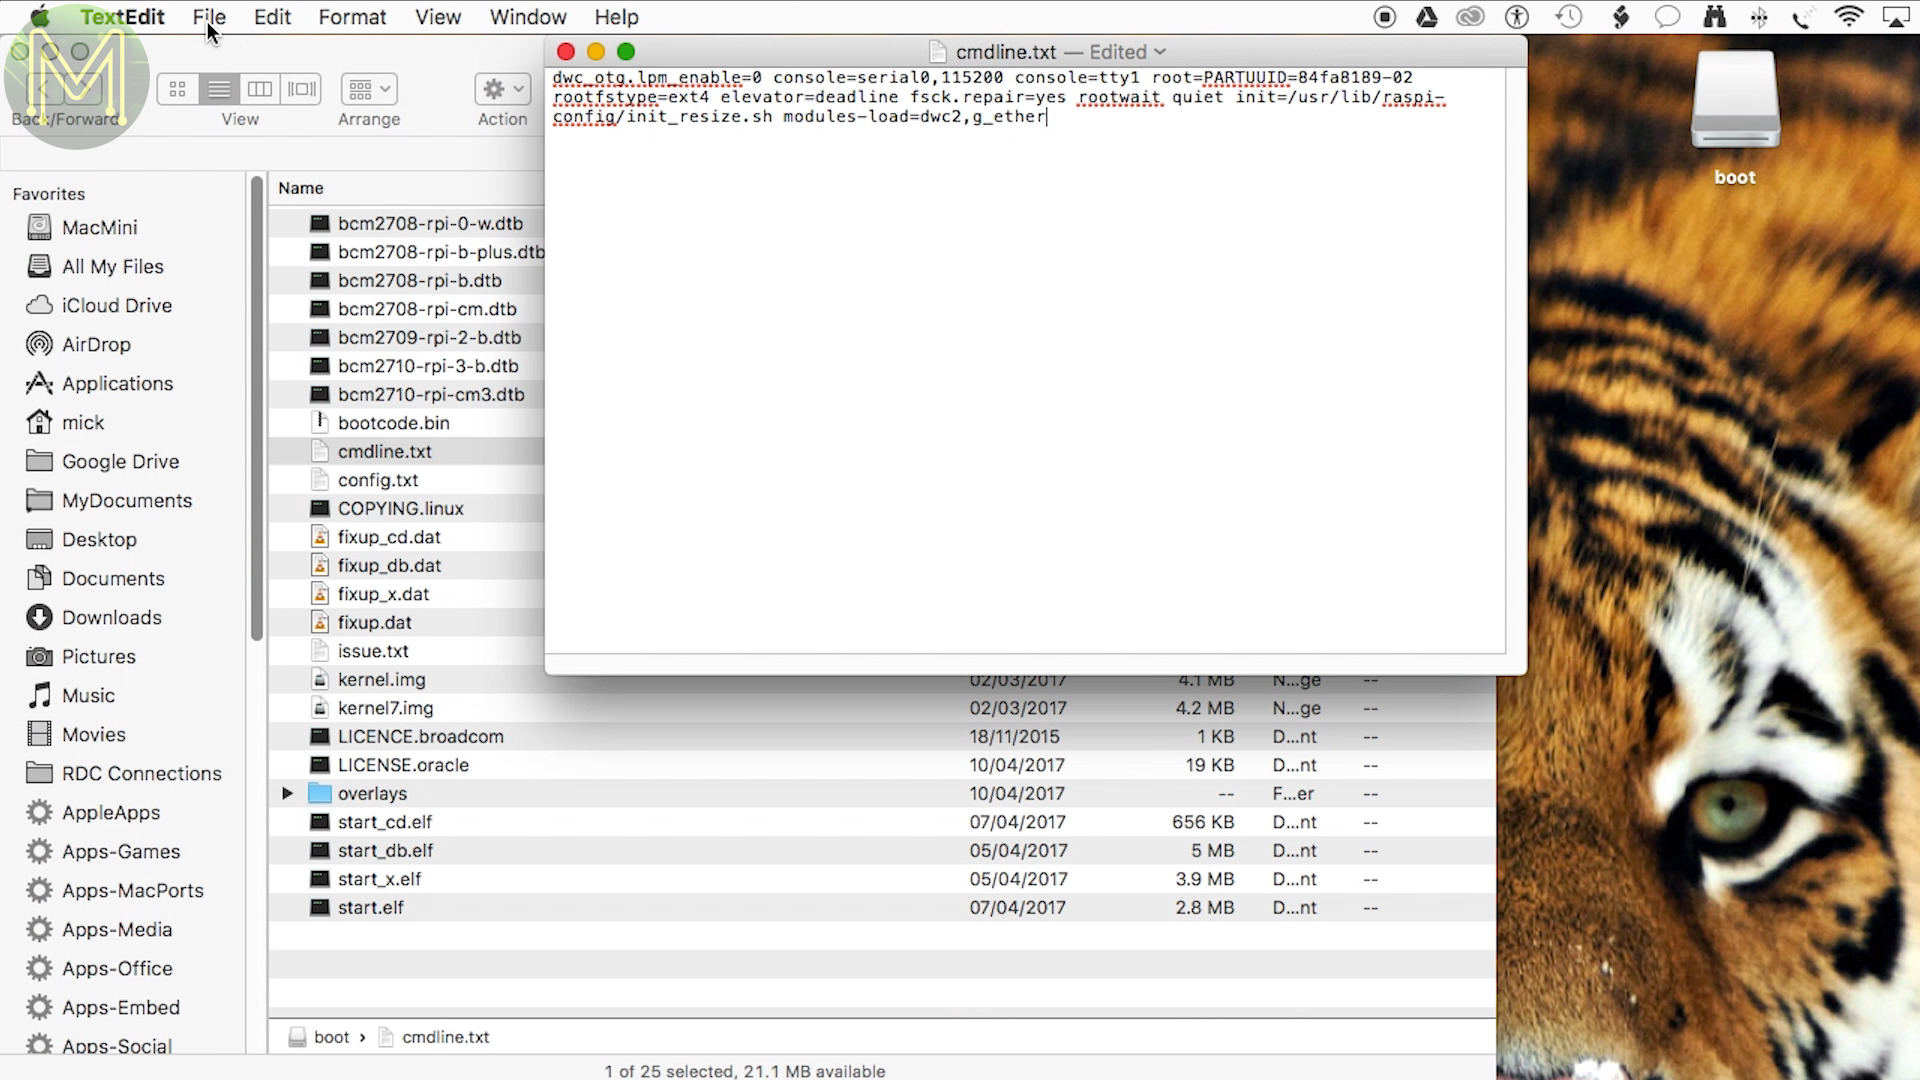
Step 2: Write to SD card. Burn this to an SD card using your favourite utility. Make sure your SD card is at least 2GB in size, although any size will do.If you’re using Etcher like I do and you have set the option “Auto-unmount on success”, then you’ll have to re-insert the SD card for the next steps.Step 3: Update boot config. Next you need to make a change to the cmdline.txt file. You can use any editor for this and add this to the end of the line. Make sure it’s at the end and not on a new line.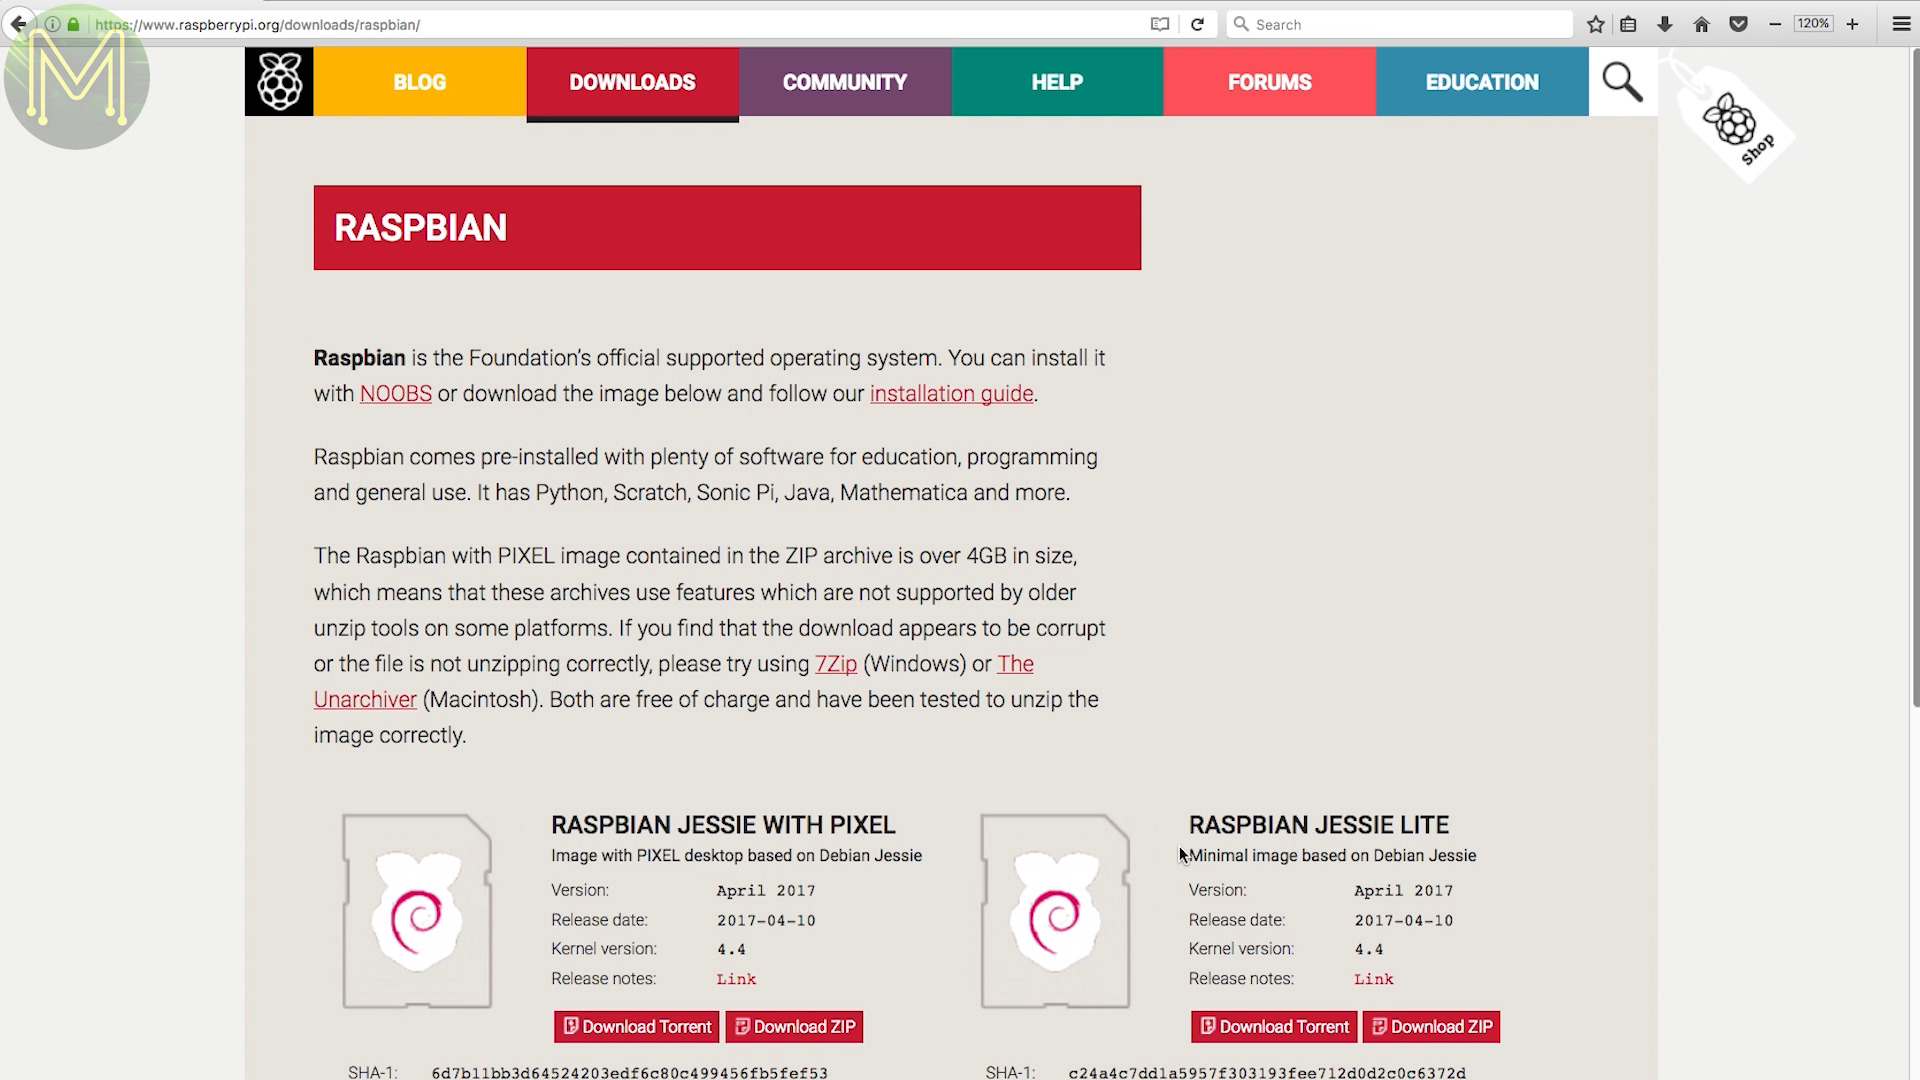


modules-load=dwc2,g_ether
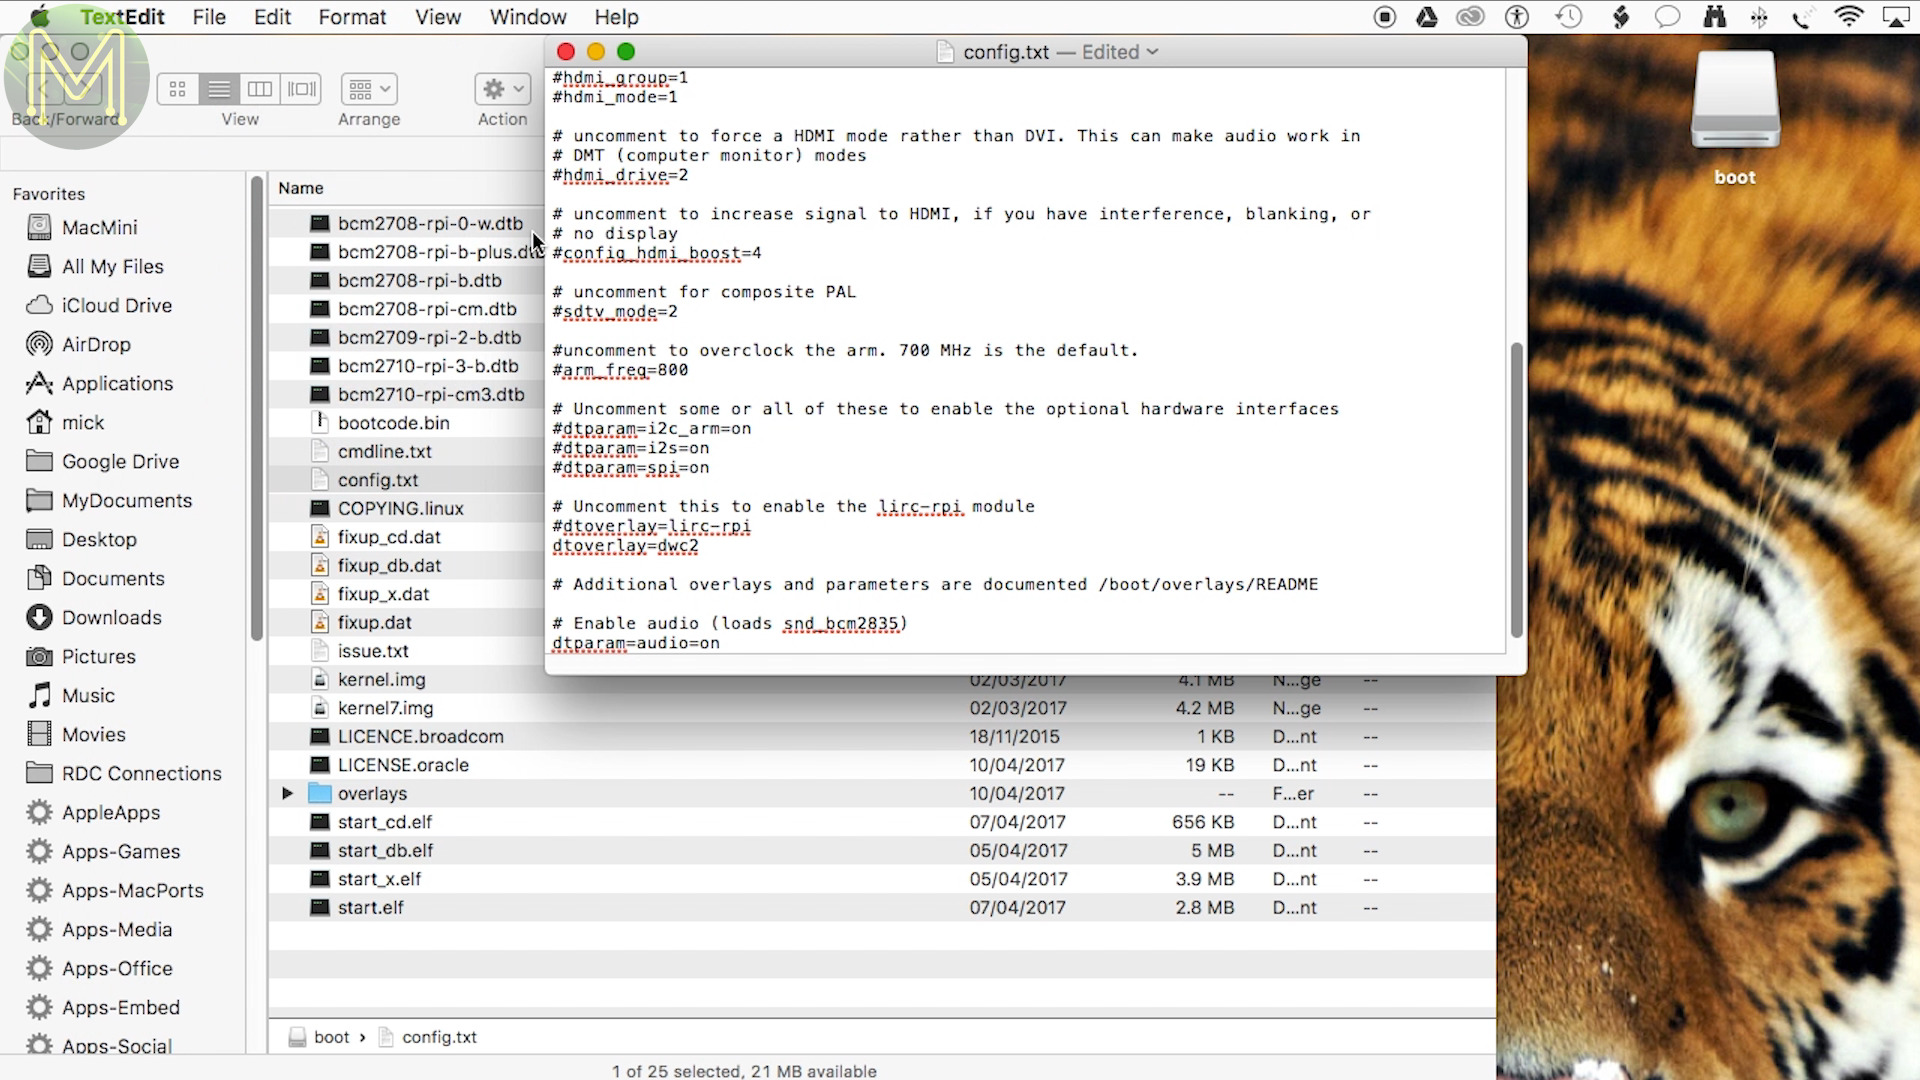
dtoverlay=dwc2
Step 4: Enable WiFi.
If you don’t want to access your Pi over WiFi, then you can skip this step. Before you exit from the text editor, create a new file. If you’re using a Mac, make sure you set the “Make Plain text” option. Then add these entries with your WiFi SSID and password updated correctly. You will have to update the country code to the correct code for your country. See this article for choosing the correct code.
ctrl_interface=DIR=/var/run/wpa_supplicant GROUP=netdev
update_config=1
country=AU
network={
    ssid="Your WiFi SSID"
    psk="Your WiFi password"
    key_mgmt=WPA-PSK
}
There’s one important part to this file. Make sure this part is all on one line and has no spaces separating the text. Otherwise your Pi won’t be able to connect to your WiFi access point.
network={
Then save this file. If you’re using a Mac, then make sure you uncheck the “If no extension is provided, use txt”. Then save it with name wpa_supplicant.conf.
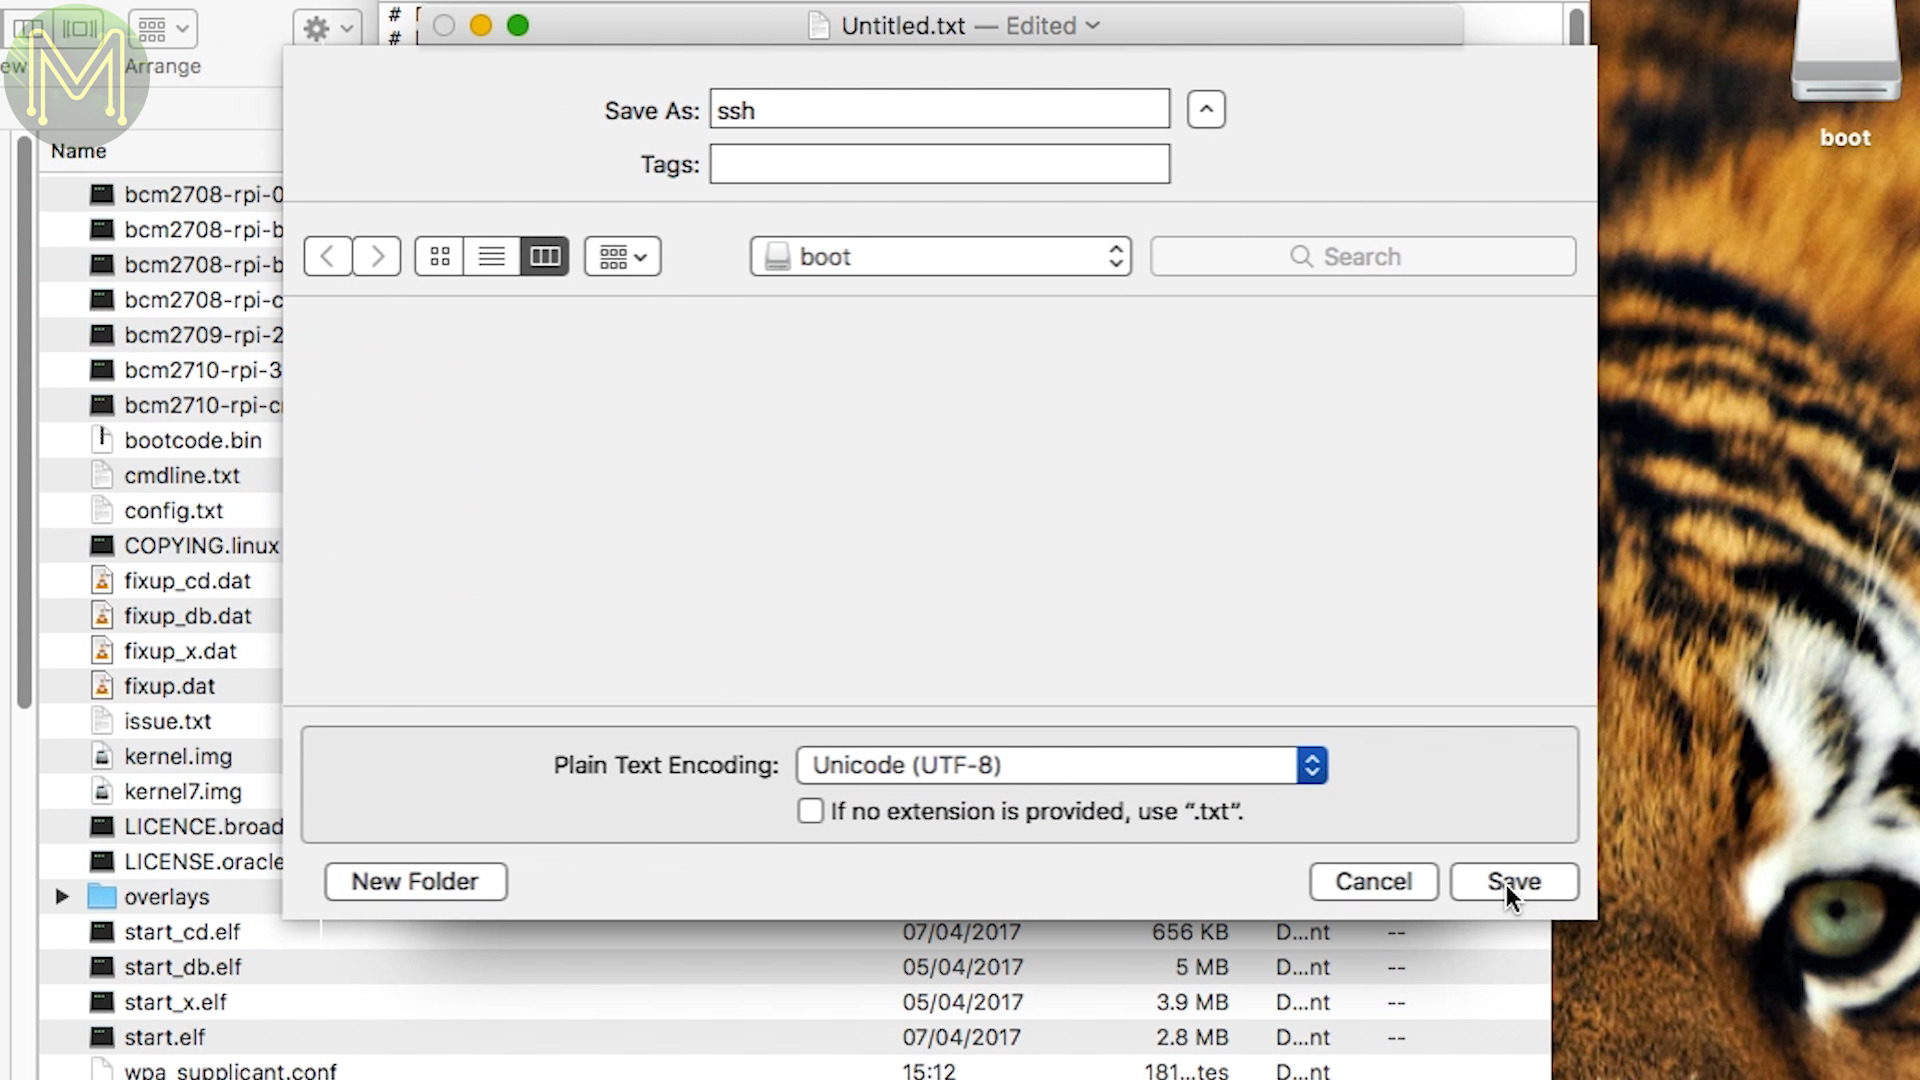
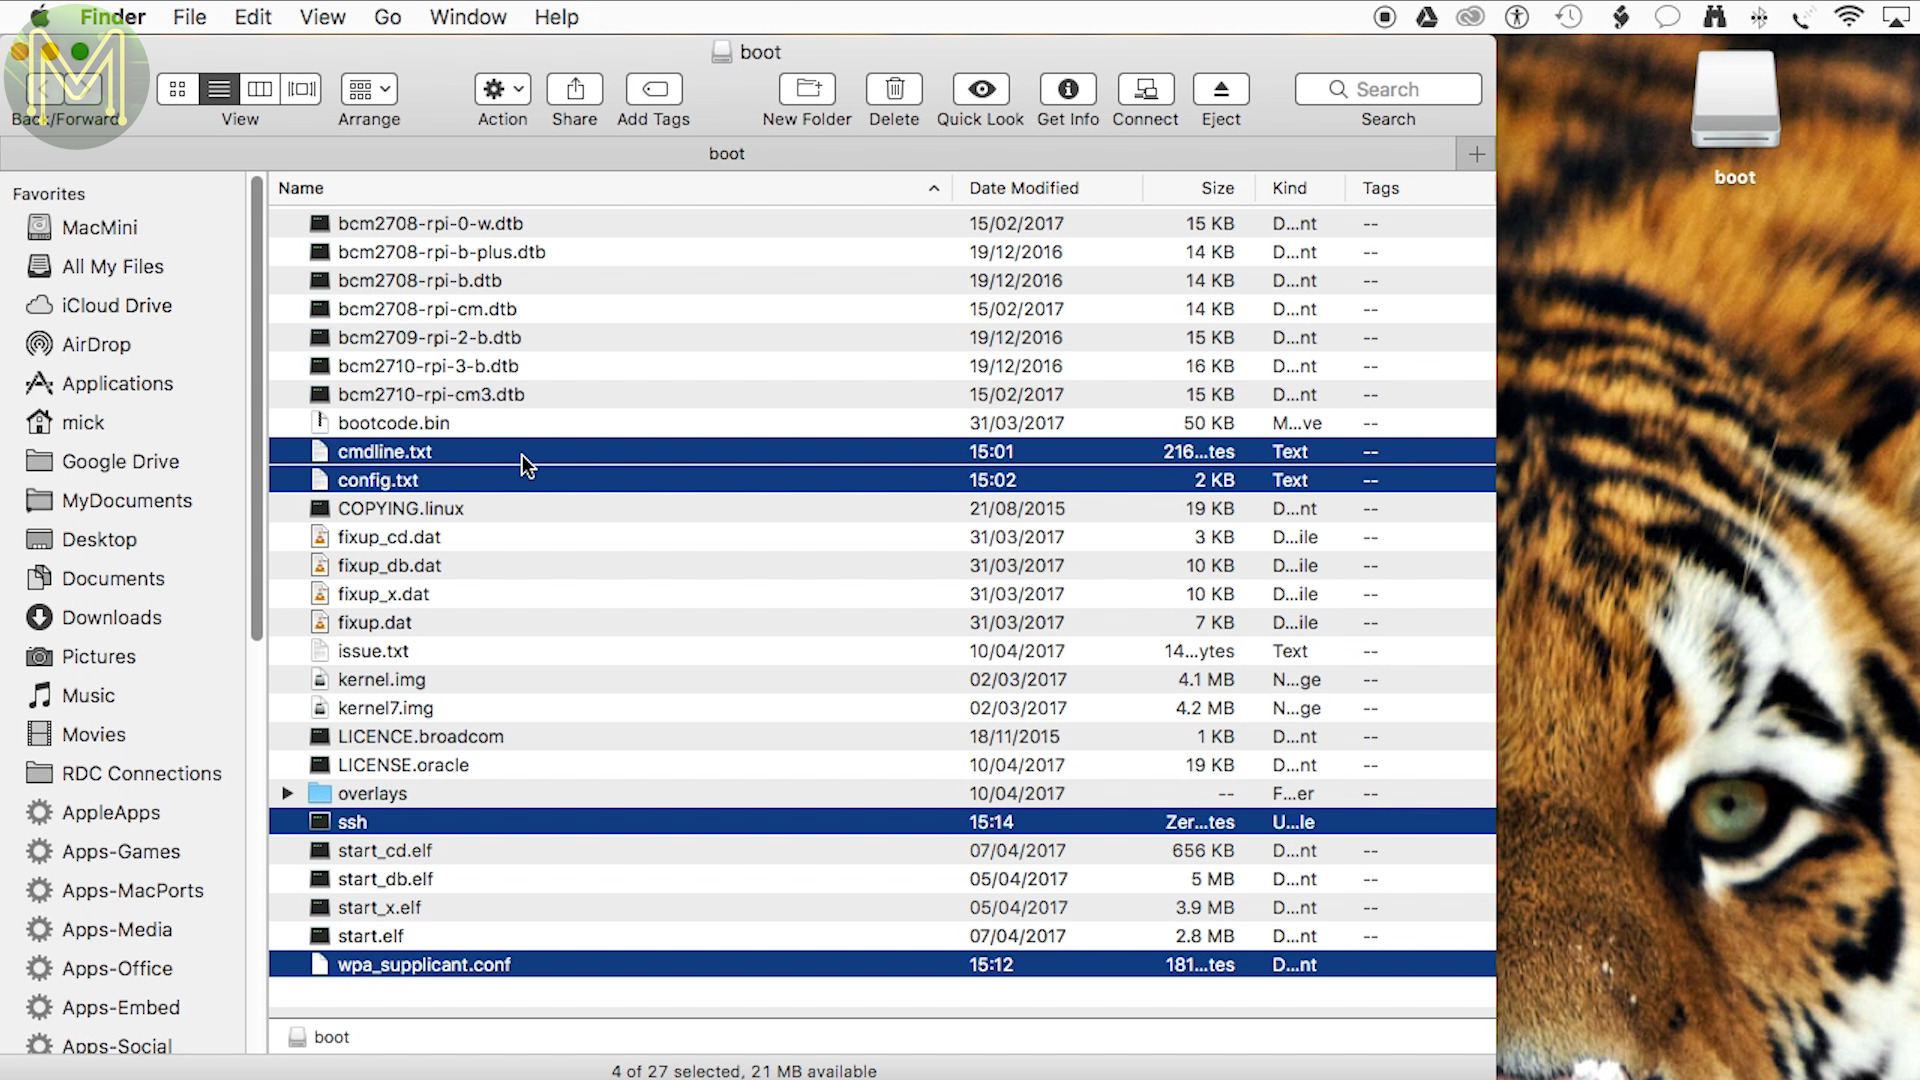
Step 5: Enable SSH logins. Next you’ll want to create another text file that’s empty. Save this, making sure you uncheck “If no extension is provided, use txt” and save it as “ssh” filename.So, you will have created these two additional files and modified these two.Step 6: Eject. Next you can eject the SD card.
Step 7: Insert into Pi.
and chuck it into your Pi Zero W.
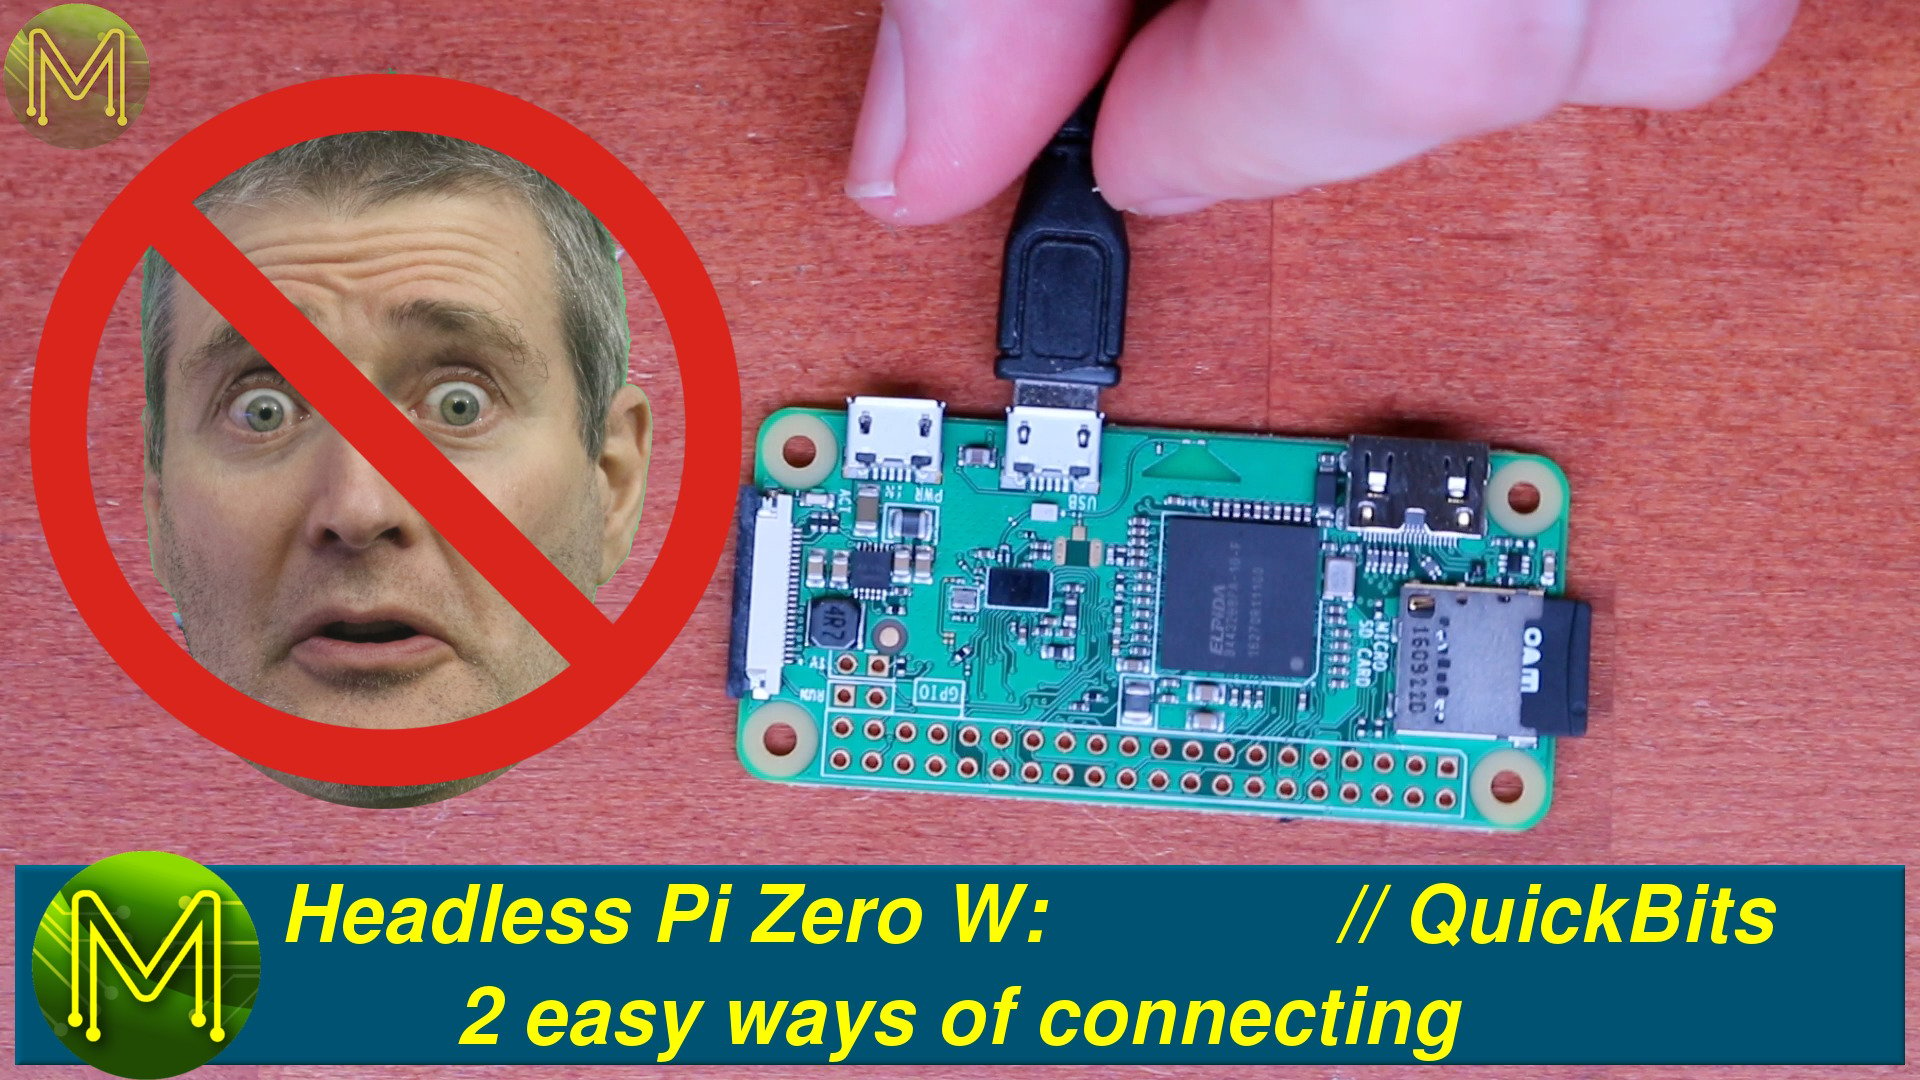
Step 8: USB connection.
Then connect one end of a USB cable into the second port. Either ports can power the Pi Zero, but only this one has direct access to the USB port on the Pi’s CPU.
Then the other end into your PC.If you all you want to do is access your Pi via WiFi, then your job is done as it’ll boot up, connect to your access point and you’ll be able to login to it from there. You may have to check your access point log files to see what IP address it has been given.

Step 9: USB login.
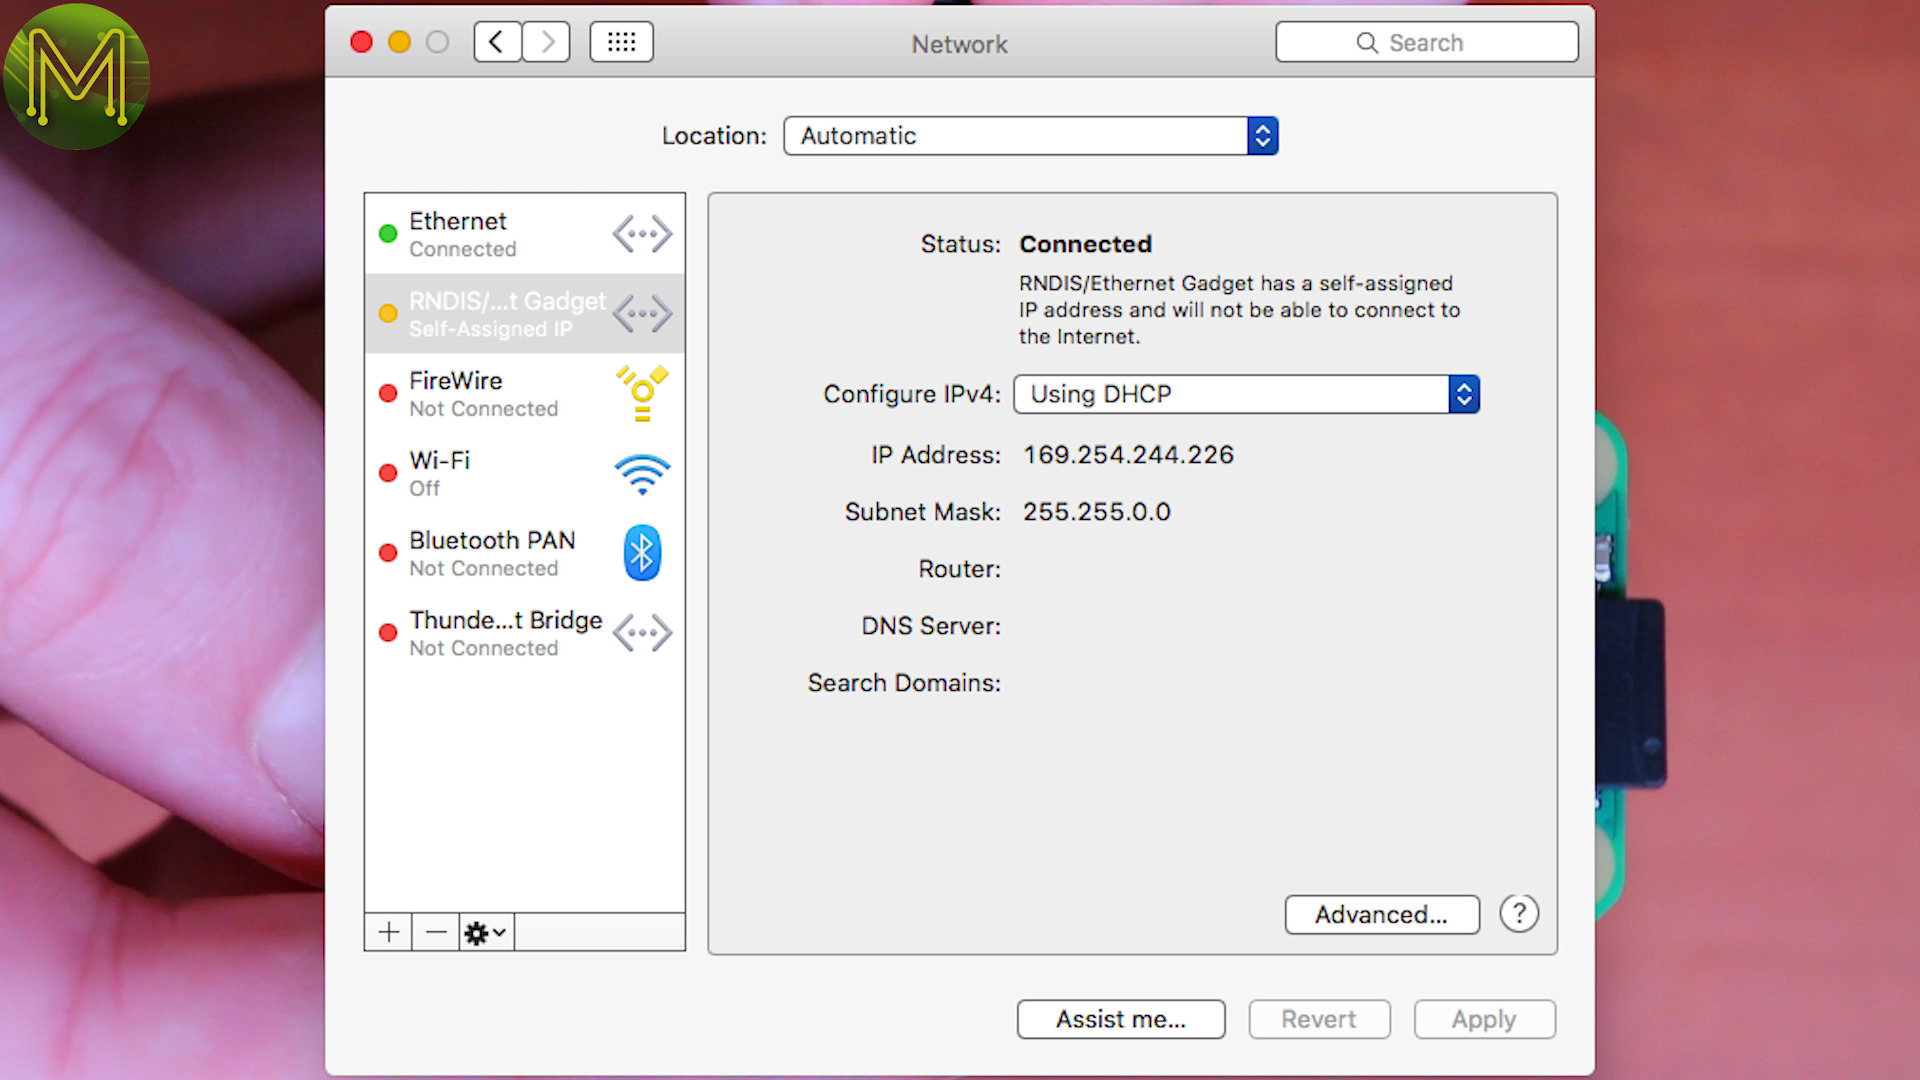
If you want to be able to connect to your Pi over USB, then your Pi will have already obtained an IP address from your PC using Ethernet over USB. Most modern PCs support RNDIS devices and will assign an IP address to it using ZeroConf.
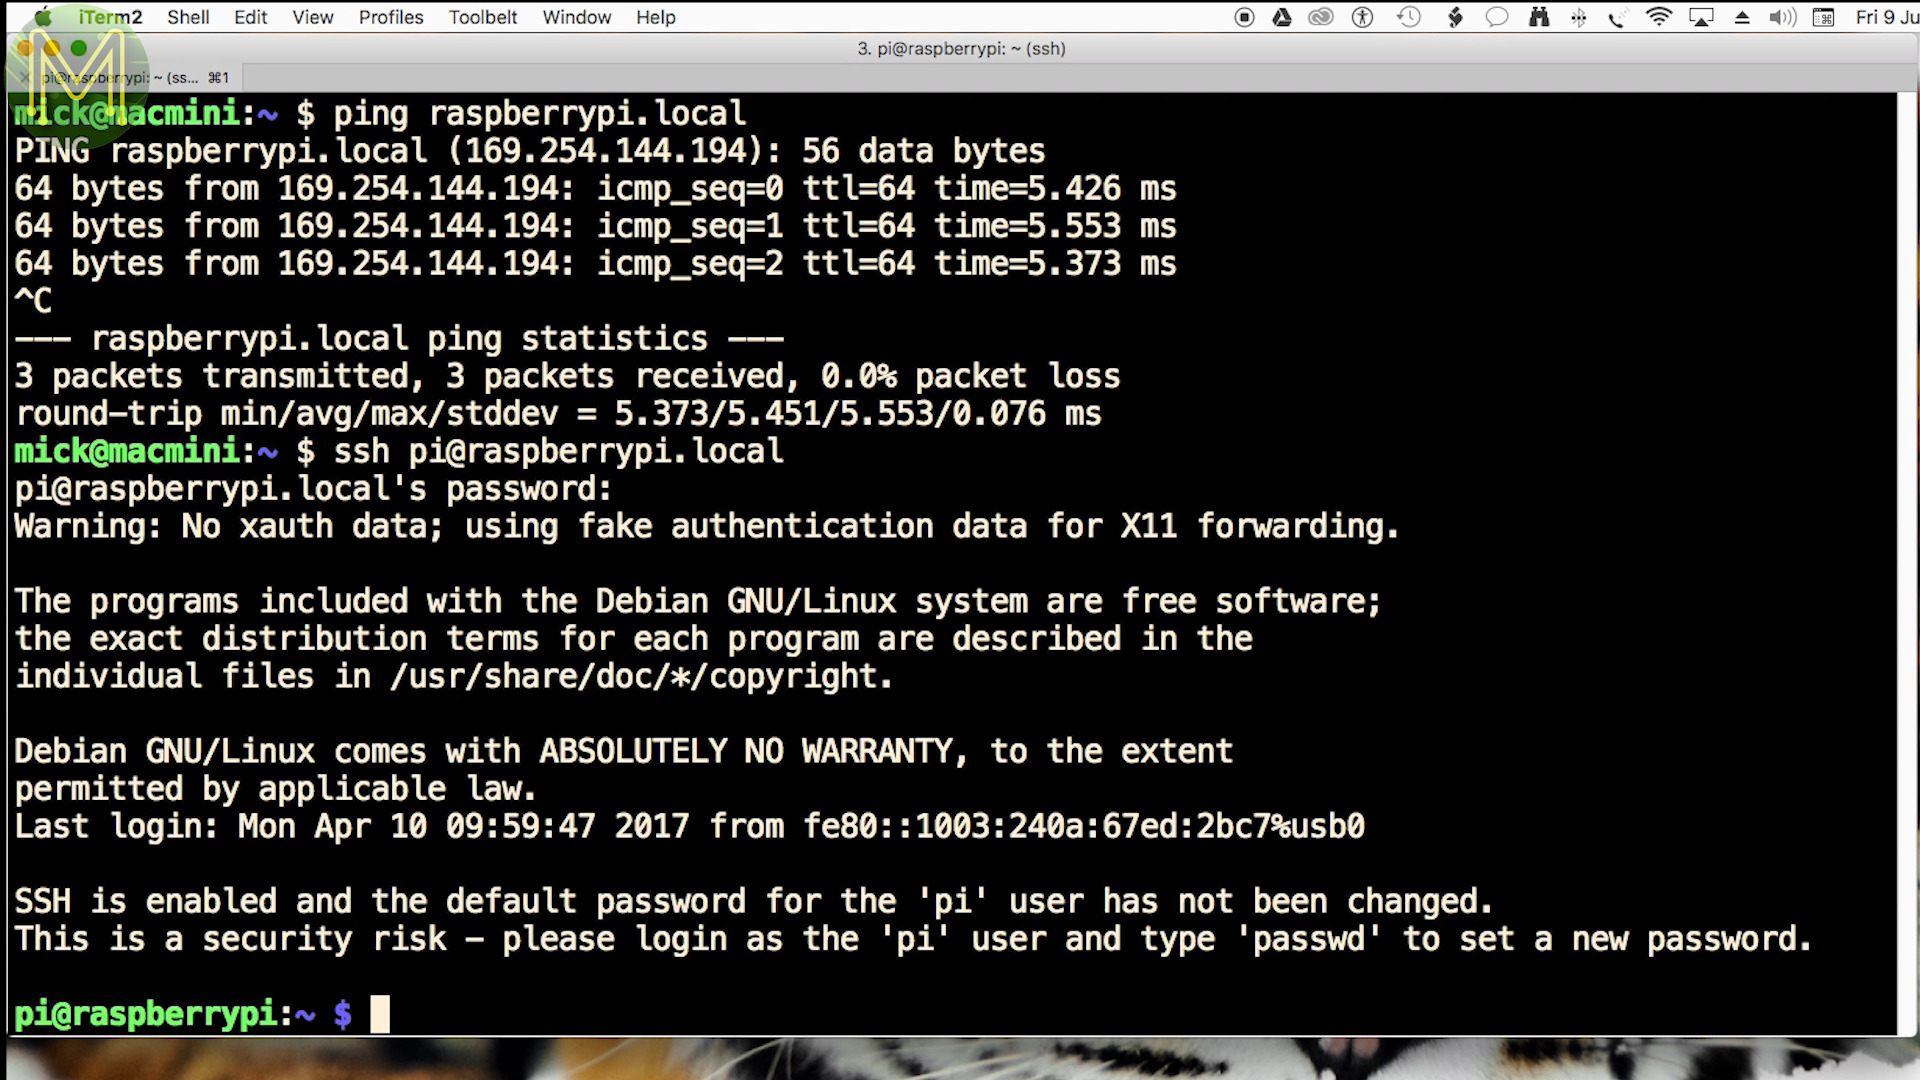
At this point you can ping your Pi Zero from a shell and SSH into it.And there you have it. Two simple ways to connect to your Pi without a screen and keyboard!